My Garage
My Account
Cart
Genuine Chevrolet Astro Air Filter
Air Cleaner- Select Vehicle by Model
- Select Vehicle by VIN
Select Vehicle by Model
orMake
Model
Year
Select Vehicle by VIN
For the most accurate results, select vehicle by your VIN (Vehicle Identification Number).
18 Air Filters found
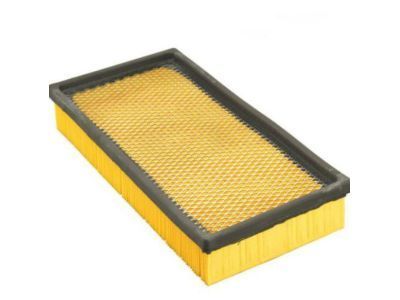
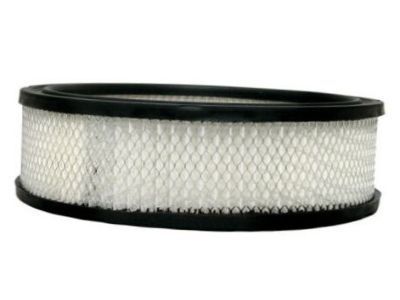
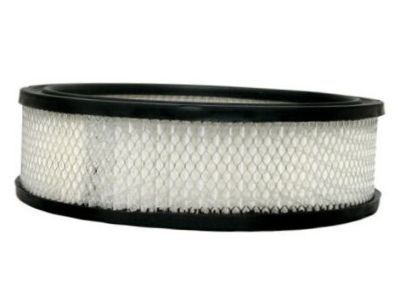
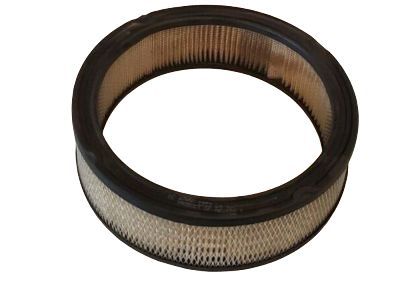
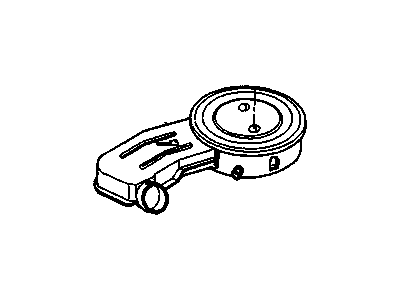
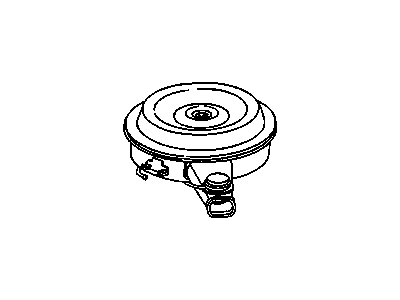
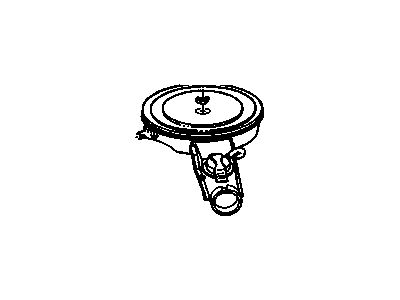
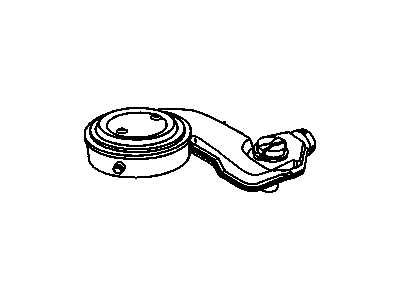
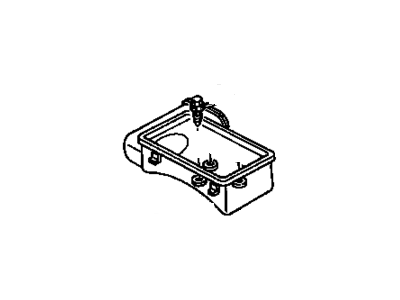
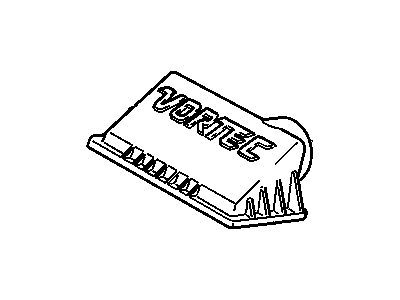
Chevrolet Astro Element Pkg,Air Cleaner
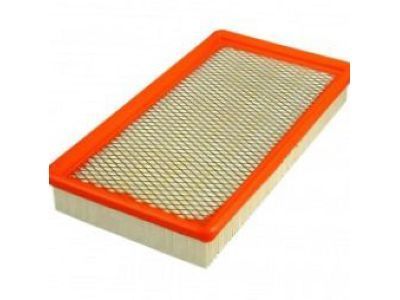
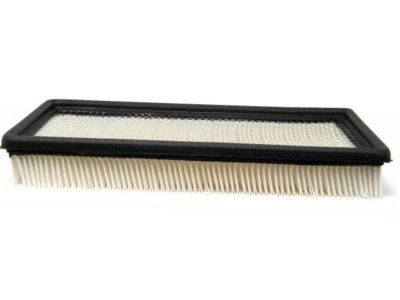
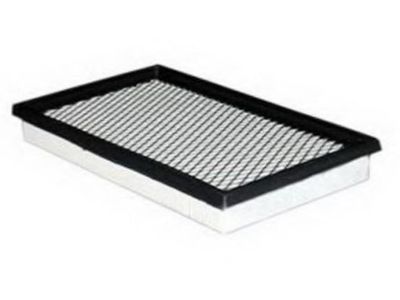
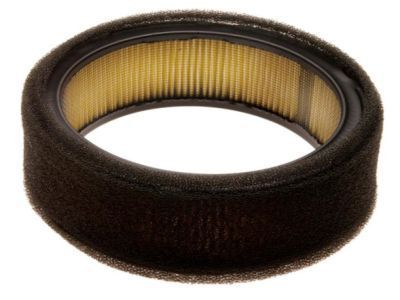
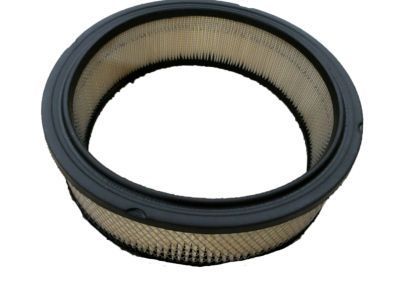
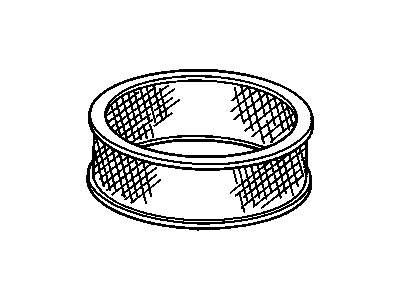
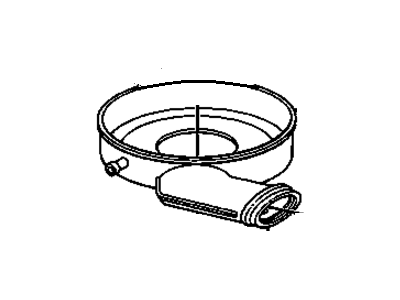
Part Number: 19259086$16.08 MSRP: $30.33You Save: $14.25 (47%)Ships in 1-3 Business DaysChevrolet Astro Element (Polywrap)
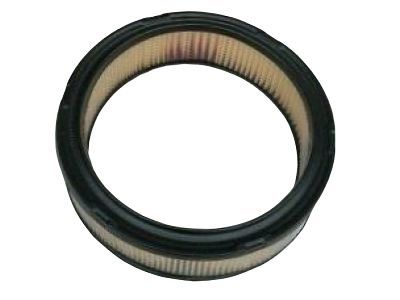
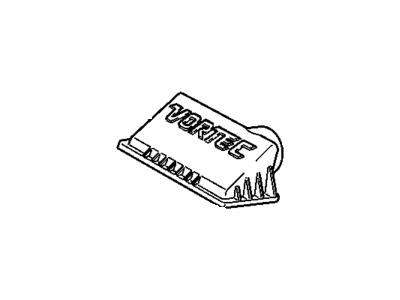
Part Number: 25043317$15.66 MSRP: $28.48You Save: $12.82 (46%)Ships in 1-3 Business Days
Chevrolet Astro Air Filter
Chevrolet Astro Air Filter's responsibility is quite important because its primary purpose is to keep the engine dirt free by filtering out the dirt and other debris that might harm the engine. Eventually, the Air Filter as it builds up the contaminants, it narrows down the airflow leaving a poor performance and fuel efficiency. Another important feature that allows managing the car's performance is a recommendation for Air Filter replacement. Chevrolet Astro vehicles have employed various forms of Air Filters ranging from the early simple types of pleated paper Air Filters which provide good efficiency but do get loaded easily. Performance air filters are usually made of cotton gauze or synthetic materials as well as they provide greater airflow and longer change intervals, which leads to improved engine power as well as fuel efficiency. The two types therefore mainly differ in the way that they are built and their air filtering abilities with performance filters filtering air better while allowing more air flow through them as compared to standard filters. It is important to do routine checking and replacement of the Air Filter, especially so when you drive under extreme conditions.
Each OEM Chevrolet Astro Air Filter we offer is competitively priced and comes with the assurance of the manufacturer's warranty for the part. Furthermore, we guarantee the speedy delivery of your orders right to your doorstep. Our hassle-free return policy is also in place for your peace of mind.
Chevrolet Astro Air Filter Parts Questions & Experts Answers
- Q: How should the air filter and PCV filter be replaced on Chevrolet Astro?A:At the specified intervals, the air filter and, if equipped, the PCV filter should be replaced with new ones, as the engine air cleaner supplies filtered air to the PCV system. Carbureted and TBI models can be identified by a Z in the eighth position of the Vehicle Identification Number (VIN). To replace the filter, remove the engine cover, then locate the filter on top of the carburetor or Throttle Body Injection unit. Unscrew the wing nut from the top of the filter housing and lift off the cover, taking care not to drop anything into the carburetor, TBI, or air cleaner assembly. Lift the air filter element out of the housing and wipe out the inside of the air cleaner housing with a clean rag before placing the new filter in, ensuring it seats properly. The PCV filter may also be located inside the air cleaner housing on some models; after removing the top plate and air filter, locate and remove the old PCV filter, then install the new PCV filter and air filter. Finally, reinstall the top plate and any disconnected hoses, followed by the engine cover. For Central Multiport Fuel Injection and Central Sequential Fuel Injection models, identifiable by a W or X in the eighth position of the VIN, loosen the clamp screw on the intake air duct and disconnect it from the air filter cover. Detach the clips securing the air filter cover and remove it, then lift the filter out of the housing, noting the direction of installation. Installation is the reverse of removal, with many replacement filters marked with an arrow to indicate the airflow direction.
Related Chevrolet Astro Parts
Browse by Year
2005 Air Filter 2004 Air Filter 2003 Air Filter 2002 Air Filter 2001 Air Filter 2000 Air Filter 1999 Air Filter 1998 Air Filter 1997 Air Filter 1996 Air Filter 1995 Air Filter 1994 Air Filter 1993 Air Filter 1992 Air Filter 1991 Air Filter 1990 Air Filter 1989 Air Filter 1988 Air Filter 1987 Air Filter 1986 Air Filter 1985 Air Filter
