My Garage
My Account
Cart
Genuine Chevrolet Astro Fuel Filter
Gas Filter- Select Vehicle by Model
- Select Vehicle by VIN
Select Vehicle by Model
orMake
Model
Year
Select Vehicle by VIN
For the most accurate results, select vehicle by your VIN (Vehicle Identification Number).
3 Fuel Filters found
Chevrolet Astro Fuel Filter
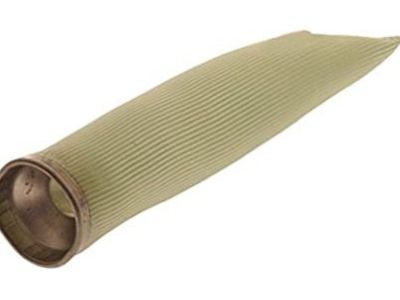
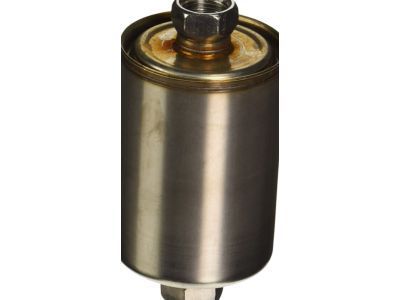
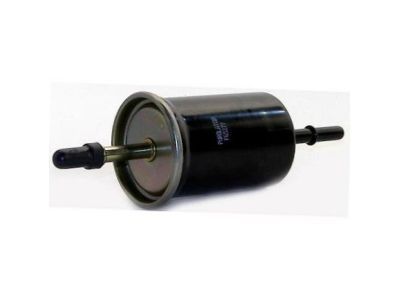
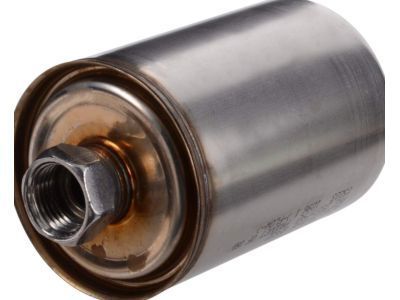
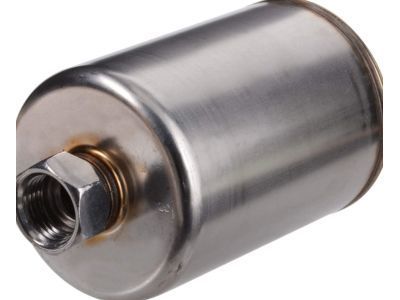
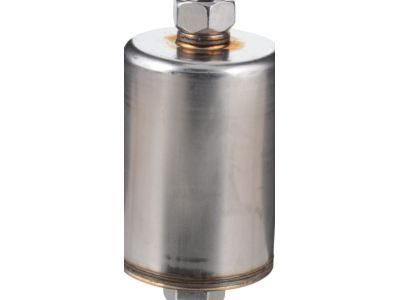
The Fuel Filter in Chevrolet Astro vehicles plays an important role in protection of the engine since it keeps the fuel clean by trapping contaminants like, dirt, rust and water. This obviously imposing filtration process is crucial when it comes to keeping the engine at its optimal and afford the protection of equipment such as fuel pumps and injectors among others. Chevrolet Astro use different types of Fuel Filters, in-line and canister Fuel Filters with possibility of replaceable cartridges or spin-on type. Carbureted models incorporate the Fuel Filter between the Mechanical Fuel Pump and the carburetor whereas the EFI has the filter sited between the tank and Engine. Changing of the Fuel Filter requires regularity and promptness because if it gets clogged, it may lead to inadequate fuel supply or problems with the engine. Altogether, the Fuel Filter helps in making the Chevrolet Astro to work efficiently and effectively.
Each OEM Chevrolet Astro Fuel Filter we offer is competitively priced and comes with the assurance of the manufacturer's warranty for the part. Furthermore, we guarantee the speedy delivery of your orders right to your doorstep. Our hassle-free return policy is also in place for your peace of mind.
Chevrolet Astro Fuel Filter Parts Questions & Experts Answers
- Q: How to replace the fuel filter on Chevrolet Astro?A:For carburetor-equipped vehicles from 1985, the fuel filter is located inside the fuel inlet nut at the carburetor, made of pleated paper or porous bronze, and cannot be cleaned or reused. The procedure should be performed with the engine cold and the engine cover removed, using open-end wrenches for the fuel line nuts and flare nut wrenches if available. Begin by removing the air cleaner assembly, noting or tagging any vacuum hoses that need to be disconnected. Follow the fuel line from the fuel pump to the carburetor, placing rags under the fuel inlet fittings to catch any spilled fuel. Use the proper size wrench to hold the fuel inlet nut while loosening the fitting at the end of the metal fuel line, ensuring the inlet nut remains secure. After disconnecting the fuel line, move it aside without kinking it, then unscrew the fuel inlet nut carefully, taking care not to lose the thin washer-type gasket or the spring behind the fuel filter. Compare the old filter with the new one for length and design, reinstall the spring in the carburetor body, place the new filter in position, and tighten the nut securely without cross-threading. Reconnect the fuel line to the fuel inlet nut, using a back-up wrench to avoid cross-threading. Start the engine and check for leaks, addressing any issues with stripped threads by using thread sealing tape or obtaining a repair kit if necessary. For fuel-injected vehicles, the fuel filter is an in-line type located under the vehicle along the left side frame rail near the engine. Begin by performing the fuel pressure relief procedure, then raise the vehicle securely on jackstands and place a container or rags under the fuel filter. Using two wrenches, disconnect the fuel lines from the filter, and detach the filter from the bracket. Installation is the reverse of removal, ensuring the flow indication arrow on the filter points towards the engine, and check for leaks after starting the engine.
Related Chevrolet Astro Parts
Browse by Year
2005 Fuel Filter 2004 Fuel Filter 2003 Fuel Filter 2002 Fuel Filter 2001 Fuel Filter 2000 Fuel Filter 1999 Fuel Filter 1998 Fuel Filter 1997 Fuel Filter 1996 Fuel Filter 1995 Fuel Filter 1994 Fuel Filter 1993 Fuel Filter 1992 Fuel Filter 1991 Fuel Filter 1990 Fuel Filter 1989 Fuel Filter 1988 Fuel Filter 1987 Fuel Filter 1986 Fuel Filter 1985 Fuel Filter
