My Garage
My Account
Cart
Genuine Chevrolet Astro Piston
Engine Pistons- Select Vehicle by Model
- Select Vehicle by VIN
Select Vehicle by Model
orMake
Model
Year
Select Vehicle by VIN
For the most accurate results, select vehicle by your VIN (Vehicle Identification Number).
24 Pistons found
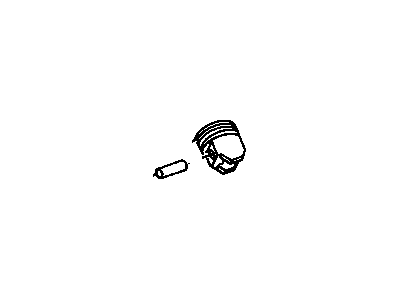
Chevrolet Astro Piston Asm,(W/ Pinion)(Std)
Part Number: 88894280$133.03 MSRP: $220.18You Save: $87.15 (40%)Ships in 1-3 Business DaysChevrolet Astro Piston & Pinion,(Std) (600 Gram)
Part Number: 12353354$60.27 MSRP: $121.54You Save: $61.27 (51%)Chevrolet Astro Piston Asm,(W/ Pinion)(0.127 Mm Outside)
Part Number: 88894281$110.92 MSRP: $223.69You Save: $112.77 (51%)Ships in 1-2 Business Days
| Page 1 of 2 |Next >
1-20 of 24 Results
Chevrolet Astro Piston
Each OEM Chevrolet Astro Piston we offer is competitively priced and comes with the assurance of the manufacturer's warranty for the part. Furthermore, we guarantee the speedy delivery of your orders right to your doorstep. Our hassle-free return policy is also in place for your peace of mind.
Chevrolet Astro Piston Parts Questions & Experts Answers
- Q: What are the essential steps to take before removing the piston and connecting rod assemblies on Chevrolet Astro?A:It is important before pulling the piston and connecting rod assemblies that you have to first relieve the Cylinder Head(s), oil pan and finally the oil pump. First ensure that you eliminate the entire top ridge of the cylinder by carefully applying a ridge reaming tool according to the manufacturer's guidelines else the pistons break. After that inclined the engine in upside-down position with the Crankshaft at the upward position to remove the cylinder ridges. Prior to disconnecting the connecting rods look at the end clearance using feeler gauges to make sure the the clearance is removed; if the end clearance is beyond the service limit then new connecting rods may be needed. Also, make sure that bolting connecting rods and caps are marked, and if they are not marked, one ought to use a small centre punch to do so. Slowly turn out each of the connecting rod cap nut until they can be unscrewed by the hand, then unbolt the number one connecting rod cap and the bearing insert but be careful not to let the bearing insert fall off. During piston removal, the crankshaft journal and the cylinder wall are very sensitive, slip a short length of plastic or rubber hose over each of the connecting rod cap bolts. The connecting rod/piston assembly should now be pushed out through the top of the engine; the use of the wooden hammer handle can also be of assist when doing the upper bearing insert. If there is such resistance, then check whether all the ridge material has been provided fully. Do this for the remainder of the cylinders, and after their removal, replace the connecting rod caps and bearing inserts into their intended rods, tightening the cap nuts only enough with your fingers so as not to mar the bearings.
