My Garage
My Account
Cart
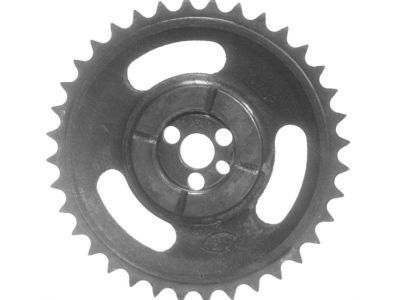
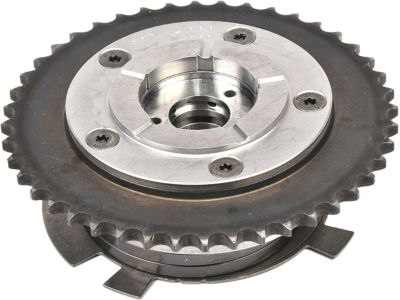
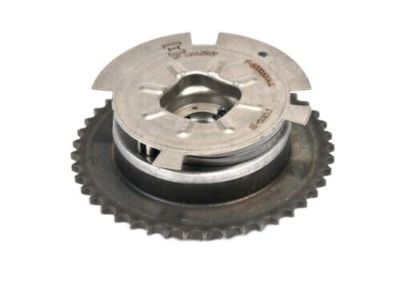
Genuine Chevrolet Camaro Cam Gear
Camshaft Gear- Select Vehicle by Model
- Select Vehicle by VIN
Select Vehicle by Model
orMake
Model
Year
Select Vehicle by VIN
For the most accurate results, select vehicle by your VIN (Vehicle Identification Number).
25 Cam Gears found
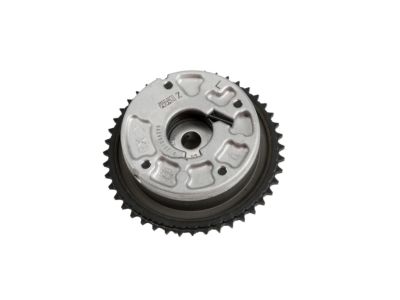
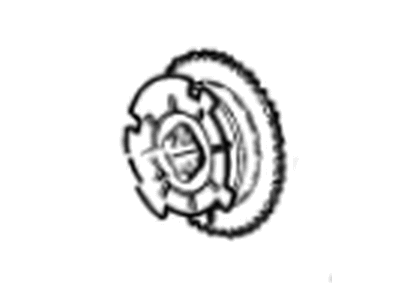
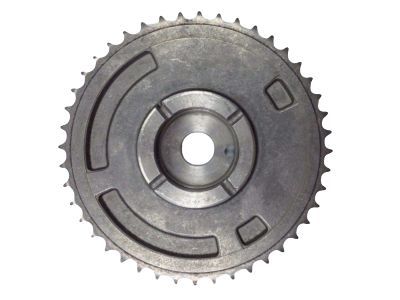
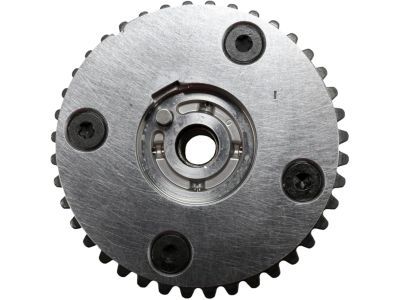
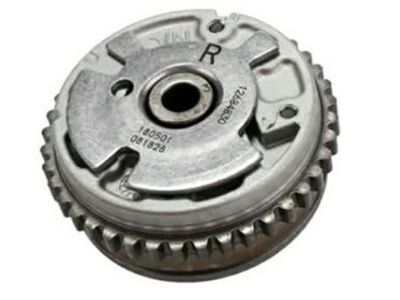
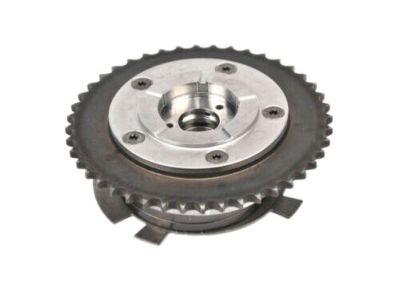
Chevrolet Camaro Actuator Assembly, Camshaft Position
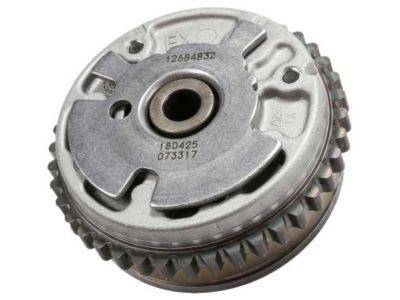
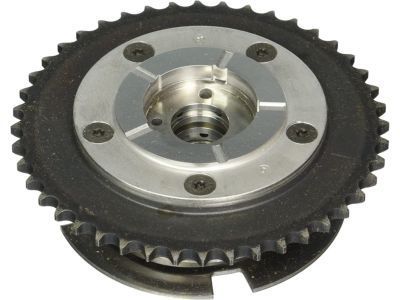
Part Number: 12684832$108.23 MSRP: $185.07You Save: $76.84 (42%)Ships in 1-3 Business DaysChevrolet Camaro Actuator Assembly, Camshaft Position
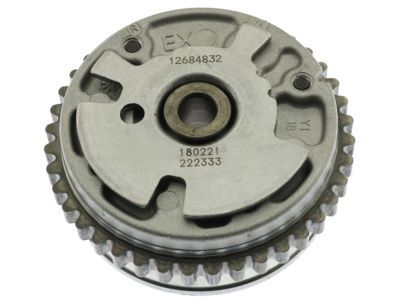
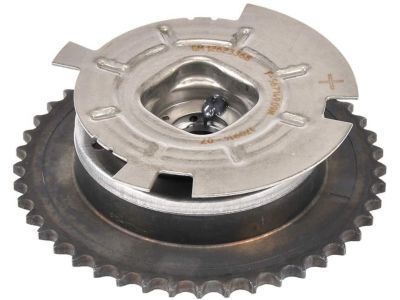
Part Number: 12684806$120.03 MSRP: $205.24You Save: $85.21 (42%)Chevrolet Camaro Actuator Assembly, Camshaft Position
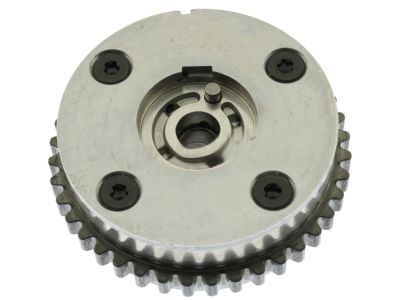
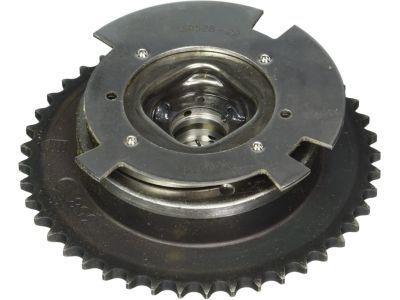
Part Number: 12623368$185.79 MSRP: $296.32You Save: $110.53 (38%)Ships in 1-2 Business DaysChevrolet Camaro Actuator Assembly, Camshaft Position
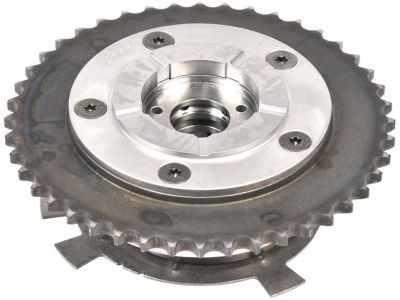
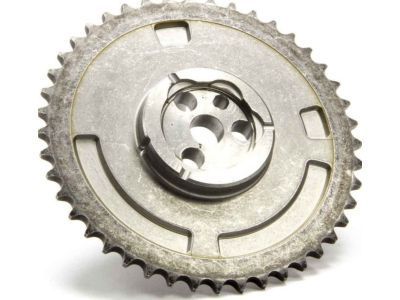
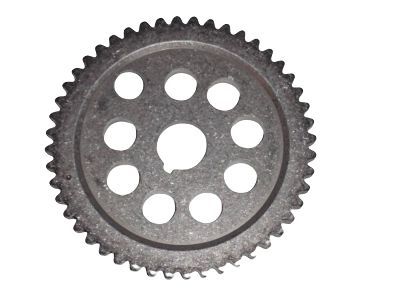
Part Number: 12606358$169.43 MSRP: $287.18You Save: $117.75 (41%)Ships in 1-2 Business DaysChevrolet Camaro Camshaft Sprocket
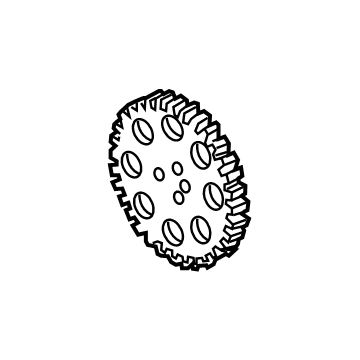
Part Number: 12591689$24.65 MSRP: $40.78You Save: $16.13 (40%)Ships in 1-2 Business DaysChevrolet Camaro Camshaft Sprocket
Part Number: 12586481$34.77 MSRP: $57.55You Save: $22.78 (40%)Ships in 1-3 Business DaysChevrolet Camaro Actuator Assembly, Camshaft Position
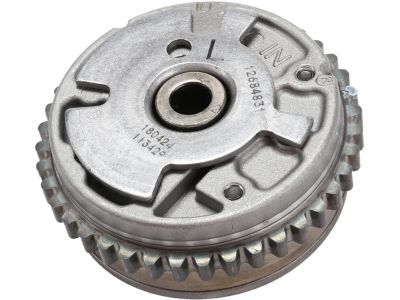
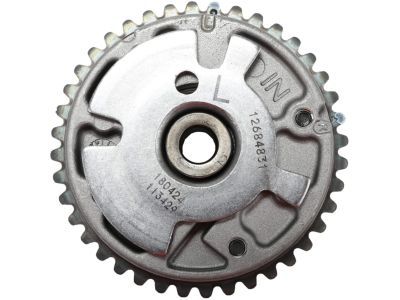
Part Number: 12684831$98.25 MSRP: $169.49You Save: $71.24 (43%)Ships in 1-3 Business DaysChevrolet Camaro Actuator Assembly, Camshaft Position
Part Number: 12684830$105.80 MSRP: $182.51You Save: $76.71 (43%)Ships in 1-3 Business DaysChevrolet Camaro Camshaft Sprocket
Part Number: 24505306$54.85 MSRP: $86.30You Save: $31.45 (37%)Ships in 1-3 Business DaysChevrolet Camaro Camshaft Sprocket
Part Number: 12552128$92.40 MSRP: $223.75You Save: $131.35 (59%)Ships in 1-2 Business DaysChevrolet Camaro Actuator Assembly, Camshaft Position
Part Number: 12662599$159.77 MSRP: $264.44You Save: $104.67 (40%)Ships in 1-3 Business DaysChevrolet Camaro Gear Set, Cam And Crank, Matched
Part Number: 10101790$59.48 MSRP: $119.95You Save: $60.47 (51%)Chevrolet Camaro Actuator Assembly, Cm/Shf Posn
Part Number: 12690959$120.03 MSRP: $205.24You Save: $85.21 (42%)Ships in 1-2 Business DaysChevrolet Camaro Camshaft Sprocket
Part Number: 12576407$36.19 MSRP: $59.89You Save: $23.70 (40%)Ships in 1-3 Business DaysChevrolet Camaro Actuator Assembly, Cm/Shf Posn
Part Number: 12689342$130.39 MSRP: $222.96You Save: $92.57 (42%)Ships in 1-2 Business DaysChevrolet Camaro Actuator Assembly, Cm/Shf Posn
Part Number: 25203205$132.03 MSRP: $227.75You Save: $95.72 (43%)Ships in 1-2 Business DaysChevrolet Camaro Actuator Assembly, Camshaft Position
Part Number: 12684805$84.76 MSRP: $205.24You Save: $120.48 (59%)Ships in 1-2 Business DaysChevrolet Camaro Actuator Assembly, Cm/Shf Posn
Part Number: 25203207$131.72 MSRP: $227.24You Save: $95.52 (43%)Ships in 1-3 Business DaysChevrolet Camaro Actuator Assembly, Cm/Shf Posn
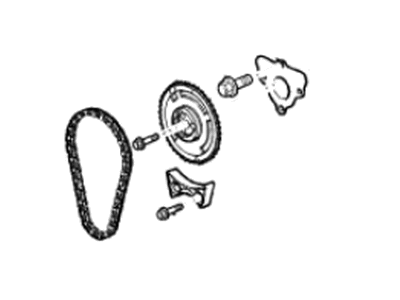
Part Number: 12682501$124.19 MSRP: $198.08You Save: $73.89 (38%)Ships in 1-3 Business DaysChevrolet Camaro Sprocket Set,Camshaft & Crankshaft (W/ Chain)
Part Number: 19259853$81.72 MSRP: $128.56You Save: $46.84 (37%)
| Page 1 of 2 |Next >
1-20 of 25 Results
Chevrolet Camaro Cam Gear
Cam Gear is an important part of Chevrolet Camaro automobile, which is assembled to the cam shaft and intended for adjusting the valve operation time. This adjustment increases the torque and horsepower of the particular vehicle by either increasing or decreasing the time on the components' timing. For a number of years, different Chevrolet Camaro models have employing unique types of Cam Gear for a better performing engine. The main role of the Cam Gear has not changed in these models and does not change across the other models as well and is to enhance the power and efficiency of engines. For better operation and high performance of Chevrolet Camaro vehicles, the Cam Gear work on the valve timing, by optimizing the timing of the valve, better performance and responsiveness will be achieved.
Each OEM Chevrolet Camaro Cam Gear we offer is competitively priced and comes with the assurance of the manufacturer's warranty for the part. Furthermore, we guarantee the speedy delivery of your orders right to your doorstep. Our hassle-free return policy is also in place for your peace of mind.
Chevrolet Camaro Cam Gear Parts Questions & Experts Answers
- Q: How to Remove and Install Cam Gear and Timing Chain in V6 engine on Chevrolet Camaro?A:It is however important to note that before disturbing the timing chain(s) from the sprocket(s) all the sprockets on the chain should be fitted with timing marks. In a car, it is necessary to rotate the engine as certain degrees just in order to match all these timing marks. This procedure requires three special tools to lock the Camshafts on each cylinder head: tool numbers including EN48383-1, EN 48383-2 as well as EN 48383-3. Start by removing the cable from the negative terminal and also removing the cover of the timing chain. Bolt on the crankshaft pulley and turn the crankshaft clockwise until the mark on the primary timing chain sprocket lines up with the mark as shown on the oil pump housing in the 5 o'clock position for the stage one. Timing pointer position settings: if overhauling the right-side chain only, turn the timing mark to the 9 'clock position. Check to make sure that the flat segment on the rear of each camshaft on the left side cylinder head is up and parallel with the valve cover mating surface; if not turn the crankshaft clockwise 360 degrees and recheck the timing marks. Place the special tool to the left side camshafts Remove both timing chain tensioner bolts of the right side cylinder head, followed by removing the tensioner and discarding the gasket. Take off the right side cylinder head timing chain and its guides and do the same with the left side cylinder head. If so desired, undo the bolts that hold the idler sprockets and the sprockets in place. Fit identification marks on the camshaft sprockets and their respective camshafts, and while holding the camshaft correctly fitted, slacken and remove the camshaft sprocket bolt. Check for damages on timing chain cover, wash all related parts and ascertain that the guides/timing chain sprockets are worn out or damaged. Release the tension of the cables and thereafter make sure they remain in their position in case of any tension build up. The fact is that before starting the engine, the crankshaft should be turned by hand no less than two times checking its perspectively. Find the Woodruff key which fits onto the crankshaft and position it so that the planed crank face is adjacent to the cylinder head and indexed marks are easily seen. Insert the special retaining tool onto the left side camshafts, then place left side secondary chain over the sprocket on the gear, ordering the timing links. Go on and thread the chain over both of the camshaft actuator sprockets while maintaining the correct orientation. Finally fit the left side timing chain tensioner, timing chain guides and the similarly the right side timing chain idler and the primary timing chain must all be positioned in such a way that the timing mark lines up properly. Place the tensioner and compare the alignment marks on it. Turn the crankshaft to the nine position and fit the two special locking tools on the two cylinder heads. Subsequent to this, place the over head camshaft timing right-side timing chain in the right position at the camshaft sprockets and thereafter assemble the timing chain guides and the tensioner. Scrape off all the prior contour sealants from the block and the timing chain cover, besides that, take out all the special locking tools from the camshafts. The rest of the installation also works in the process of dismantling, step by step starting from the top part of the installation.
Related Chevrolet Camaro Parts
Browse by Year
2024 Cam Gear 2023 Cam Gear 2022 Cam Gear 2021 Cam Gear 2020 Cam Gear 2019 Cam Gear 2018 Cam Gear 2017 Cam Gear 2016 Cam Gear 2015 Cam Gear 2014 Cam Gear 2013 Cam Gear 2012 Cam Gear 2011 Cam Gear 2010 Cam Gear 2002 Cam Gear 2001 Cam Gear 2000 Cam Gear 1999 Cam Gear 1998 Cam Gear 1997 Cam Gear 1996 Cam Gear 1995 Cam Gear 1994 Cam Gear 1993 Cam Gear 1992 Cam Gear 1991 Cam Gear 1990 Cam Gear 1989 Cam Gear 1988 Cam Gear 1987 Cam Gear 1986 Cam Gear 1985 Cam Gear 1984 Cam Gear 1983 Cam Gear 1982 Cam Gear
