My Garage
My Account
Cart
Genuine Chevrolet Colorado Control Arm
Suspension Arm- Select Vehicle by Model
- Select Vehicle by VIN
Select Vehicle by Model
orMake
Model
Year
Select Vehicle by VIN
For the most accurate results, select vehicle by your VIN (Vehicle Identification Number).
28 Control Arms found
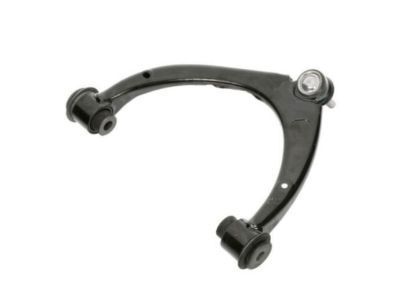
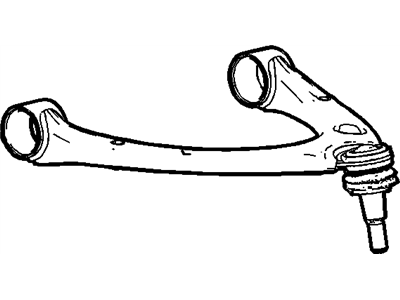
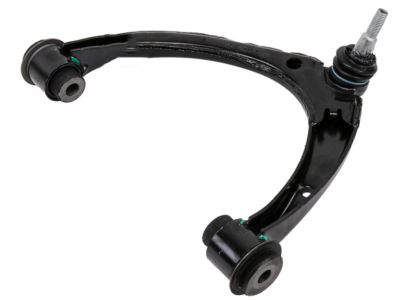
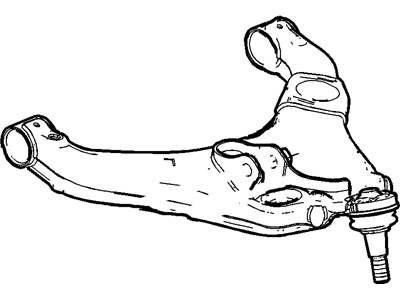
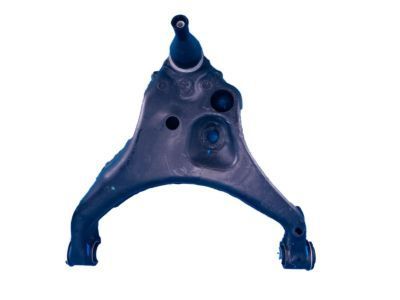
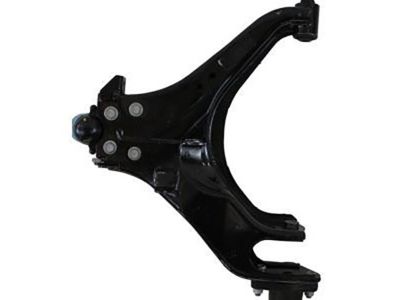
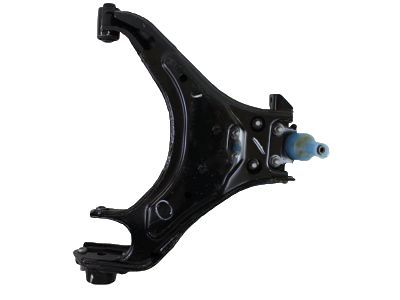
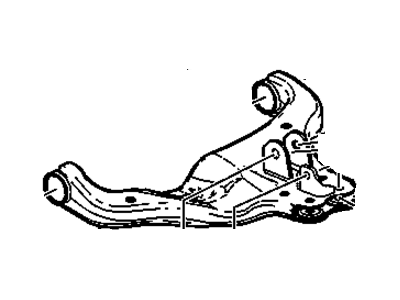
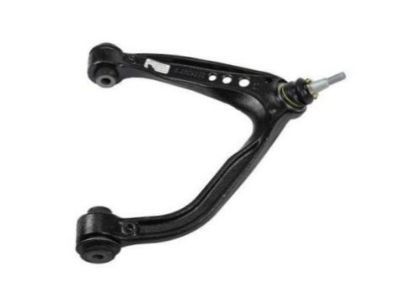
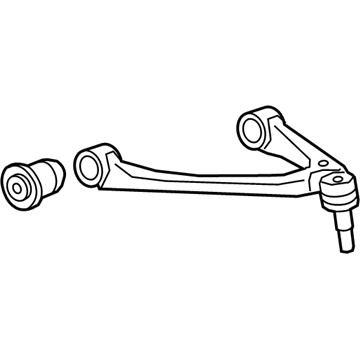
Chevrolet Colorado Front Upper Control Arm Assembly
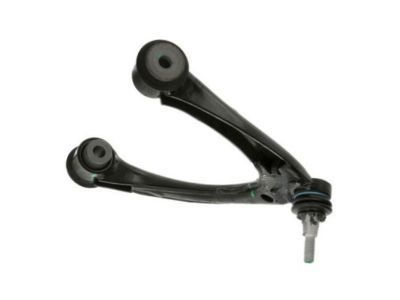
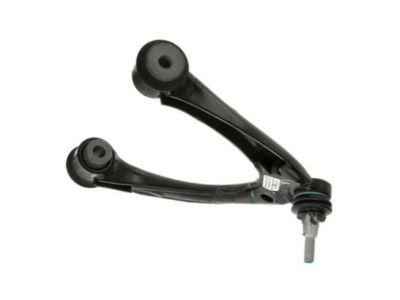
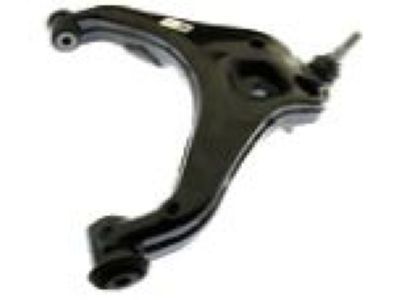
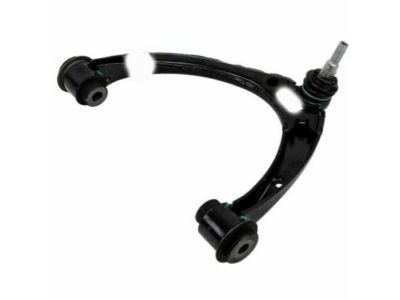
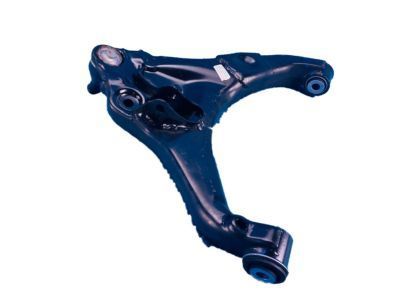
Part Number: 94772427$110.40 MSRP: $188.77You Save: $78.37 (42%)Ships in 1-3 Business DaysChevrolet Colorado Front Upper Control Arm Assembly
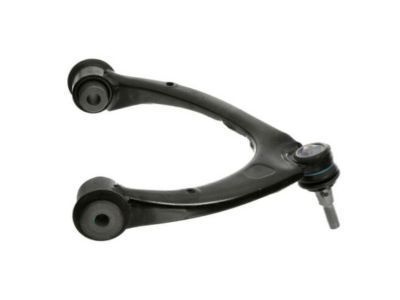
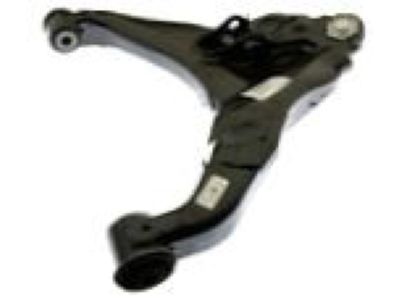
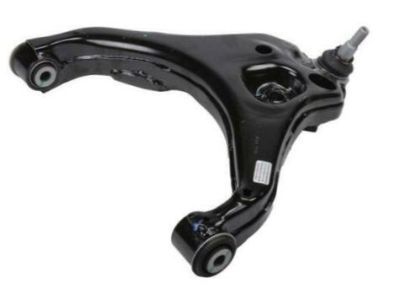
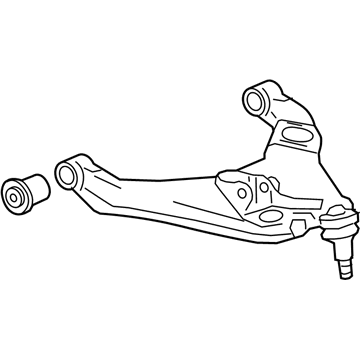
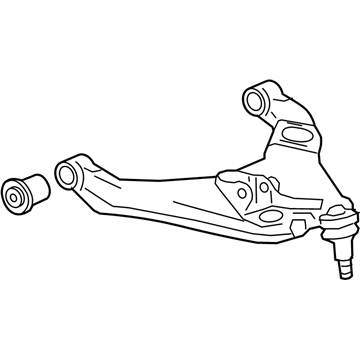
Part Number: 94772428$131.91 MSRP: $225.56You Save: $93.65 (42%)Ships in 1-3 Business DaysChevrolet Colorado Front Lower Control Arm Assembly
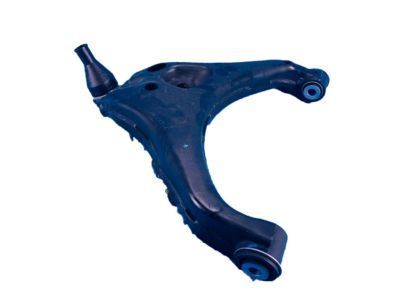
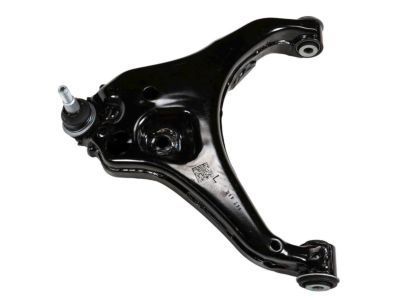
Part Number: 23490292$167.43 MSRP: $286.28You Save: $118.85 (42%)Ships in 1-3 Business DaysChevrolet Colorado Front Lower Control Arm Assembly
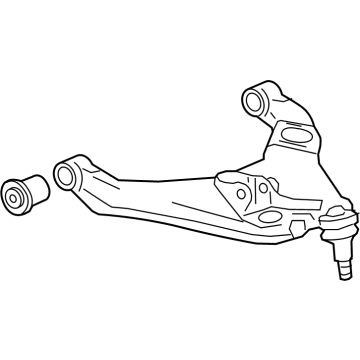
Part Number: 23490293$167.43 MSRP: $286.29You Save: $118.86 (42%)Ships in 1-3 Business DaysChevrolet Colorado Front Lower Control Arm Assembly
Part Number: 23224319$121.67 MSRP: $206.25You Save: $84.58 (42%)Ships in 1-2 Business DaysChevrolet Colorado Front Lower Control Arm Assembly
Part Number: 23224320$120.61 MSRP: $206.25You Save: $85.64 (42%)Ships in 1-2 Business DaysChevrolet Colorado Front Lower Control Arm Assembly
Part Number: 15104113$299.40 MSRP: $403.49You Save: $104.09 (26%)Ships in 1-2 Business DaysChevrolet Colorado Front Upper Control Arm Assembly
Part Number: 84289013$131.50 MSRP: $224.85You Save: $93.35 (42%)Ships in 1-3 Business DaysChevrolet Colorado Front Lower Control Arm Assembly
Part Number: 84221675$223.94 MSRP: $382.93You Save: $158.99 (42%)Ships in 1-2 Business DaysChevrolet Colorado Front Lower Control Arm Assembly
Part Number: 84221676$240.10 MSRP: $382.93You Save: $142.83 (38%)Ships in 1-2 Business DaysChevrolet Colorado Front Lower Control Arm Assembly
Part Number: 15104114$757.93 MSRP: $887.48You Save: $129.55 (15%)Ships in 1-2 Business DaysChevrolet Colorado Front Upper Control Arm Assembly
Part Number: 84289012$131.50 MSRP: $224.85You Save: $93.35 (42%)Chevrolet Colorado Front Upper Control Arm Assembly
Part Number: 15104111$161.36 MSRP: $251.64You Save: $90.28 (36%)Ships in 1-2 Business DaysChevrolet Colorado ARM ASM-FRT UPR CONT
Part Number: 84589361$66.15 MSRP: $105.51You Save: $39.36 (38%)Ships in 1-2 Business DaysChevrolet Colorado Front Lower Control Arm Assembly
Part Number: 84589349$86.73 MSRP: $143.54You Save: $56.81 (40%)Ships in 1-2 Business DaysChevrolet Colorado ARM ASM-FRT UPR CONT
Part Number: 86828158$60.78 MSRP: $100.58You Save: $39.80 (40%)Ships in 1-2 Business DaysChevrolet Colorado ARM ASM-FRT UPR CONT
Part Number: 84589362$66.15 MSRP: $105.51You Save: $39.36 (38%)Chevrolet Colorado ARM ASM-FRT UPR CONT
Part Number: 86828159$64.78 MSRP: $103.31You Save: $38.53 (38%)Ships in 1-2 Business DaysChevrolet Colorado Front Lower Control Arm Assembly
Part Number: 84589350$86.73 MSRP: $143.54You Save: $56.81 (40%)Ships in 1-2 Business DaysChevrolet Colorado Front Lower Control Arm Assembly
Part Number: 84589353$92.32 MSRP: $152.80You Save: $60.48 (40%)Ships in 1-2 Business Days
| Page 1 of 2 |Next >
1-20 of 28 Results
Chevrolet Colorado Control Arm
Control Arm of Chevrolet Colorado vehicles is responsible for the connection of the chassis to the wheel hub while supporting the wheels in an upright position. Usually used as swinging wishbone links, Chevrolet Colorado control arms are usually attached to the chassis using rubber bearings whereby their motion is regulated by radius rods. While these control arms are essentially the lower control arm of suspension setups they might occasionally be used as the upper control arm. Chevrolet Colorado models equipped with MacPherson strut suspensions have control arms arranged with orientation across the car's axle, the modern designs include separate radius rods and anti-roll bars to improve the car's steadiness. This is because the general design of the control arm enables it to handle suspension loads and translate motion of the wheel to springs or struts, a pivotal influence to vehicle performance. Changes in the control arm throughout the years may entail differences in its layout but its primary function to provide support to the vehicle's suspension system has not changed to this day in different Chevrolet Colorado models.
Each OEM Chevrolet Colorado Control Arm we offer is competitively priced and comes with the assurance of the manufacturer's warranty for the part. Furthermore, we guarantee the speedy delivery of your orders right to your doorstep. Our hassle-free return policy is also in place for your peace of mind.
Chevrolet Colorado Control Arm Parts Questions & Experts Answers
- Q: How to remove the lower control arm on Chevrolet Colorado?A:To remove the lower control arm, first loosen the wheel lug nuts, raise the vehicle, and securely support it on jackstands placed under the frame rails before removing the wheel. Next, disconnect the stabilizer bar link from the lower control arm, and for 4WD models, remove the Torsion Bar. Detach the Shock Absorber from the lower control arm, and if working on a 4WD model, remove the Steering Knuckle. To free the lower control arm balljoint stud from the steering knuckle, loosen the balljoint nut a few turns without removing it, then use a balljoint remover to break the balljoint loose from the knuckle, followed by removing the nut. If working on a 2WD model, mark the positions of the adjustment cams to the frame. Remove the lower control arm pivot bolts and nuts, noting the installation direction of the bolts, then pull the lower control arm from its frame brackets, slipping the balljoint stud out of the steering knuckle. For installation, reverse the removal steps, aligning the marks made on the adjustment cams and the frame for 2WD models, and ensure all fasteners are tightened to the specified torque values. Finally, install the wheel and lug nuts, lower the vehicle, tighten the lug nuts to the torque, and have the front end alignment checked and adjusted if necessary.
Related Chevrolet Colorado Parts
Browse by Year
2024 Control Arm 2023 Control Arm 2022 Control Arm 2021 Control Arm 2020 Control Arm 2019 Control Arm 2018 Control Arm 2017 Control Arm 2016 Control Arm 2015 Control Arm 2012 Control Arm 2011 Control Arm 2010 Control Arm 2009 Control Arm 2008 Control Arm 2007 Control Arm 2006 Control Arm 2005 Control Arm 2004 Control Arm
