My Garage
My Account
Cart
Genuine Chevrolet Colorado Rack And Pinion
Steering Rack And Pinion- Select Vehicle by Model
- Select Vehicle by VIN
Select Vehicle by Model
orMake
Model
Year
Select Vehicle by VIN
For the most accurate results, select vehicle by your VIN (Vehicle Identification Number).
20 Rack And Pinions found
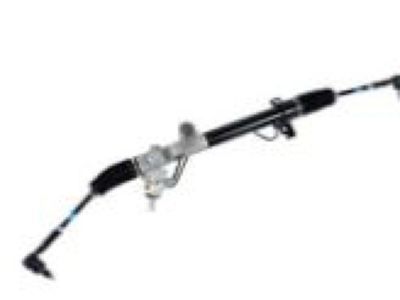
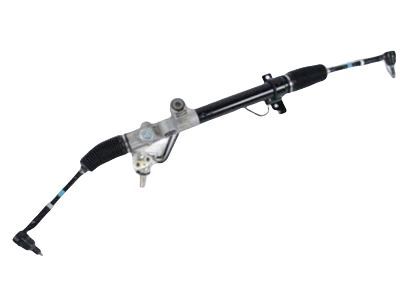
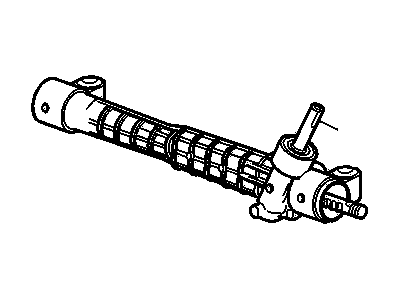
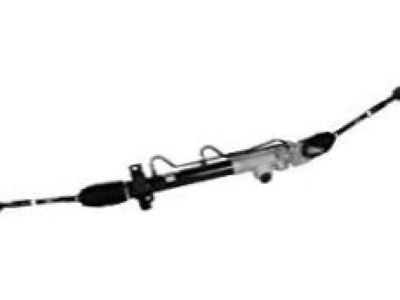
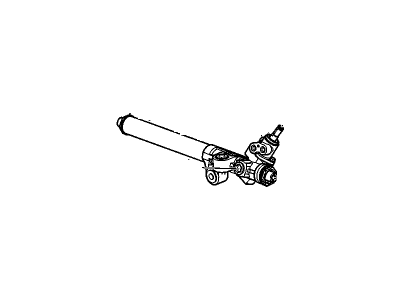
Chevrolet Colorado Gear Assembly, Steering (W/ Steering Linkage Tie Rod)
Part Number: 25912269$487.12 MSRP: $949.56You Save: $462.44 (49%)Chevrolet Colorado Gear Assembly, Steering (W/ Steering Linkage Tie Rod)
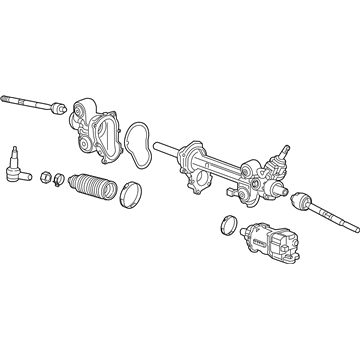
Part Number: 15951338$453.59 MSRP: $782.48You Save: $328.89 (43%)Ships in 1-2 Business DaysChevrolet Colorado Electric Belt Drive Rack and Pinion Steering Gear Assembly
Part Number: 84670808$1085.18 MSRP: $1519.91You Save: $434.73 (29%)Chevrolet Colorado Electric Belt Drive Rack and Pinion Steering Gear Assembly
Part Number: 84670807$989.97 MSRP: $1940.65You Save: $950.68 (49%)Ships in 1-2 Business DaysChevrolet Colorado Electric Belt Drive Rack and Pinion Steering Gear Assembly
Part Number: 84670798$1243.99 MSRP: $1732.12You Save: $488.13 (29%)Ships in 1-3 Business DaysChevrolet Colorado Electric Belt Drive Rack and Pinion Steering Gear Assembly
Part Number: 84670804$1018.28 MSRP: $1417.82You Save: $399.54 (29%)Ships in 1-3 Business DaysChevrolet Colorado Electric Belt Drive Rack and Pinion Steering Gear Assembly
Part Number: 84670803$1280.40 MSRP: $1658.80You Save: $378.40 (23%)Ships in 1-3 Business DaysChevrolet Colorado Gear Assembly, Steering (W/ Steering Linkage Tie Rod)
Part Number: 25817574$490.84 MSRP: $956.80You Save: $465.96 (49%)Ships in 1-2 Business DaysChevrolet Colorado Electric Belt Drive Rack and Pinion Steering Gear Assembly
Part Number: 84670794$1206.86 MSRP: $1622.26You Save: $415.40 (26%)Ships in 1-3 Business DaysChevrolet Colorado F (S) Gear
Part Number: 86580151$879.62 MSRP: $1181.23You Save: $301.61 (26%)Ships in 1-2 Business DaysChevrolet Colorado F (S) Gear
Part Number: 86580150$947.99 MSRP: $1273.37You Save: $325.38 (26%)Ships in 1-2 Business DaysChevrolet Colorado GEAR ASM,ELEC BELT DRV RACK & PINION STRG
Part Number: 86544642$965.34 MSRP: $1296.75You Save: $331.41 (26%)Ships in 1-2 Business DaysChevrolet Colorado GEAR ASM,ELEC BELT DRV RACK & PINION STRG
Part Number: 86544643$965.34 MSRP: $1296.75You Save: $331.41 (26%)Ships in 1-2 Business DaysChevrolet Colorado Electric Belt Drive Rack and Pinion Steering Gear Assembly
Part Number: 84670795$1047.00 MSRP: $1349.49You Save: $302.49 (23%)Chevrolet Colorado Electric Belt Drive Rack and Pinion Steering Gear Assembly
Part Number: 84670810$1080.57 MSRP: $1950.09You Save: $869.52 (45%)
Chevrolet Colorado Rack And Pinion
The Rack And Pinion in Chevrolet Colorado is one of the components of your car that enables turning movements and change the rotational motion of the steering wheel into the lateral motion of the front wheels. Known for its efficiency and effectiveness in its mechanical functionality is the rack and pinion steering system which comprises of a pinion gear fixed to the steering column and a rack gear which lies within a metal tube and is used to translate the motion of the steering wheel to that of the wheels. Chevrolet Colorado models mostly incorporate power assisted rack and pinion steering systems in that the steering ease is boosted through use of hydraulic pressure. Previous vehicle designs used a manual rack but this modern Colorado designs use a hydraulic system that may have related problems like leakages or damaged gears which may require replacement of the Rack And Pinion assembly. Distinctions related to the shape of the racks can be made, and the utilised helical gears can be straight despite the fact that helical ones are theoretically more efficient but carry higher wear rates. Altogether, the Rack And Pinion is crucial for an appropriate path of a car and is used in Chevrolet Colorado automobiles.
Each OEM Chevrolet Colorado Rack And Pinion we offer is competitively priced and comes with the assurance of the manufacturer's warranty for the part. Furthermore, we guarantee the speedy delivery of your orders right to your doorstep. Our hassle-free return policy is also in place for your peace of mind.
Chevrolet Colorado Rack And Pinion Parts Questions & Experts Answers
- Q: How to remove and install the rack and pinion on Chevrolet Colorado?A:Loosen the front wheel lug nuts, raise the front of the vehicle, and support it securely on jackstands while applying the parking brake before removing the wheels. Next, remove the under-vehicle splash shield, skid plate bolts, and the skid plate if equipped, followed by the rack and pinion crossmember. For 4WD models, remove the front differential housing. Mark the relationship of the intermediate shaft coupler to the rack and pinion input shaft and remove the pinch bolt. Detach the tie-rod ends from the Steering Knuckles. Position a drain pan under the rack and pinion, remove the bolt, and detach the pressure and return lines from the rack and pinion, capping the lines to prevent leakage. Unscrew the mounting nuts, remove the washers, and slide the bolts out to lower the rack and pinion from the vehicle, noting that there are two vertical bolts and two horizontal bolts securing it. Installation is the reverse of removal, ensuring all fasteners are tightened to the specified torque values, the wheel lug nuts are also tightened to the torque, and the power steering fluid level is checked and adjusted if necessary before bleeding the system.
Related Chevrolet Colorado Parts
Browse by Year
2024 Rack And Pinion 2023 Rack And Pinion 2022 Rack And Pinion 2021 Rack And Pinion 2020 Rack And Pinion 2019 Rack And Pinion 2018 Rack And Pinion 2017 Rack And Pinion 2016 Rack And Pinion 2015 Rack And Pinion 2012 Rack And Pinion 2011 Rack And Pinion 2010 Rack And Pinion 2009 Rack And Pinion 2008 Rack And Pinion 2007 Rack And Pinion 2006 Rack And Pinion 2005 Rack And Pinion 2004 Rack And Pinion
