My Garage
My Account
Cart
Genuine Chevrolet Corvette Oil Pan
Oil Drain Pan- Select Vehicle by Model
- Select Vehicle by VIN
Select Vehicle by Model
orMake
Model
Year
Select Vehicle by VIN
For the most accurate results, select vehicle by your VIN (Vehicle Identification Number).
14 Oil Pans found
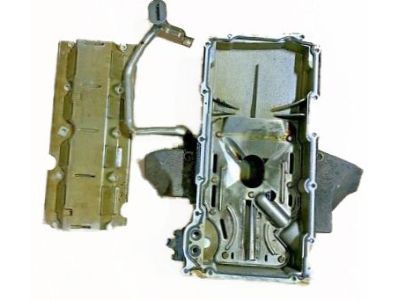
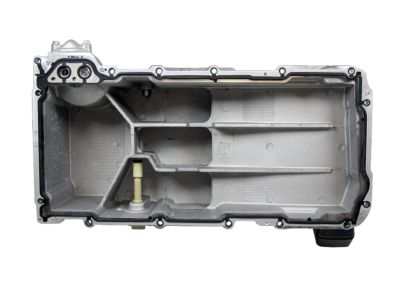
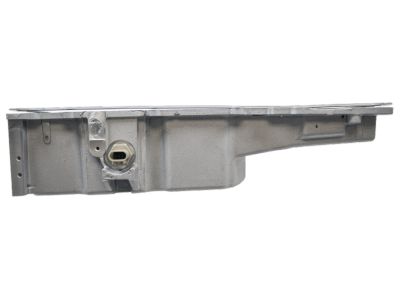
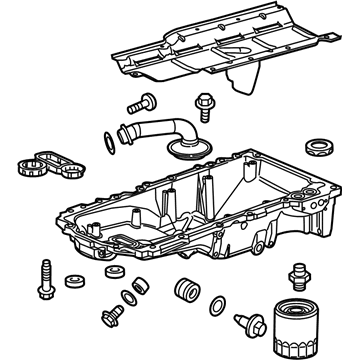
Chevrolet Corvette Oil Pan Assembly
Part Number: 12561828$1389.75 MSRP: $1804.88You Save: $415.13 (23%)Ships in 1-3 Business DaysChevrolet Corvette Oil Pan Assembly
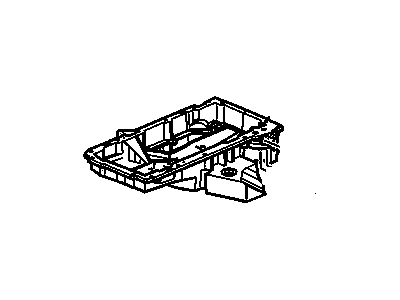
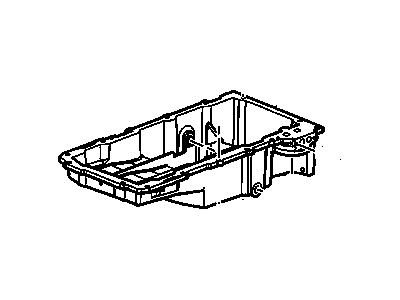
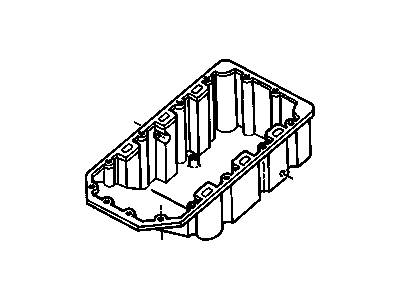
Part Number: 12695701$362.60 MSRP: $578.19You Save: $215.59 (38%)Ships in 1-3 Business DaysChevrolet Corvette PAN-A/TRNS FLUID
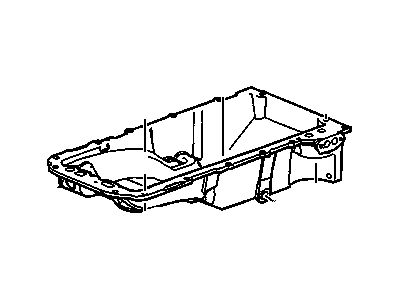
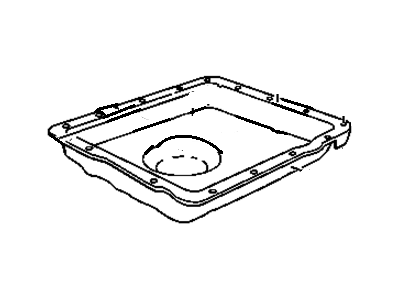
Part Number: 24046450$59.00 MSRP: $120.00You Save: $61.00 (51%)Ships in 1-3 Business DaysChevrolet Corvette PAN-A/TRNS FLUID
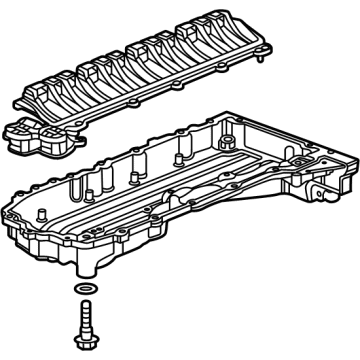
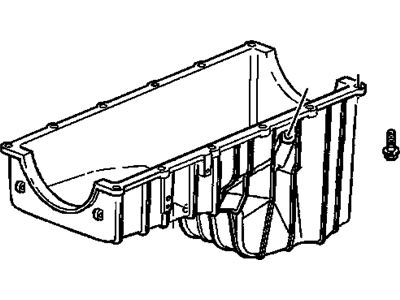
Part Number: 24048641$170.65 MSRP: $282.38You Save: $111.73 (40%)Ships in 1-3 Business DaysChevrolet Corvette Oil Pan Assembly
Part Number: 12624617$383.13 MSRP: $605.54You Save: $222.41 (37%)Chevrolet Corvette Pan Assembly, Oil
Part Number: 12664619$517.59 MSRP: $821.42You Save: $303.83 (37%)Chevrolet Corvette Oil Pan Assembly
Part Number: 12696686$541.14 MSRP: $858.79You Save: $317.65 (37%)Chevrolet Corvette Oil Pan Assembly
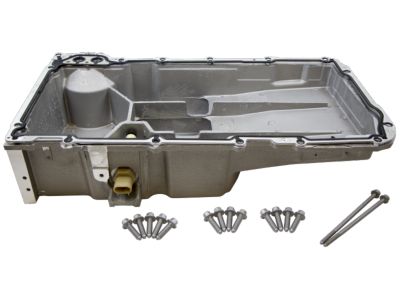
Part Number: 12696685$611.10 MSRP: $969.82You Save: $358.72 (37%)Chevrolet Corvette Pan Kit,Automatic Transmission Oil (Deep Sump W/Gasket, Mgnt, Door Plug)
Part Number: 24208593
Chevrolet Corvette Oil Pan
The Oil Pan is an important chamber of Chevrolet Corvette automobile or any other automobile that helps in effective storing of the lubricant oil as well as assists in the process of lubrication, heat dissipation and washing of its components. Located at the bottom of the motor, Oil Pan stores from four to eight quarts of oil to avoid leakage from the oiling system. Chevrolet Corvette models have had different styles of Oil Pan over the years, use for example the wet sump style. Nonetheless, for performance oriented application the dry sump system of oil circulation where scavenge pumps and swirl tank is adopted to ensure constant availability of oil during high performance or cornering maneuvers. This design also aides in eliminating Oil Starvation problems which are common in standard Oil Pan models including the C5 Corvette which has noted problems in this area.
Each OEM Chevrolet Corvette Oil Pan we offer is competitively priced and comes with the assurance of the manufacturer's warranty for the part. Furthermore, we guarantee the speedy delivery of your orders right to your doorstep. Our hassle-free return policy is also in place for your peace of mind.
Chevrolet Corvette Oil Pan Parts Questions & Experts Answers
- Q: How to remove and install an oil pan on Chevrolet Corvette?A:To take out the oil pan, clockwise turn the right front wheel lug nuts, then lift the car and support it using jacks and put it on stands; then, unbolt the wheel. Loosen the cable from the negative battery terminal, now open the hood and unbolt the hood stop bracket-to-oil pan from the right side of the compartment. Put labels to the PCV tubes to the oil pan connection points, unscrew the quick connect couplers on the tubes, and pull the tubes off from the top of the oil pan. Suction the engine oil, and then disconnect the right-front inner fender splash shield. Remove the oil temperature sensor from the top of the oil pan side of the oil pan and take off the electrical connector. Put a small drain pan under the oil hoses at the bottom of the oil pan, take off the inlet and outlet oil hose to pan bolts and pull back the hoses to free them from the oil pan, there will be spilling of oil so one needs to have rags or newspaper ready and would also prefer to wear rubber gloves. Pour the oil out from the hoses into the container and dispose off the hose O-rings. Take out the oil pan mounting bolts and lower the pan by bringing it down through the inner fender cut out. For installation, align the inner fender opening and insert the oil pan into it till the starting of the lower bracket bolts into the frame can be made, then torque the oil pan lower bracket to frame bolts. If the hoses are to be mounted on the oil pan clean the mounting surfaces of the hoses and the O-ring surfaces with a cloth soaked in lacquer thinner, acetone or brake system cleaner. I made another O-ring and fitted the outlet hose on the pan and tightened the mounting bolt up to the right torque of the oxy. Do the same with the inlet hose again, having a new member of the rubber O-ring. Perform all the remove steps in a reverse manner, add the engine oil, start the engine, check for any leakage and drive the automobile.
Related Chevrolet Corvette Parts
Browse by Year
2024 Oil Pan 2023 Oil Pan 2022 Oil Pan 2021 Oil Pan 2020 Oil Pan 2019 Oil Pan 2018 Oil Pan 2017 Oil Pan 2016 Oil Pan 2015 Oil Pan 2014 Oil Pan 2013 Oil Pan 2012 Oil Pan 2011 Oil Pan 2010 Oil Pan 2009 Oil Pan 2008 Oil Pan 2007 Oil Pan 2006 Oil Pan 2005 Oil Pan 2004 Oil Pan 2003 Oil Pan 2002 Oil Pan 2001 Oil Pan 2000 Oil Pan 1999 Oil Pan 1998 Oil Pan 1997 Oil Pan 1996 Oil Pan 1995 Oil Pan 1994 Oil Pan 1993 Oil Pan 1992 Oil Pan 1991 Oil Pan 1990 Oil Pan 1989 Oil Pan 1988 Oil Pan 1987 Oil Pan 1986 Oil Pan 1985 Oil Pan 1984 Oil Pan
