My Garage
My Account
Cart
Genuine Chevrolet Cruze Engine Mount
Engine Motor Mount- Select Vehicle by Model
- Select Vehicle by VIN
Select Vehicle by Model
orMake
Model
Year
Select Vehicle by VIN
For the most accurate results, select vehicle by your VIN (Vehicle Identification Number).
17 Engine Mounts found
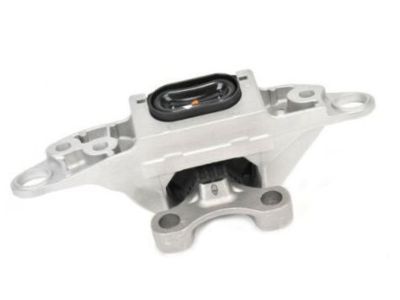
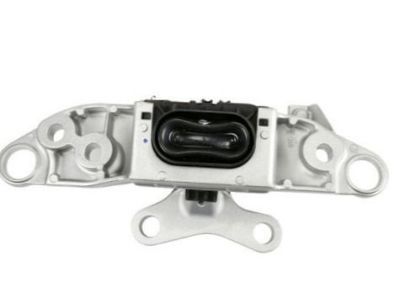
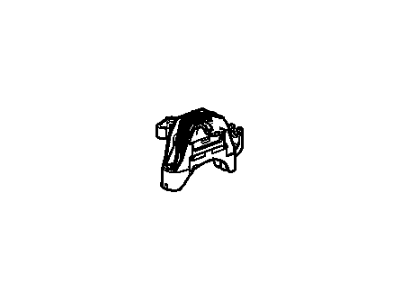
Chevrolet Cruze Mount, Engine
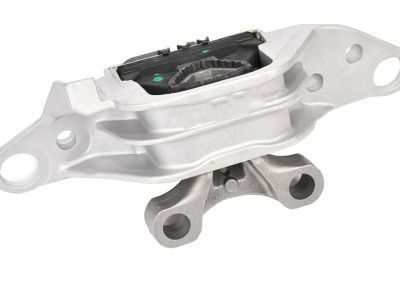
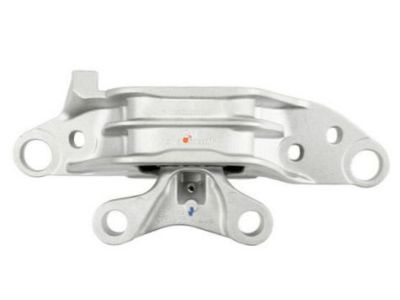
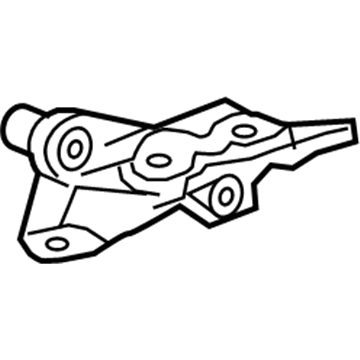
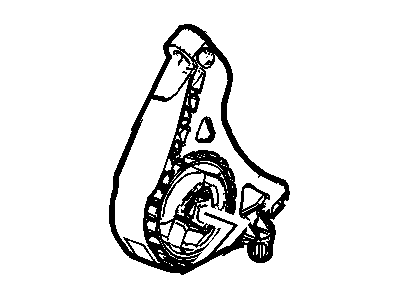
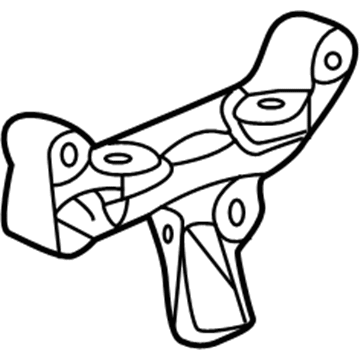
Part Number: 39117686$84.93 MSRP: $140.56You Save: $55.63 (40%)Ships in 1-3 Business DaysChevrolet Cruze Bracket, Engine Mount
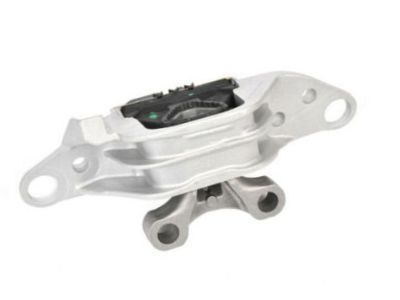
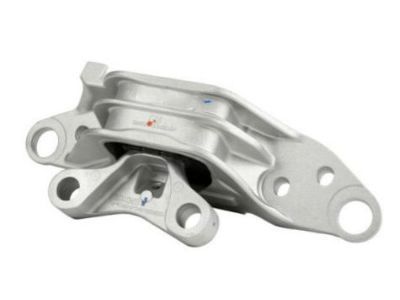
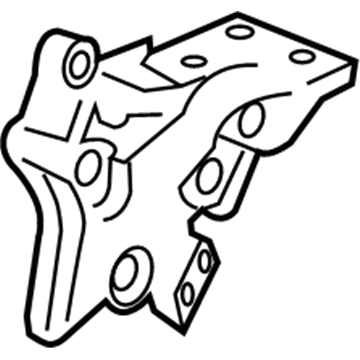
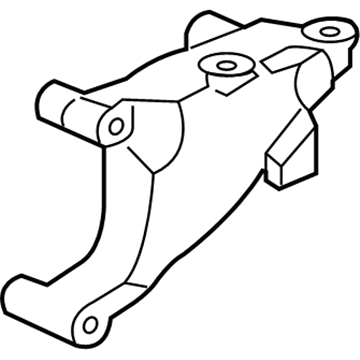
Part Number: 13248477$45.48 MSRP: $78.45You Save: $32.97 (43%)Ships in 1-3 Business DaysChevrolet Cruze Bracket, Engine Mount
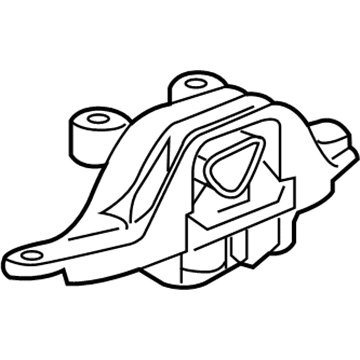
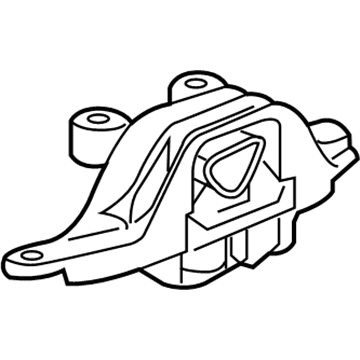
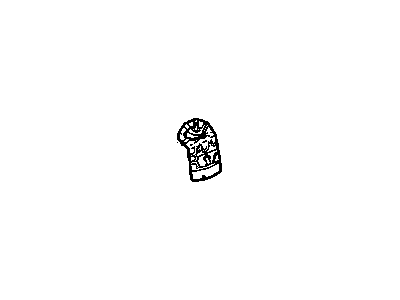
Part Number: 13248511$49.52 MSRP: $84.68You Save: $35.16 (42%)Chevrolet Cruze Bracket,Engine Mount
Part Number: 55568811$63.93 MSRP: $101.96You Save: $38.03 (38%)Ships in 1-3 Business DaysChevrolet Cruze Engine Mount Assembly
Part Number: 13347453$105.50 MSRP: $181.98You Save: $76.48 (43%)Ships in 1-2 Business DaysChevrolet Cruze Engine Mount Assembly
Part Number: 13347455$111.93 MSRP: $191.38You Save: $79.45 (42%)Ships in 1-2 Business DaysChevrolet Cruze Mount,Trans Front
Part Number: 13227766$274.15 MSRP: $394.22You Save: $120.07 (31%)Ships in 1-2 Business DaysChevrolet Cruze Engine Mount Bracket
Part Number: 13386906$84.11 MSRP: $139.17You Save: $55.06 (40%)Ships in 1-3 Business DaysChevrolet Cruze Engine Mount
Part Number: 39096915$75.33 MSRP: $124.68You Save: $49.35 (40%)Ships in 1-3 Business DaysChevrolet Cruze Support Assembly, Engine Mount
Part Number: 13335076$12.77 MSRP: $20.09You Save: $7.32 (37%)Ships in 1-3 Business DaysChevrolet Cruze Engine Mount Bracket
Part Number: 39014382$71.76 MSRP: $112.91You Save: $41.15 (37%)Ships in 1-3 Business DaysChevrolet Cruze Bracket,Engine Lift Front. Exhaust Mani LH
Part Number: 55486211$11.52 MSRP: $18.12You Save: $6.60 (37%)Ships in 1-3 Business DaysChevrolet Cruze Bracket,Engine Lift Rear. Intake Mani.
Part Number: 55486227$14.19 MSRP: $22.35You Save: $8.16 (37%)Ships in 1-3 Business DaysChevrolet Cruze Engine Mount Bracket
Part Number: 13386905$78.37 MSRP: $123.30You Save: $44.93 (37%)Ships in 1-3 Business DaysChevrolet Cruze Engine Mount Assembly
Part Number: 13402248$103.38 MSRP: $162.69You Save: $59.31 (37%)Chevrolet Cruze Bracket, Engine Mount
Part Number: 13248510$42.59 MSRP: $67.01You Save: $24.42 (37%)
Chevrolet Cruze Engine Mount
Each OEM Chevrolet Cruze Engine Mount we offer is competitively priced and comes with the assurance of the manufacturer's warranty for the part. Furthermore, we guarantee the speedy delivery of your orders right to your doorstep. Our hassle-free return policy is also in place for your peace of mind.
Chevrolet Cruze Engine Mount Parts Questions & Experts Answers
- Q: How should engine mounts be checked and replaced to prevent damage to driveline components on Chevrolet Cruze?A:Engine mounts seldom require attention, but broken or deteriorated mounts should be replaced immediately to prevent damage or wear on driveline components. To check the mounts, raise the engine slightly to remove the weight from them, supporting the vehicle securely on jackstands and using a jack with a block of wood under the Oil Pan. Inspect the mounts for cracks, hardened rubber, or separation from the bushing, and check for relative movement between the mount and the engine or frame, tightening fasteners if movement is noted. When replacing a mount, disconnect the negative battery cable, and if necessary, remove components like the air filter housing or battery tray. Raise the vehicle securely on jackstands, then use a block of wood to support the engine or transaxle while taking the weight off the mounts. It is important not to disconnect more than one mount at a time unless the engine will be removed. Remove the fasteners holding the mount to the bracket, and installation is the reverse of removal. Before tightening the mounting bolts, ensure the engine/transaxle assembly is aligned and balanced in weight distribution among the mounts. Support the engine and transaxle with floor jacks, loosening the necessary bolts to create a 1/4-inch gap between the mounts and their brackets. Center the front and rear transaxle mounts in their brackets, then tighten the bolts to the specified torque. After lowering the floor jacks and raising the vehicle securely on jackstands, shake the engine and transaxle back and forth, tightening the transaxle rear through-bolt followed by the front through-bolt in that order. Finally, install the under-vehicle splash shield and reconnect the battery.
