My Garage
My Account
Cart
Genuine Chevrolet Express Control Arm
Suspension Arm- Select Vehicle by Model
- Select Vehicle by VIN
Select Vehicle by Model
orMake
Model
Year
Select Vehicle by VIN
For the most accurate results, select vehicle by your VIN (Vehicle Identification Number).
17 Control Arms found
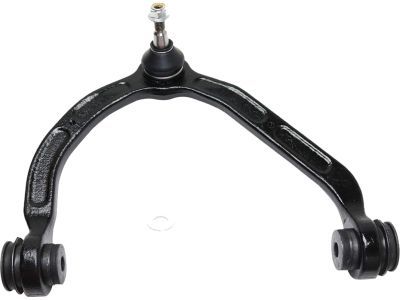
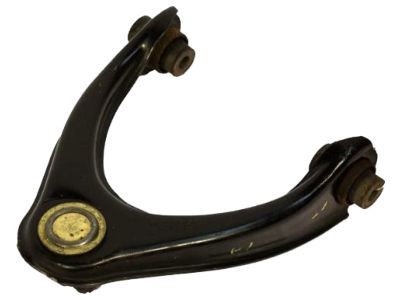
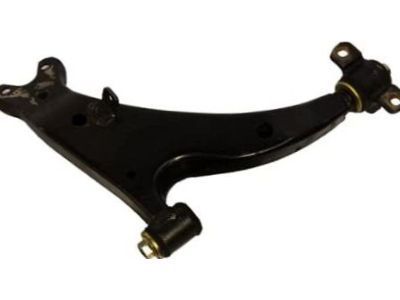
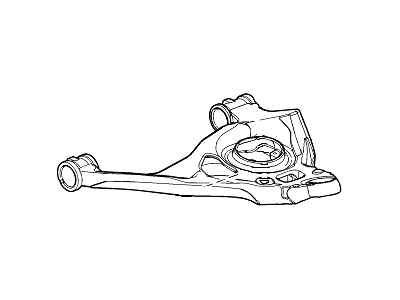
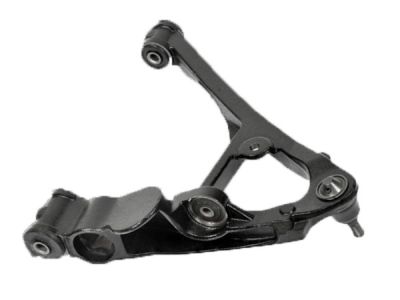
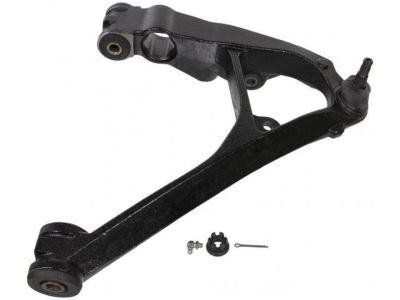
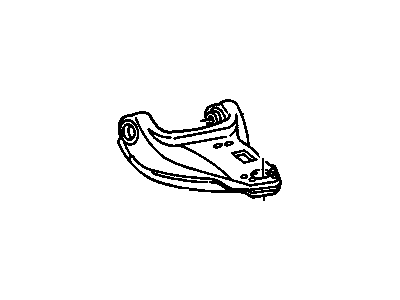
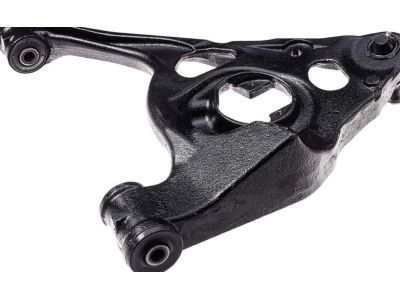
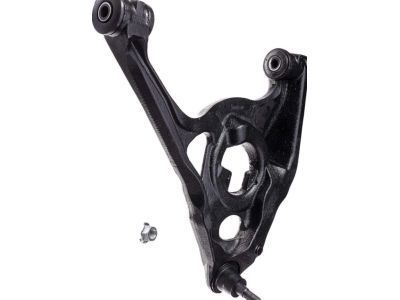
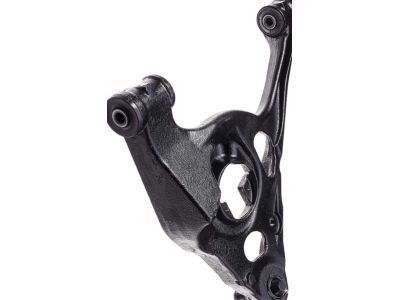
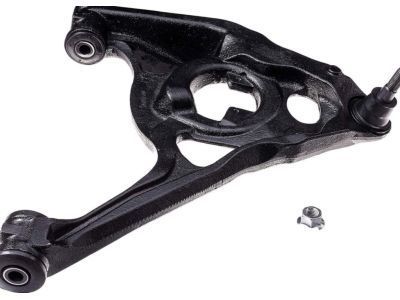
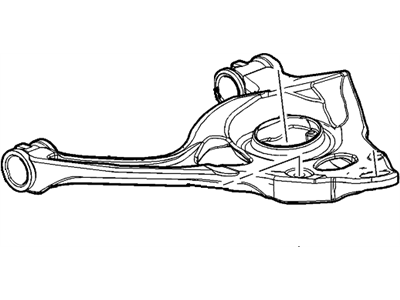
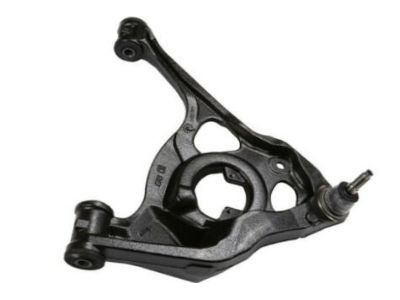
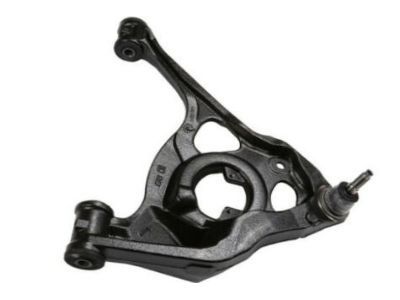
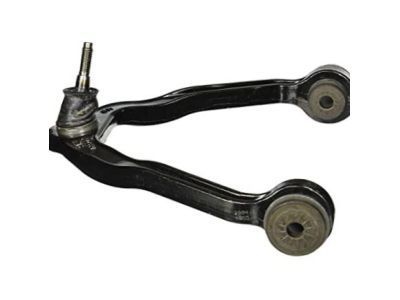
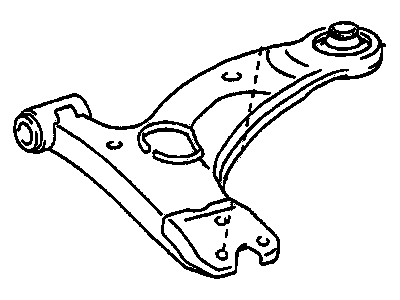
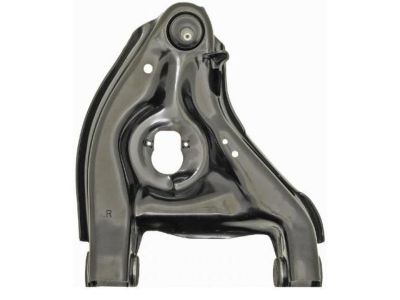
Chevrolet Express Front Upper Control Arm Assembly
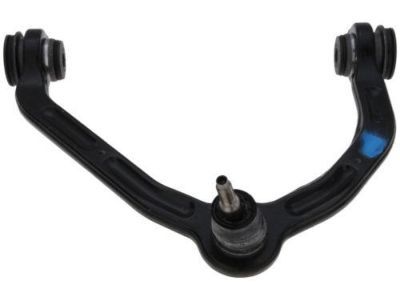
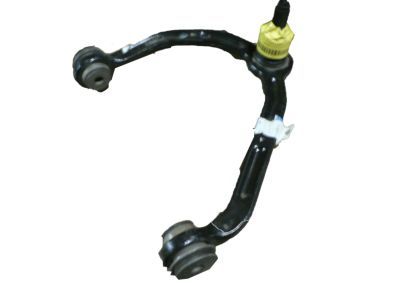
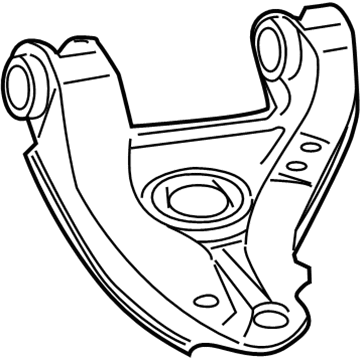
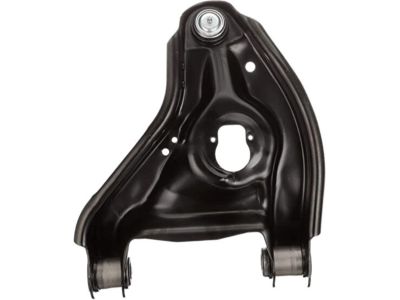
Part Number: 25793550$241.32 MSRP: $384.87You Save: $143.55 (38%)Ships in 1-2 Business DaysChevrolet Express Front Upper Control Arm Assembly
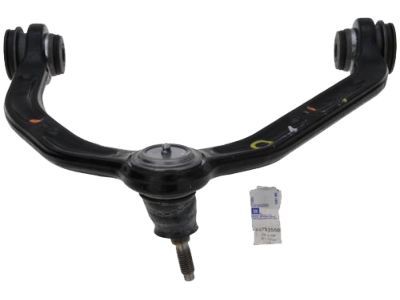
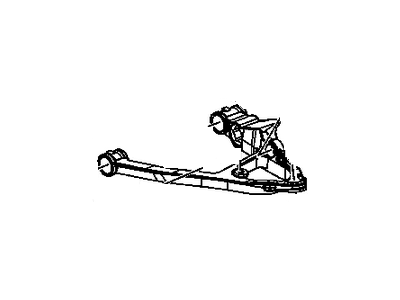
Part Number: 25793553$225.08 MSRP: $384.87You Save: $159.79 (42%)Ships in 1-2 Business DaysChevrolet Express Front Lower Control Arm Assembly
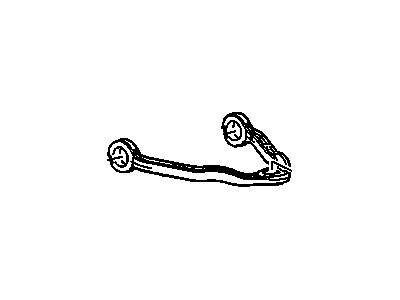
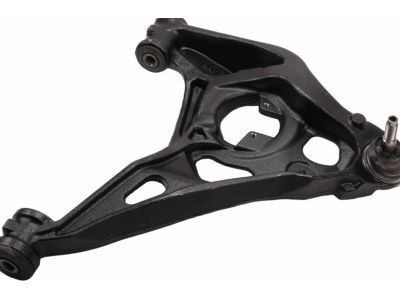
Part Number: 20869233$181.14 MSRP: $307.04You Save: $125.90 (41%)Ships in 1-2 Business DaysChevrolet Express Front Lower Control Arm Kit
Part Number: 12475479$288.52 MSRP: $460.16You Save: $171.64 (38%)Ships in 1-3 Business DaysChevrolet Express Front Lower Control Arm Kit
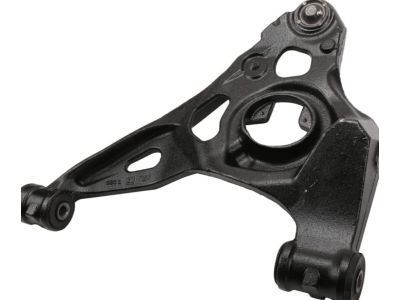
Part Number: 12475480$279.05 MSRP: $445.05You Save: $166.00 (38%)Ships in 1-3 Business DaysChevrolet Express Front Lower Control Arm Assembly
Part Number: 20869232$177.99 MSRP: $307.04You Save: $129.05 (43%)Chevrolet Express Front Upper Control Arm Assembly
Part Number: 23428569$80.50 MSRP: $196.11You Save: $115.61 (59%)Ships in 1-2 Business DaysChevrolet Express Front Upper Control Arm Kit (Lh)
Part Number: 12543997$190.38 MSRP: $336.60You Save: $146.22 (44%)Chevrolet Express Front Lower Control Arm Kit
Part Number: 19416906$384.91 MSRP: $637.05You Save: $252.14 (40%)Ships in 1-2 Business DaysChevrolet Express Front Upper Control Arm Assembly
Part Number: 23428570$117.38 MSRP: $194.27You Save: $76.89 (40%)Ships in 1-2 Business Days
Chevrolet Express Control Arm
Each OEM Chevrolet Express Control Arm we offer is competitively priced and comes with the assurance of the manufacturer's warranty for the part. Furthermore, we guarantee the speedy delivery of your orders right to your doorstep. Our hassle-free return policy is also in place for your peace of mind.
Chevrolet Express Control Arm Parts Questions & Experts Answers
- Q: How to replace the upper and lower control arms on Chevrolet Express?A:To replace the upper control arm, start with the removal of the wheel by using tools of spanner to tighten and loosening the wheel lug nuts then lift the front of the car on jackstands and remove the wheel. Place the floor jack underneath the outer end of the lower control arm and lift it somewhat in order to minimize the tension of the spring on the upper control arm; ensure that the jack stays in its position all through the process. Locate and number the position of the adjusting cams to the brackets of the frame, after that remove the bolts which join the brake hose bracket and wheel speed sensor harness with the upper control arm. REMOVE THE UPPER BALL JOINT FROM THE Steering Knuckle By removing the balljoint stud nut and after your git a special tool or an improvised component to push the stud out. It should be noted that the position of the upper control arm pivot bolts before they would be unbolted as well as the control arm should be noted. for installation, place the arm into the frame brackets, tighten in place the bolts and the nuts then align the marks drawn before and further tighten to the recommended torque. Perform the reverse process for installation, only if needed a new cotter pin to be fitted in the balljoint stud, and tighten all joints up to the Manufacturers specified torque values. If you cannot get at the nuts with the wheel on, approximate normal ride height by lifting the outer end of the lower control arm with a floor jack. Last, put the wheel with the lug nuts, drop the car, and then torque the lug nuts to the recommended pound force, then inspect and adjust the front end alignment if required. For the lower control arm on the other hand, one has to remove lunet bolts for the wheels, lift the car and steady it on two jackstands on the frame rails, then remove the wheel. On 2002 and earlier models you need to take off the brake disc, then the lower control arm outer shoulder has to be lifted with the help of a floor jack and the Shock Absorber has to be taken off. Temporarily remove the pressure on the upper spring seat by fitting an appropriate internal type spring compressor, and check wiggling of the spring. Remove the stabilizer bar from the lower control arm, if equipped with a cotter pin, then remove the cotter pin, and then loosen the nut on the lower ball joint stud but do not remove it. To remove the balljoint from the steering knuckle use a balljoint removal tool placing it properly at the right location. Raise the knuckle and hub assembly positioned a piece of wood between the upper control arm and frame to support the arm. Take the lower control arm downward and shove out the compressed coil spring, thereafter unscrew the bolts fixing the arm on frame and withdraw the lower arm from its position. For removal, reverse the procedures stated herein above and fit a new cotter pin in the ball joint stud if one is required and tighten all the fasteners to the recommended torque thereon. If you are unable to get at the nuts with the wheel on start by reproducing standard height by jacking up outer control arm of the lower one. Next, put on the wheel and the lugs nuts, then lower the vehicle, torque lugs nuts to the right setting, and inspect the front end alignment and correct if needed.
Related Chevrolet Express Parts
Browse by Year
2024 Control Arm 2023 Control Arm 2022 Control Arm 2021 Control Arm 2020 Control Arm 2019 Control Arm 2018 Control Arm 2017 Control Arm 2016 Control Arm 2015 Control Arm 2014 Control Arm 2013 Control Arm 2012 Control Arm 2011 Control Arm 2010 Control Arm 2009 Control Arm 2008 Control Arm 2007 Control Arm 2006 Control Arm 2005 Control Arm 2004 Control Arm 2003 Control Arm 2002 Control Arm 2001 Control Arm 2000 Control Arm 1999 Control Arm 1998 Control Arm 1997 Control Arm 1996 Control Arm
