My Garage
My Account
Cart
Genuine Chevrolet Express Engine Mount
Engine Motor Mount- Select Vehicle by Model
- Select Vehicle by VIN
Select Vehicle by Model
orMake
Model
Year
Select Vehicle by VIN
For the most accurate results, select vehicle by your VIN (Vehicle Identification Number).
36 Engine Mounts found
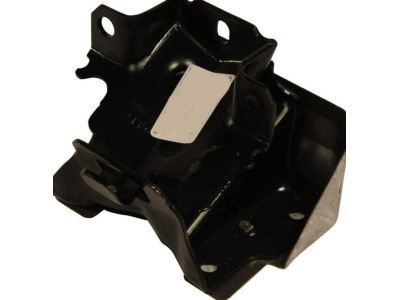
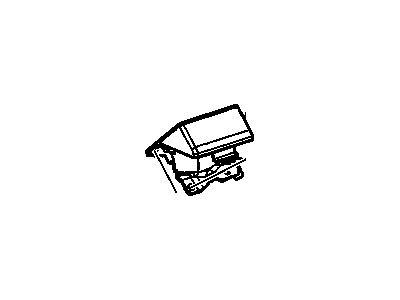
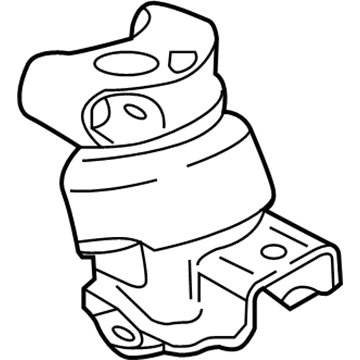
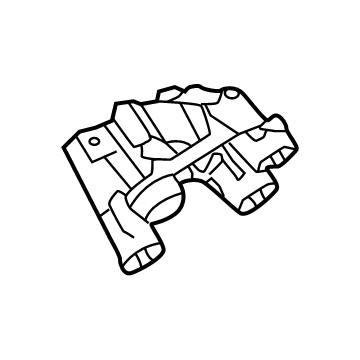
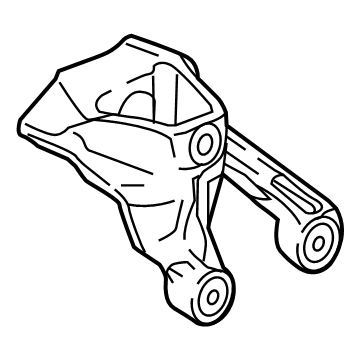
Chevrolet Express Engine Mount Assembly
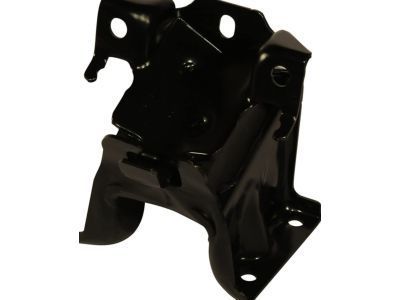
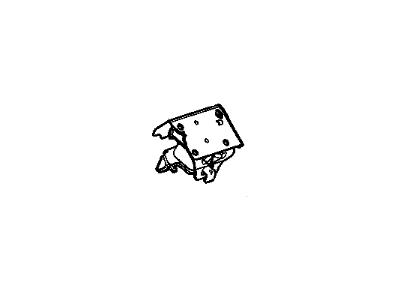
Part Number: 21998157$102.24 MSRP: $176.37You Save: $74.13 (43%)Chevrolet Express Engine Mount Bracket
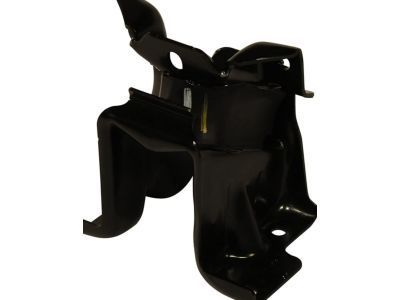
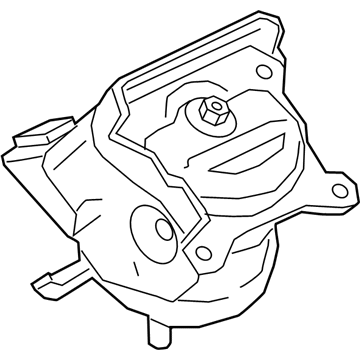
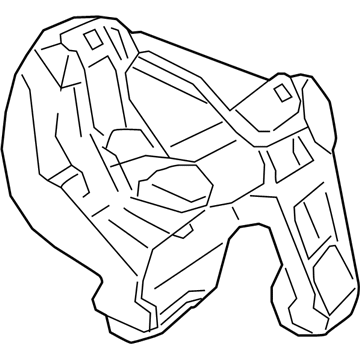
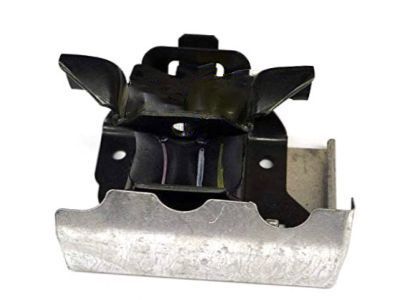
Part Number: 15027096$11.69 MSRP: $15.43You Save: $3.74 (25%)Ships in 1-2 Business DaysChevrolet Express Engine Mount Assembly
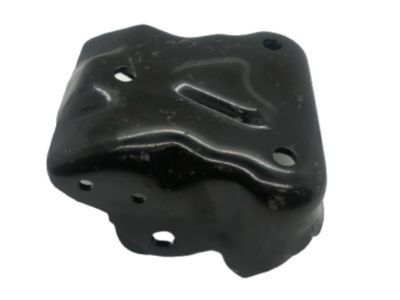
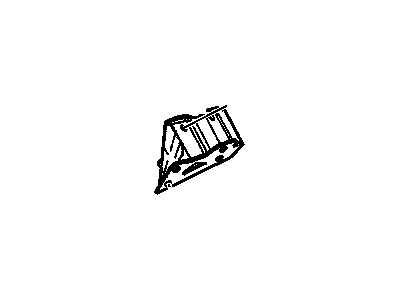
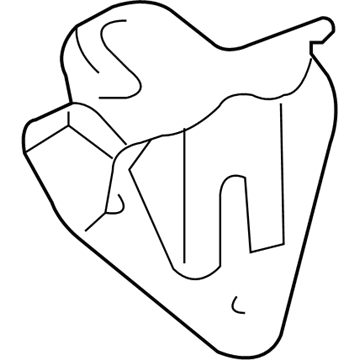
Part Number: 25879094$103.98 MSRP: $179.37You Save: $75.39 (43%)Ships in 1-2 Business DaysChevrolet Express Bracket, Engine Mount Frame Side
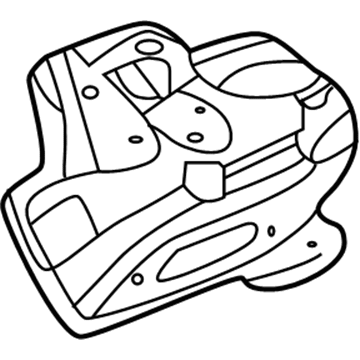
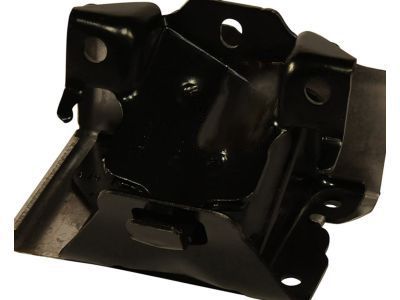
Part Number: 84255038$49.69 MSRP: $100.21You Save: $50.52 (51%)Ships in 1-2 Business DaysChevrolet Express Engine Mount Assembly
Part Number: 25863822$112.84 MSRP: $192.95You Save: $80.11 (42%)Chevrolet Express Engine Mount Assembly
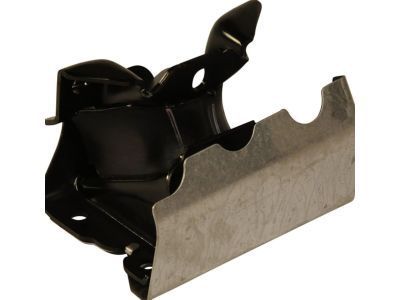
Part Number: 84118702$88.22 MSRP: $146.02You Save: $57.80 (40%)Chevrolet Express Engine Mount Assembly
Part Number: 84979743$64.80 MSRP: $103.33You Save: $38.53 (38%)Chevrolet Express Engine Mount
Part Number: 23349745$71.77 MSRP: $122.74You Save: $50.97 (42%)Ships in 1-3 Business DaysChevrolet Express Mount, Engine
Part Number: 23349746$71.77 MSRP: $122.74You Save: $50.97 (42%)Ships in 1-3 Business DaysChevrolet Express Bracket, Engine Mount Frame Side
Part Number: 20886359$114.04 MSRP: $181.86You Save: $67.82 (38%)Ships in 1-3 Business DaysChevrolet Express Bracket, Engine Mount Frame Side
Part Number: 20886358$118.59 MSRP: $187.46You Save: $68.87 (37%)Ships in 1-3 Business DaysChevrolet Express Bracket, Eng Mt Frm Si
Part Number: 84894713$92.62 MSRP: $145.73You Save: $53.11 (37%)Ships in 1-3 Business DaysChevrolet Express BRACKET-ENG MT FRM SI
Part Number: 84382617$127.34 MSRP: $201.28You Save: $73.94 (37%)Ships in 1-3 Business DaysChevrolet Express Bracket, Engine Mount Frame Side
Part Number: 15107374$116.37 MSRP: $183.92You Save: $67.55 (37%)Ships in 1-3 Business DaysChevrolet Express Bracket,Engine Mount Engine Side
Part Number: 25758852$27.92 MSRP: $43.93You Save: $16.01 (37%)Ships in 1-3 Business DaysChevrolet Express Bracket, Engine Mount Engine Side
Part Number: 23373843$71.54 MSRP: $112.56You Save: $41.02 (37%)Ships in 1-3 Business DaysChevrolet Express Bracket, Eng Mt Frm Si
Part Number: 84894712$79.10 MSRP: $124.44You Save: $45.34 (37%)Ships in 1-3 Business DaysChevrolet Express Bracket, Eng Mt Frm Si
Part Number: 84382620$123.67 MSRP: $195.46You Save: $71.79 (37%)Ships in 1-3 Business DaysChevrolet Express Bracket, Engine Mount Frame Side
Part Number: 84255039$56.60 MSRP: $89.06You Save: $32.46 (37%)Ships in 1-3 Business DaysChevrolet Express Engine Mount Assembly
Part Number: 15828082$112.00 MSRP: $177.02You Save: $65.02 (37%)
| Page 1 of 2 |Next >
1-20 of 36 Results
Chevrolet Express Engine Mount
Each OEM Chevrolet Express Engine Mount we offer is competitively priced and comes with the assurance of the manufacturer's warranty for the part. Furthermore, we guarantee the speedy delivery of your orders right to your doorstep. Our hassle-free return policy is also in place for your peace of mind.
Chevrolet Express Engine Mount Parts Questions & Experts Answers
- Q: What should be done if engine mounts are broken or deteriorated in 4.3L V6 and 5.0L,5.7L,7.4L V8 engine on Chevrolet Express?A:Engine mounts seldom require attention, but broken or deteriorated mounts should be replaced immediately to prevent damage to driveline components. During the check, the engine must be raised slightly to remove the weight from the mounts. Begin by raising the vehicle and securely supporting it on jackstands, then position a jack under the engine Oil Pan with a large block of wood between the jack head and the oil pan, carefully raising the engine just enough to relieve the weight from the mounts, ensuring not to support the entire weight of the engine with the jack. Inspect the mounts for any cracks, hardened rubber, or separation from the metal plates, noting that the rubber may split down the center. Check for any relative movement between the mount plates and the engine or frame using a large screwdriver or prybar; if movement is detected, verify the tightness of the mount fasteners before concluding that the mounts are faulty, as broken mounts typically allow the engine to move easily when pried or under load. To replace the mounts, disconnect the cable from the negative terminal of the battery, remove the coolant reservoir and air filter housing, and attach an engine hoist to the top of the engine for lifting, avoiding the use of a jack under the oil pan to prevent damage to the oil pump pick-up. If a hoist is unavailable, casting jugs on each side of the engine block can support the engine's weight during the replacement process. Remove the engine mount through-bolts and the engine mount-to-frame bracket bolts, then raise the engine slightly to unbolt the mount from the block and remove it from the vehicle. Installation follows the reverse order of removal, using non-hardening thread-locking compound on the mount bolts and ensuring they are tightened securely.
Related Chevrolet Express Parts
Browse by Year
2024 Engine Mount 2023 Engine Mount 2022 Engine Mount 2021 Engine Mount 2020 Engine Mount 2019 Engine Mount 2018 Engine Mount 2017 Engine Mount 2016 Engine Mount 2015 Engine Mount 2014 Engine Mount 2013 Engine Mount 2012 Engine Mount 2011 Engine Mount 2010 Engine Mount 2009 Engine Mount 2008 Engine Mount 2007 Engine Mount 2006 Engine Mount 2005 Engine Mount 2004 Engine Mount 2003 Engine Mount 2002 Engine Mount 2001 Engine Mount 2000 Engine Mount 1999 Engine Mount 1998 Engine Mount 1997 Engine Mount 1996 Engine Mount
