My Garage
My Account
Cart
Genuine Chevrolet Express Oil Pan
Oil Drain Pan- Select Vehicle by Model
- Select Vehicle by VIN
Select Vehicle by Model
orMake
Model
Year
Select Vehicle by VIN
For the most accurate results, select vehicle by your VIN (Vehicle Identification Number).
24 Oil Pans found
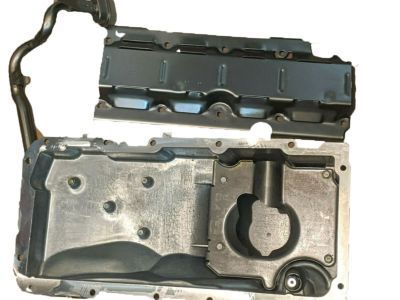
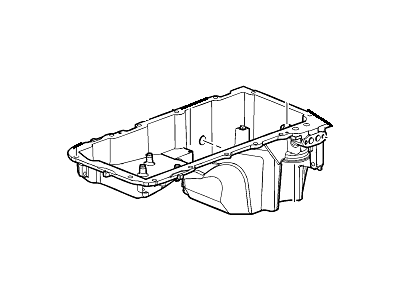
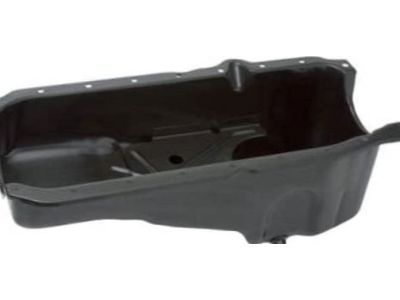
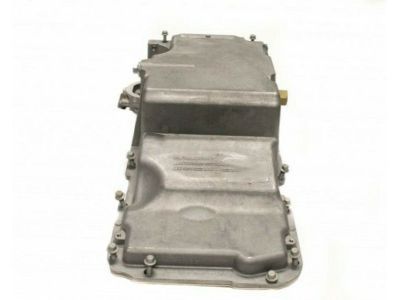
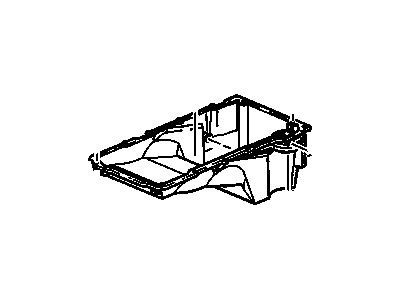
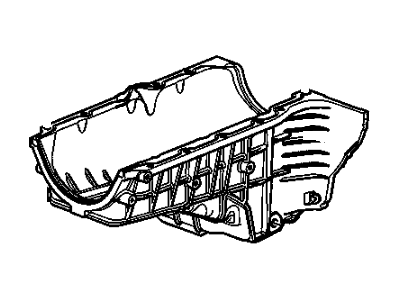
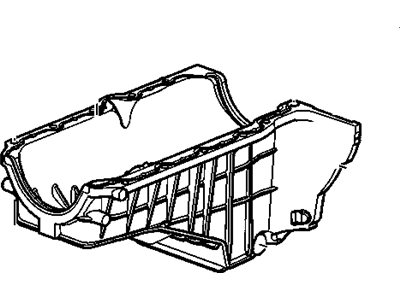
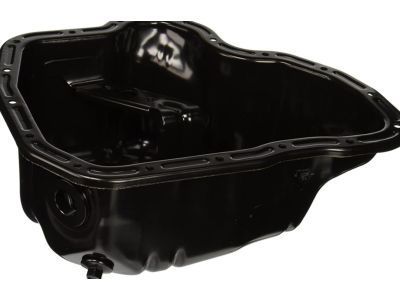
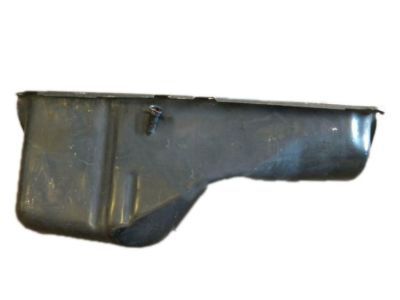
Chevrolet Express Pan Assembly, Oil
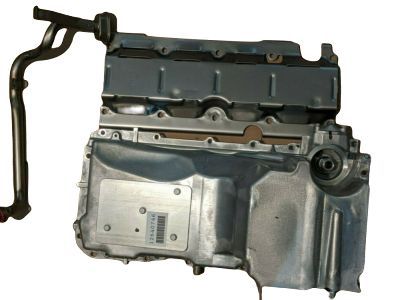
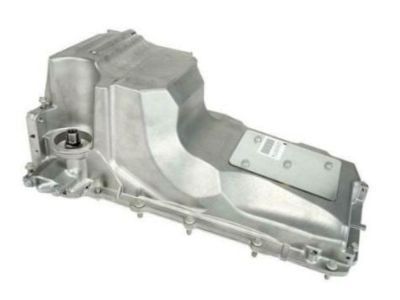
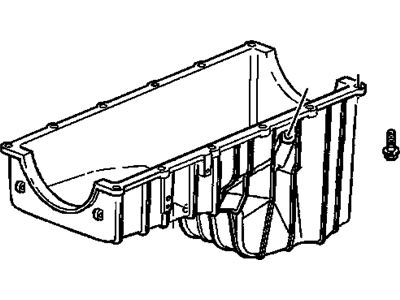
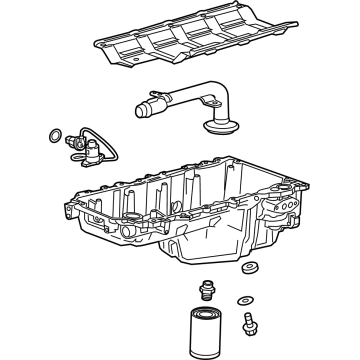
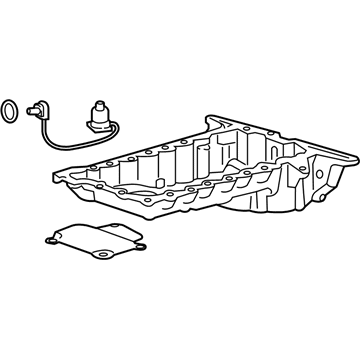
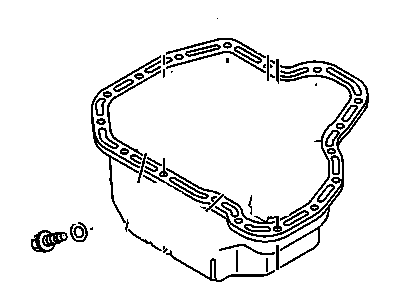
Part Number: 12640746$224.03 MSRP: $383.11You Save: $159.08 (42%)Ships in 1-2 Business DaysChevrolet Express Oil Pan Assembly
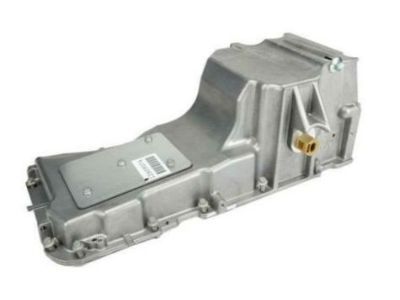
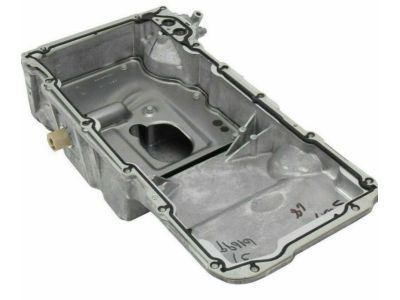
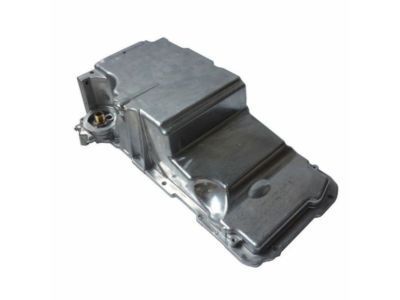
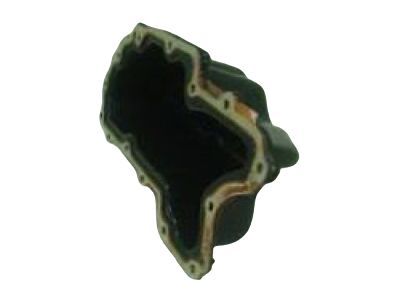
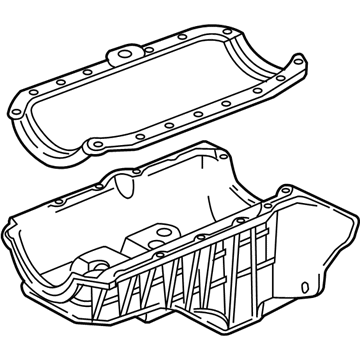
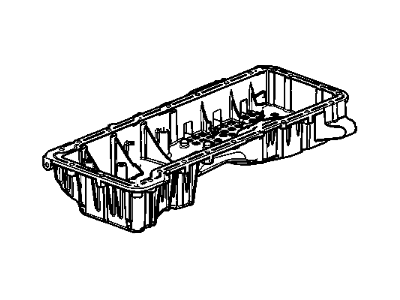
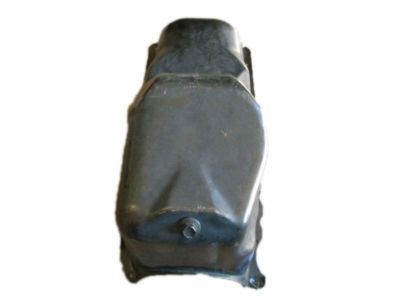
Part Number: 12609074$202.60 MSRP: $349.48You Save: $146.88 (43%)Ships in 1-2 Business DaysChevrolet Express Oil Pan
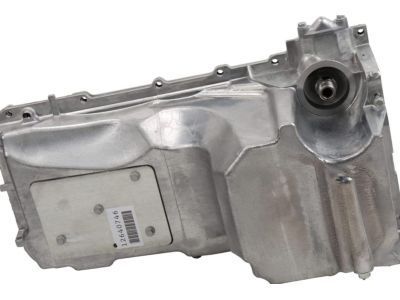
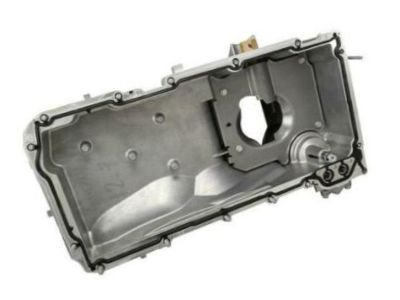
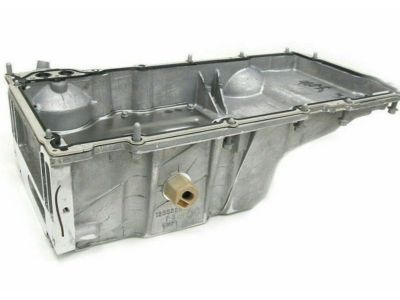
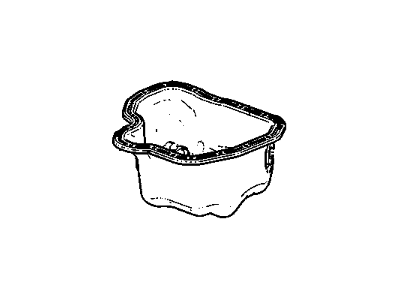
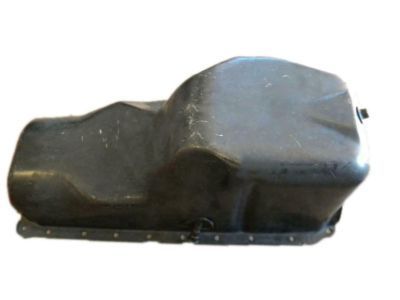
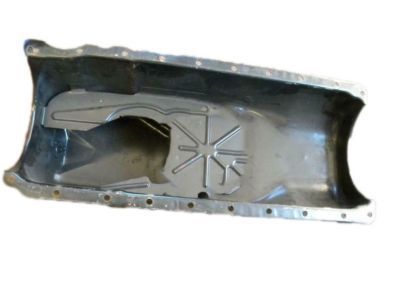
Part Number: 12557558$176.49 MSRP: $301.79You Save: $125.30 (42%)Ships in 1-3 Business DaysChevrolet Express Oil Pan
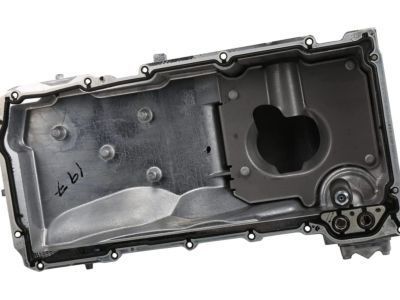
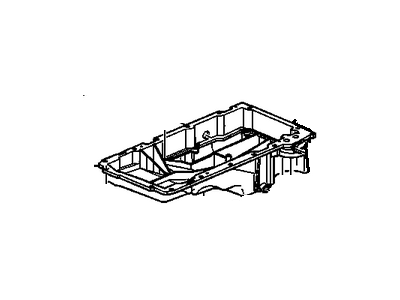
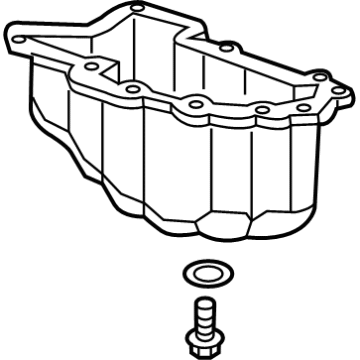
Part Number: 12628771$324.36 MSRP: $559.52You Save: $235.16 (43%)Ships in 1-2 Business DaysChevrolet Express Oil Pan Assembly
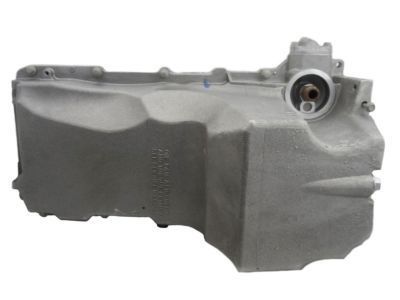
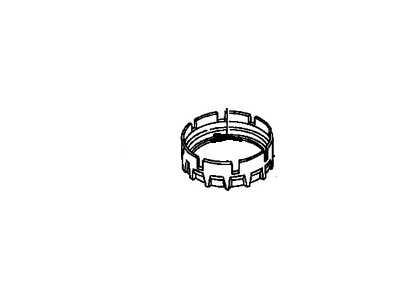
Part Number: 12599806$121.56 MSRP: $294.34You Save: $172.78 (59%)Ships in 1-3 Business DaysChevrolet Express Pan Assembly, Lower Oil
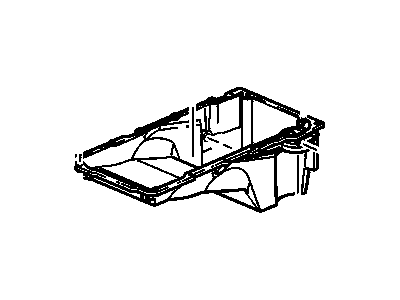
Part Number: 12628375$97.86 MSRP: $161.91You Save: $64.05 (40%)Chevrolet Express Pan,Oil (W/Filt Bypass)
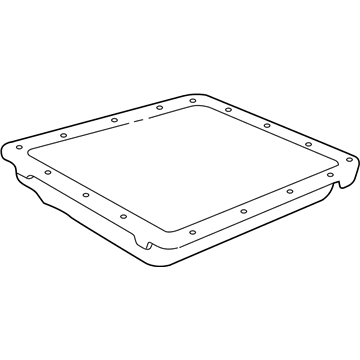
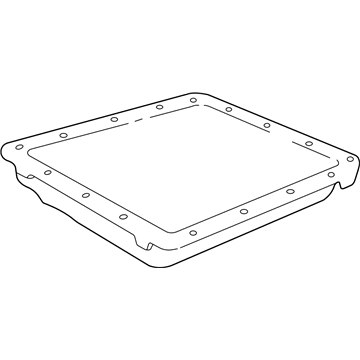
Part Number: 12579273$299.07 MSRP: $511.38You Save: $212.31 (42%)Ships in 1-2 Business DaysChevrolet Express Pan Assembly, A/Trns Fluid
Part Number: 24045035$30.90 MSRP: $48.61You Save: $17.71 (37%)Ships in 1-2 Business DaysChevrolet Express Pan Assembly, Oil
Part Number: 93800961$140.50 MSRP: $242.38You Save: $101.88 (43%)Ships in 1-2 Business DaysChevrolet Express Oil Pan Assembly
Part Number: 12707243$173.14 MSRP: $286.56You Save: $113.42 (40%)Chevrolet Express Oil Pan Assembly
Part Number: 12707239$171.11 MSRP: $272.83You Save: $101.72 (38%)Ships in 1-2 Business DaysChevrolet Express Oil Pan Assembly
Part Number: 12597153$344.70 MSRP: $544.81You Save: $200.11 (37%)Ships in 1-3 Business DaysChevrolet Express Pan Assembly, Upr Oil
Part Number: 24589120$230.34 MSRP: $367.28You Save: $136.94 (38%)Chevrolet Express Pan, Upper Oil
Part Number: 12634972$205.19 MSRP: $350.86You Save: $145.67 (42%)Ships in 1-2 Business DaysChevrolet Express Oil Pan Assembly
Part Number: 98073535$211.16 MSRP: $333.75You Save: $122.59 (37%)Chevrolet Express Oil Pan Assembly
Part Number: 10240721$172.65 MSRP: $272.76You Save: $100.11 (37%)
| Page 1 of 2 |Next >
1-20 of 24 Results
Chevrolet Express Oil Pan
Each OEM Chevrolet Express Oil Pan we offer is competitively priced and comes with the assurance of the manufacturer's warranty for the part. Furthermore, we guarantee the speedy delivery of your orders right to your doorstep. Our hassle-free return policy is also in place for your peace of mind.
Chevrolet Express Oil Pan Parts Questions & Experts Answers
- Q: How to remove and install the oil pan in 4.3L V6 and 5.0L,5.7L,7.4L V8 engine on Chevrolet Express?A:To remove the oil pan, first disconnect the cable from the negative terminal of the battery. Raise the vehicle and support it securely on jackstands, then drain the engine oil and remove the oil filter along with the engine cover. Next, take out the oil dipstick tube and the starter, followed by the plastic bellhousing side covers and torque converter cover from the transmission. Remove the oil pan nut and bracket retaining the transmission oil cooler lines. For 2014 and earlier models, install an engine support fixture, disconnect the exhaust pipes from the exhaust manifolds and the rear portion of the exhaust system, and remove it from the vehicle to facilitate oil pan removal. On 7.4L engines, remove the Engine Mounts while ensuring the engine remains in a fixed position, possibly raising it slightly for additional clearance. For 2018 and later models, disconnect the engine wiring harness at the front of the oil pan, the remaining wiring harness brackets around the perimeter, and the electrical connector from the oil level sensor if equipped. Remove the transmission-to-oil pan bolts, followed by the oil pan bolts and nuts, and the oil pan reinforcements on each side. Lower the pan from the engine, striking it with a rubber mallet if necessary to break the gasket seal, and carefully slide it out to the rear, possibly turning the crankshaft slightly for clearance. For installation, wash out the oil pan with solvent and clean the mounting surfaces of old gasket material and sealer. Apply a bead of RTV sealant to the corners where the front cover meets the block and at the rear where the rear main oil seal retainer meets the block, then attach the new gasket to the pan, install it, and tighten the bolts/studs finger-tight. For 2014 and earlier 4.3L V6 engines, ensure the alignment of the rear face of the aluminum pan to the rear of the block is correct, measuring the gap between the rear face of the pan and the front face of the transmission bellhousing. Tighten the oil pan bolts using a criss-cross pattern, following the recommended bolt tightening sequence for V6 models. Complete the installation in reverse order of removal, add the proper type and quantity of oil, start the engine, and check for leaks before placing the vehicle back in service.
Related Chevrolet Express Parts
Browse by Year
2024 Oil Pan 2023 Oil Pan 2022 Oil Pan 2021 Oil Pan 2020 Oil Pan 2019 Oil Pan 2018 Oil Pan 2017 Oil Pan 2016 Oil Pan 2015 Oil Pan 2014 Oil Pan 2013 Oil Pan 2012 Oil Pan 2011 Oil Pan 2010 Oil Pan 2009 Oil Pan 2008 Oil Pan 2007 Oil Pan 2006 Oil Pan 2005 Oil Pan 2004 Oil Pan 2003 Oil Pan 2002 Oil Pan 2001 Oil Pan 2000 Oil Pan 1999 Oil Pan 1998 Oil Pan 1997 Oil Pan 1996 Oil Pan
