My Garage
My Account
Cart
Genuine Chevrolet Express PCV Valve
Position Crank Ventilation Valve- Select Vehicle by Model
- Select Vehicle by VIN
Select Vehicle by Model
orMake
Model
Year
Select Vehicle by VIN
For the most accurate results, select vehicle by your VIN (Vehicle Identification Number).
5 PCV Valves found
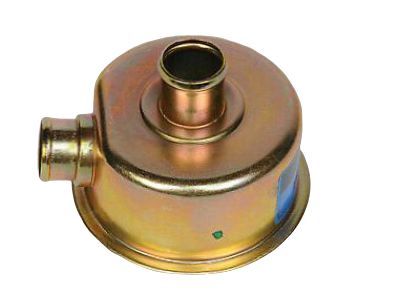
Chevrolet Express PCV Valve Assembly
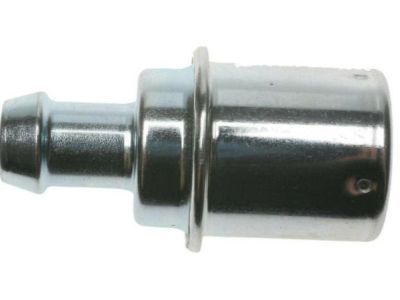
Part Number: 19303069$3.73 MSRP: $7.04You Save: $3.31 (48%)Ships in 1 Business DayChevrolet Express Valve Assembly, Pcv
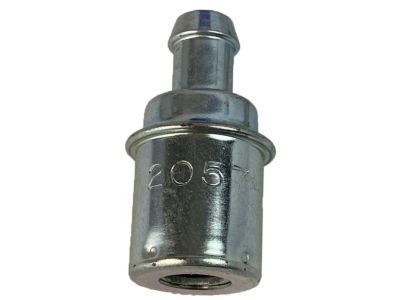
Part Number: 12691877$9.14 MSRP: $17.24You Save: $8.10 (47%)Ships in 1-3 Business DaysChevrolet Express Valve, Crankcase Depression Regulator
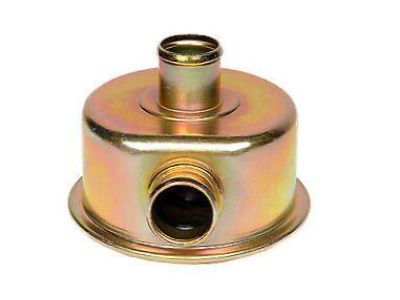
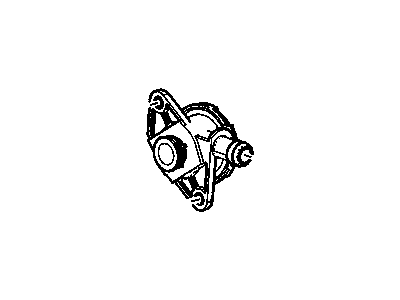
Part Number: 25097699$85.31 MSRP: $153.02You Save: $67.71 (45%)Chevrolet Express Valve Assembly, Crankcase Depression Regulator
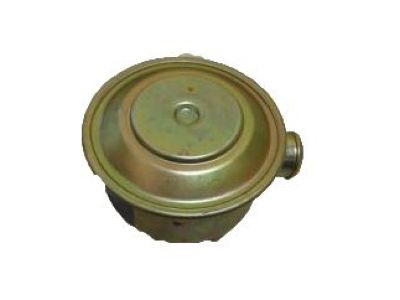
Part Number: 12642205$26.63 MSRP: $47.76You Save: $21.13 (45%)
Chevrolet Express PCV Valve
Each OEM Chevrolet Express PCV Valve we offer is competitively priced and comes with the assurance of the manufacturer's warranty for the part. Furthermore, we guarantee the speedy delivery of your orders right to your doorstep. Our hassle-free return policy is also in place for your peace of mind.
Chevrolet Express PCV Valve Parts Questions & Experts Answers
- Q: How is the PCV valve accessed and serviced on Chevrolet Express?A:The PCV valve is internal within the valve cover and therefore, the engine cover has to be discarded so as to access the PCV valve. The fixed orifice for 2004 and later models (except 2018-later 4.3L models) is built into the valve cover and is not replaceable, while the 2018 and later 4.3L models use a conventional PCV valve that is screwed into the top front of the left side of the valve cover. For 2003 and earlier models, with the engine idling at normal operating temperature, the valve cover should be pulled from the rubber grommet with the hose attached and will enable that vacuum check by pulling out the PCV valve. For 4.3L engines where the PCV was produced after 2018, the PCV valve comes with a hose attached, and can be unscrewed from the left valve cover. To check if there is vacuum, block the valve opening with the finger and if their is no vacuum, check for blocked hose, manifold port or the valve, and replace any spoilt hose. When the engine is switched off gently move the PCV valve to listen for a rattle; if the valve doesn't rattle then it should be replaced. For the models up to 2003 and for 4.3L models manufactured before 2018, the valve must be pulled out from the end of the hose with the attention to the position of the valve and for the models which have been produced from 2018, the PCV quick-connect fitting must be disconnected to isolate the valve from the hose. A replacement should be of the correct vehicle and engine size as the old one; the two valves should also be compared. The new valve should be driven in up to the rubber grommet and then the grommet tested for damage and replaced if the case were applicable. Last but not least, for 2018 and later 4.3L's, the PCV was supposed to be threaded into the left valve cover and tightened securely by hand, further, the PCVs were supposed to be inspected for clogs or crimped hoses before connecting the quick-connect fitting onto the top of the valve until the until an audible click is heard.
Related Chevrolet Express Parts
Browse by Year
2024 PCV Valve 2023 PCV Valve 2022 PCV Valve 2021 PCV Valve 2020 PCV Valve 2019 PCV Valve 2018 PCV Valve 2016 PCV Valve 2015 PCV Valve 2014 PCV Valve 2013 PCV Valve 2012 PCV Valve 2011 PCV Valve 2010 PCV Valve 2004 PCV Valve 2003 PCV Valve 2002 PCV Valve 2001 PCV Valve 2000 PCV Valve 1999 PCV Valve 1998 PCV Valve 1997 PCV Valve 1996 PCV Valve
