My Garage
My Account
Cart
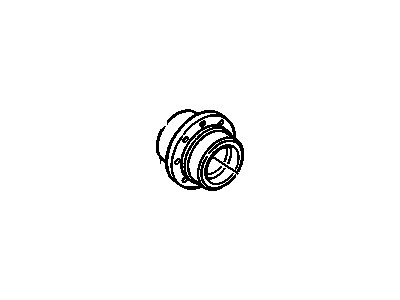
Genuine Chevrolet Express Wheel Hub
Wheel Axle Hub- Select Vehicle by Model
- Select Vehicle by VIN
Select Vehicle by Model
orMake
Model
Year
Select Vehicle by VIN
For the most accurate results, select vehicle by your VIN (Vehicle Identification Number).
15 Wheel Hubs found
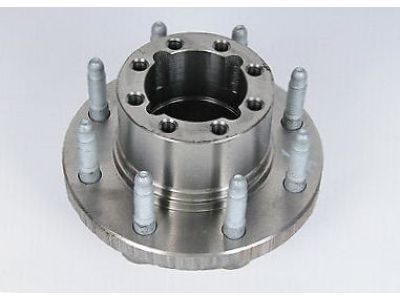
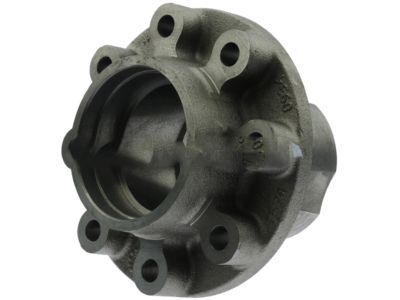
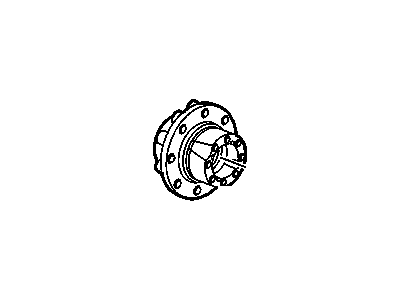
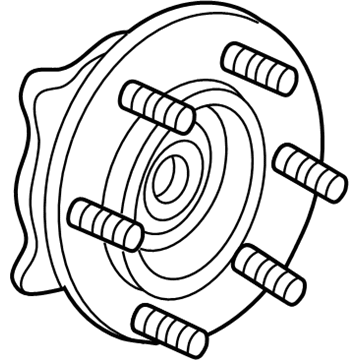
Chevrolet Express Rear Wheel Bearing
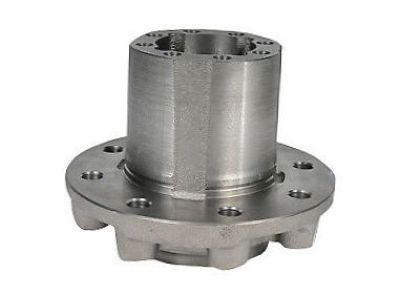
Part Number: 25843093$266.63 MSRP: $519.76You Save: $253.13 (49%)Ships in 1-2 Business DaysChevrolet Express Rear Wheel Bearing
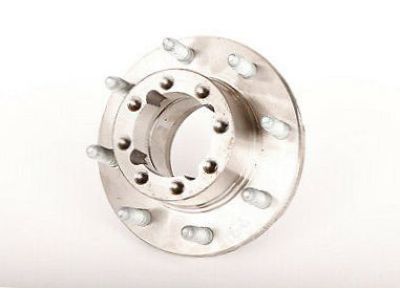
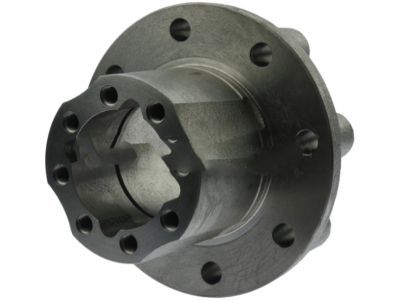
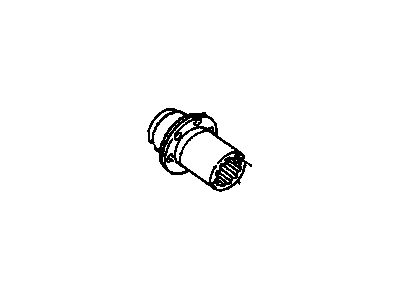
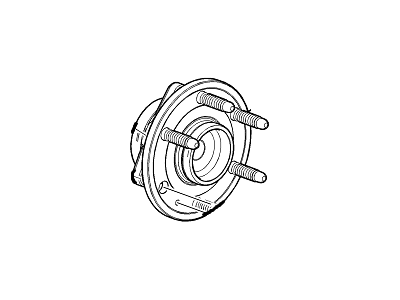
Part Number: 15715055$162.12 MSRP: $318.82You Save: $156.70 (50%)Chevrolet Express Rear Wheel Bearing
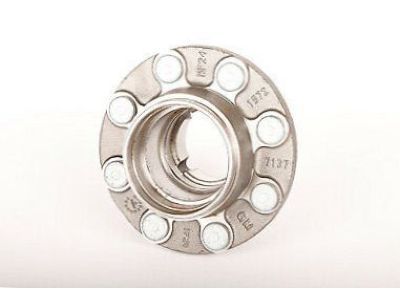
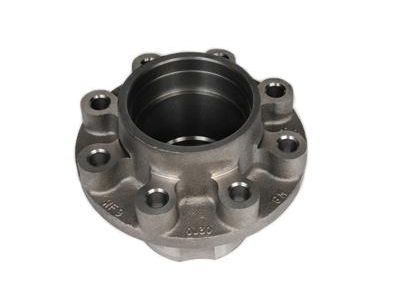
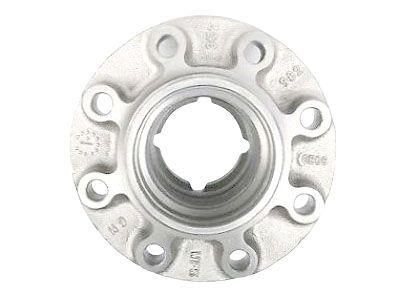
Part Number: 352982$240.56 MSRP: $421.27You Save: $180.71 (43%)Chevrolet Express HUB ASM-FRT WHL (W/ BRG & WHL SPD SEN)
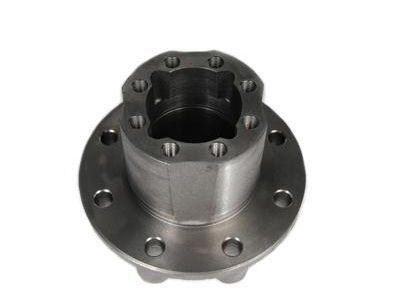
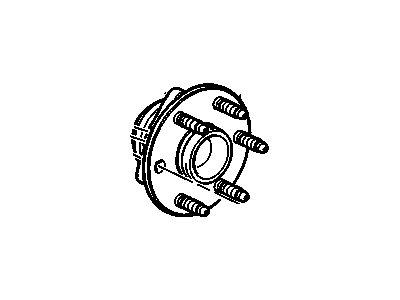
Part Number: 85137056$193.56 MSRP: $380.64You Save: $187.08 (50%)Ships in 1-3 Business DaysChevrolet Express HUB ASM,FRT WHL (W/ WHL SPD SEN) <SEE GUIDE/BFO>
Part Number: 19419365$154.59 MSRP: $281.08You Save: $126.49 (45%)Ships in 1-2 Business DaysChevrolet Express HUB ASM-FRT WHL (W/ BRG & WHL SPD SEN)
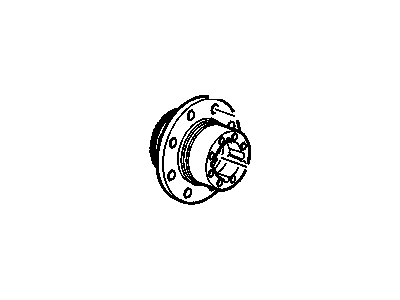
Part Number: 85137058$165.64 MSRP: $322.90You Save: $157.26 (49%)Ships in 1-2 Business DaysChevrolet Express Wheel Bearing And Hub Assembly
Part Number: 22818354$299.37 MSRP: $544.30You Save: $244.93 (45%)Ships in 1-2 Business DaysChevrolet Express Hub Assembly, Front Whl (W/ Brg & Whl Spd Sen)
Part Number: 84856649$299.37 MSRP: $544.30You Save: $244.93 (45%)Ships in 1-3 Business DaysChevrolet Express Rear Wheel Bearing
Part Number: 15894423$215.45 MSRP: $423.68You Save: $208.23 (50%)Ships in 1-3 Business DaysChevrolet Express Hub Assembly, Front Whl (W/ Brg & Whl Spd Sen)
Part Number: 84856652$143.86 MSRP: $271.44You Save: $127.58 (47%)Ships in 1-2 Business DaysChevrolet Express HUB ASM-FRT WHL (W/ BRG & WHL SPD SEN)
Part Number: 84836429$107.92 MSRP: $297.90You Save: $189.98 (64%)Chevrolet Express Hub Assembly, Front Whl (W/ Brg & Whl Spd Sen)
Part Number: 85137057$181.77 MSRP: $354.35You Save: $172.58 (49%)Ships in 1-3 Business Days
Chevrolet Express Wheel Hub
Each OEM Chevrolet Express Wheel Hub we offer is competitively priced and comes with the assurance of the manufacturer's warranty for the part. Furthermore, we guarantee the speedy delivery of your orders right to your doorstep. Our hassle-free return policy is also in place for your peace of mind.
Chevrolet Express Wheel Hub Parts Questions & Experts Answers
- Q: How to remove and reassemble the rear Wheel Bearing,Wheel Hub and Wheel Seal on Chevrolet Express?A:First, turn the rear wheel lug nuts to a loose condition, lift the rear of the vehicle, providing jackstands and position the front wheels, and take off the rear wheels. For models with disc brakes-first of all, the brake caliper with the disc is to be removed, for models equipped with drum brakes-the brake drum is to be removed. Subsequently unscrew the retaining ring and key from the end of the axle housing while the adjusting nut can be removed by a special socket. Remove the hub assembly pulling it straight up on the axle tube and take the oil seal off the back of the hub. To disassemble the hub further, strike with hammer and a long bar or drift punch to knock out the inner bearing, cup and oil seal and to remove newly inserted retaining ring knock out the outer bearing cup from the hub. Remove the old sealing compound from the seal bore of the hub and to clean the bearings, hub as well as the axle tube using solvent, although there should be no bristles from the brush stuck in the bearing rollers. Wipe the bearings with polluted solvent, then rinse the bearings with brake system cleaner, and the solvent will dry fast. Look for signs of wear on the bearings and where they mount on the axle tube flange and to the truck frame; cracks, wear, and damage on the bearings, axle tube flange, studs, and hub splines. The bearings and the point of contact of axle tube with the axle should be lubricated with wheel bearing grease, although the usage of grease pencil is prohibited. The process of reassembling of the hub is the reversal of the disassembly process here the new bearing cups should be done with the help of the proper size bearing driver. Check that the axle housing oil deflector is properly positioned; place the hub assembly on the axle tube being careful not to damage the oil seals. Place the adjusting nut and turn the bearings and the hub by trying to rotate the bearings, then using a torque wrench tighten the adjusting nut to 50 ft-lbs then turn the adjusting nut 1/4 turn anticlockwise then tighten again by hand only. Ensure the nominated slot of the nut matches with the key way of the spindle, place key in place followed by the retainring key in the end of the spindle. Though the hub assembly could be periodically rotated to test for play or lash between the hub and spindle, there is no preload or freeplay. Last but not the least, it is installing the axleshaft and then lowering the vehicle again.
Related Chevrolet Express Parts
Browse by Year
2024 Wheel Hub 2023 Wheel Hub 2022 Wheel Hub 2021 Wheel Hub 2020 Wheel Hub 2019 Wheel Hub 2018 Wheel Hub 2017 Wheel Hub 2016 Wheel Hub 2015 Wheel Hub 2014 Wheel Hub 2013 Wheel Hub 2012 Wheel Hub 2011 Wheel Hub 2010 Wheel Hub 2009 Wheel Hub 2008 Wheel Hub 2007 Wheel Hub 2006 Wheel Hub 2005 Wheel Hub 2004 Wheel Hub 2003 Wheel Hub 2002 Wheel Hub 2001 Wheel Hub 2000 Wheel Hub 1999 Wheel Hub 1998 Wheel Hub 1997 Wheel Hub 1996 Wheel Hub
