My Garage
My Account
Cart
Genuine Chevrolet Impala Shock Absorber
Suspension Shock Absorber- Select Vehicle by Model
- Select Vehicle by VIN
Select Vehicle by Model
orMake
Model
Year
Select Vehicle by VIN
For the most accurate results, select vehicle by your VIN (Vehicle Identification Number).
38 Shock Absorbers found
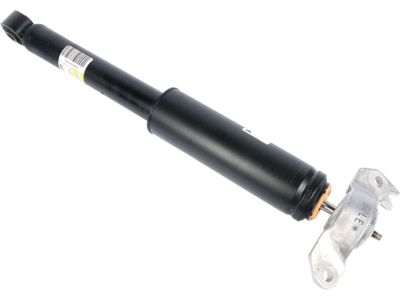
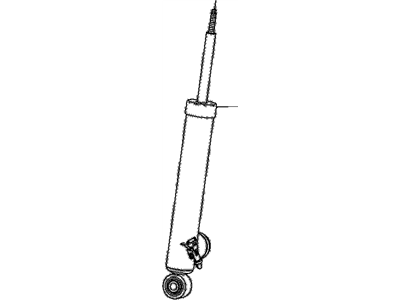
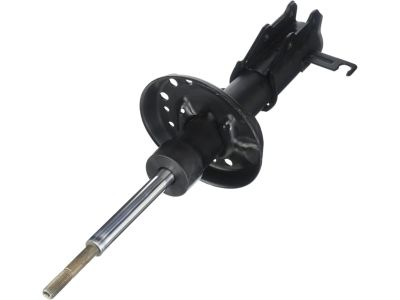
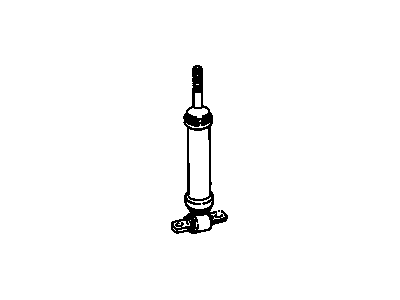
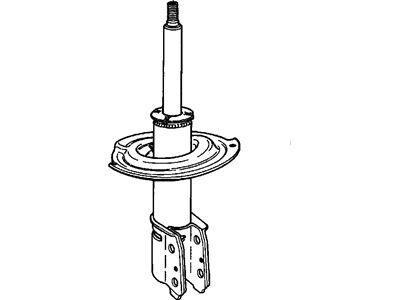
Chevrolet Impala Rear Shock Absorber Assembly With Upper Mount
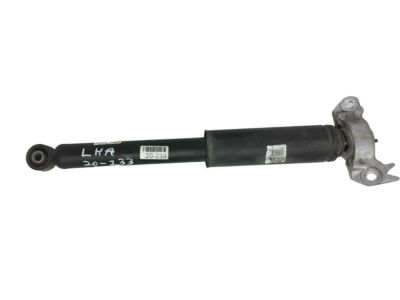
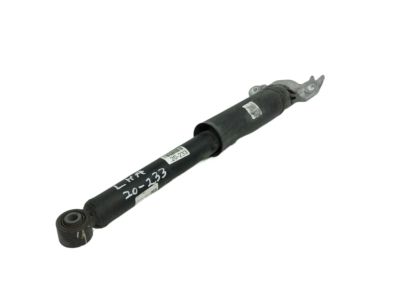
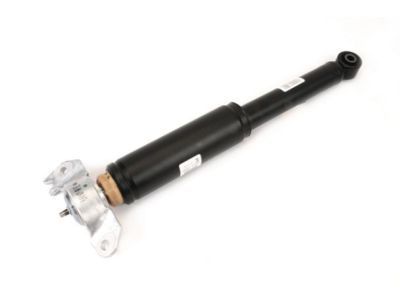
Part Number: 84682962$95.50 MSRP: $186.20You Save: $90.70 (49%)Ships in 1-2 Business DaysChevrolet Impala Rear Shock Absorber Assembly With Upper Mount
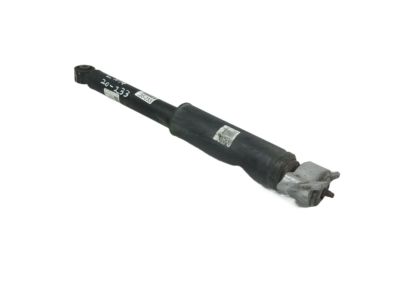
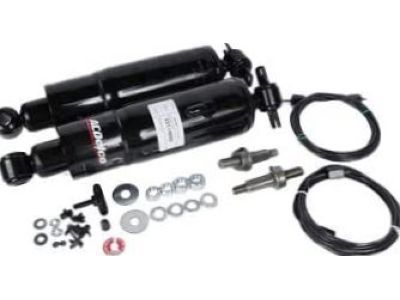
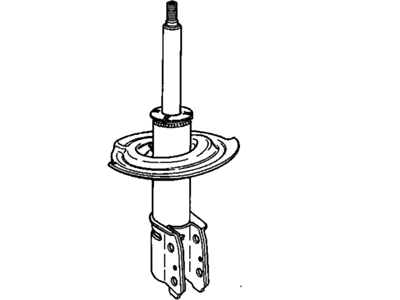
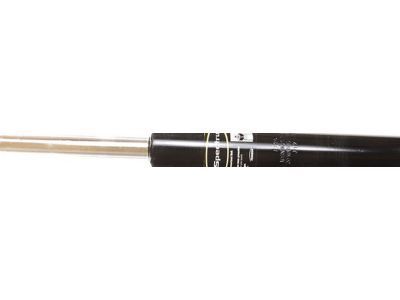
Part Number: 84185490$120.65 MSRP: $237.26You Save: $116.61 (50%)Ships in 1-2 Business DaysChevrolet Impala Rear Leveling Shock Absorber Assembly
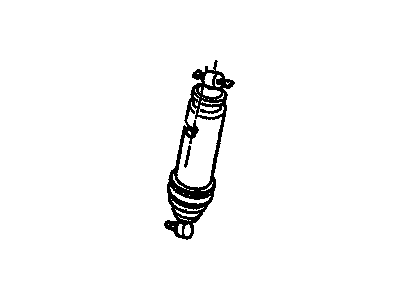
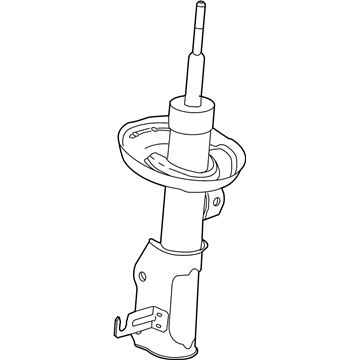
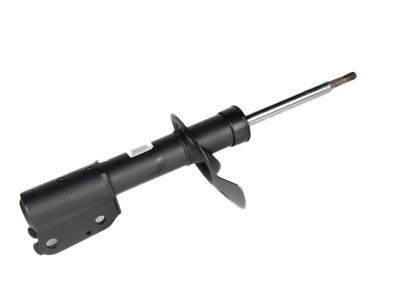
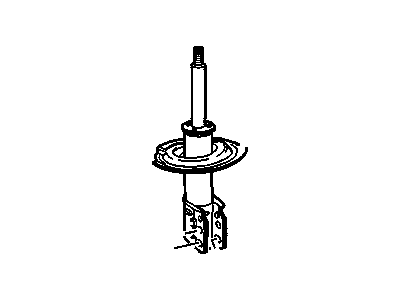
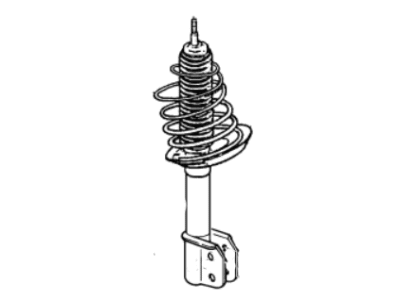
Part Number: 19178430$187.03 MSRP: $364.58You Save: $177.55 (49%)Ships in 1-2 Business DaysChevrolet Impala Front Suspension Strut Assembly
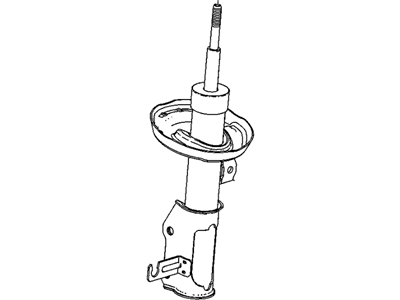
Part Number: 23269414$108.04 MSRP: $298.28You Save: $190.24 (64%)Chevrolet Impala Rear Shock Absorber Assembly With Upper Mount
Part Number: 84682963$90.90 MSRP: $177.23You Save: $86.33 (49%)Ships in 1-2 Business DaysChevrolet Impala Front Suspension Strut Assembly
Part Number: 84637383$75.58 MSRP: $208.64You Save: $133.06 (64%)Ships in 1-2 Business DaysChevrolet Impala Front Suspension Strut Assembly
Part Number: 84637384$108.22 MSRP: $212.82You Save: $104.60 (50%)Ships in 1-2 Business DaysChevrolet Impala Front Suspension Strut Assembly
Part Number: 84637387$106.11 MSRP: $208.64You Save: $102.53 (50%)Ships in 1-2 Business DaysChevrolet Impala Front Suspension Strut Assembly
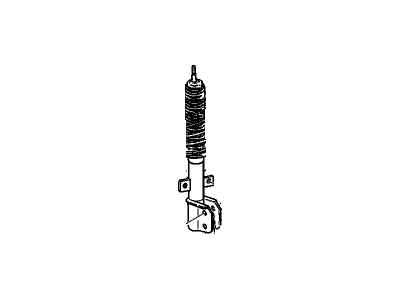
Part Number: 84637388$106.11 MSRP: $208.64You Save: $102.53 (50%)Ships in 1-2 Business DaysChevrolet Impala Front Shock Absorber Assembly
Part Number: 88986629$55.98 MSRP: $104.92You Save: $48.94 (47%)Ships in 1-2 Business DaysChevrolet Impala Front Suspension Strut Assembly
Part Number: 84637390$107.32 MSRP: $209.20You Save: $101.88 (49%)Chevrolet Impala Front Suspension Strut Assembly
Part Number: 84637386$73.22 MSRP: $202.11You Save: $128.89 (64%)Ships in 1-2 Business DaysChevrolet Impala Rear Shock Absorber Assembly With Upper Mount
Part Number: 84185491$127.06 MSRP: $231.07You Save: $104.01 (46%)Ships in 1-2 Business DaysChevrolet Impala Front Shock Absorber Assembly
Part Number: 22065201$55.98 MSRP: $104.92You Save: $48.94 (47%)Ships in 1-2 Business DaysChevrolet Impala Front Suspension Strut Assembly
Part Number: 84637389$106.29 MSRP: $207.18You Save: $100.89 (49%)Ships in 1-2 Business DaysChevrolet Impala Front Suspension Strut Assembly
Part Number: 88965467$118.16 MSRP: $212.92You Save: $94.76 (45%)
| Page 1 of 2 |Next >
1-20 of 38 Results
Chevrolet Impala Shock Absorber
The Shock Absorber of Chevrolet Impala automobiles is yet another key component that is involved in the suspension systems and which works hand in hand with the struts. Some of these components are useful in reducing bouncing and managing shock impulses which in turn enhance the ride quality as well as handling of the vehicle. Chevrolet Impala vehicles have had numerous shock absorbers over the years with types such as the twin-tube and mono-tube with dissimilar mechanisms of controlling the flows of hydraulic fluid to improve the vehicle's response to various driving conditions. PRV stands for Position Sensitive Damping and ASD for Acceleration Sensitive Damping, which go to the extent of refining the shock absorber's response under certain specific driving conditions; electrorheological, and magnetorheological dampers enables semi-active, adaptive suspension system for improved comfort and control in addition to comfort.
Each OEM Chevrolet Impala Shock Absorber we offer is competitively priced and comes with the assurance of the manufacturer's warranty for the part. Furthermore, we guarantee the speedy delivery of your orders right to your doorstep. Our hassle-free return policy is also in place for your peace of mind.
Chevrolet Impala Shock Absorber Parts Questions & Experts Answers
- Q: How to remove the front shock absorber on Chevrolet Impala?A:To remove the strut, start by loosening the wheel lug nuts and raising the front of the vehicle on jackstands. Mark the relationship of the strut to the knuckle for installation reference. Remove the strut-to-knuckle nuts and bolts, being careful not to damage the brake hose or overextend the inner CV joint. Support the strut and spring assembly while removing the upper mounting nuts, then remove the assembly from the fender well. To inspect the strut, check for leaking fluid, dents, cracks, and other damage. Inspect the coil spring for chips or cracks in the coating and the spring seat for cuts or deterioration. If any issues are found, proceed to the strut disassembly procedure. For installation, guide the strut assembly back into the fender well, aligning the index mark made earlier. Insert the upper mounting studs through the holes in the strut tower and secure with nuts. Slide the Steering Knuckle into the strut flange and install the bolts and nuts, aligning the marks. Install the wheel, lower the vehicle, and tighten the lug nuts. Finally, tighten the upper mounting nuts, have the front wheel alignment checked, and make any necessary adjustments.
Related Chevrolet Impala Parts
Browse by Year
2020 Shock Absorber 2019 Shock Absorber 2018 Shock Absorber 2017 Shock Absorber 2016 Shock Absorber 2015 Shock Absorber 2014 Shock Absorber 2013 Shock Absorber 2012 Shock Absorber 2011 Shock Absorber 2010 Shock Absorber 2009 Shock Absorber 2008 Shock Absorber 2007 Shock Absorber 2006 Shock Absorber 2005 Shock Absorber 2004 Shock Absorber 2003 Shock Absorber 2002 Shock Absorber 2001 Shock Absorber 2000 Shock Absorber 1996 Shock Absorber 1995 Shock Absorber 1994 Shock Absorber 1985 Shock Absorber 1984 Shock Absorber 1983 Shock Absorber 1982 Shock Absorber
