My Garage
My Account
Cart
Genuine Chevrolet Malibu Batteries
Car Battery- Select Vehicle by Model
- Select Vehicle by VIN
Select Vehicle by Model
orMake
Model
Year
Select Vehicle by VIN
For the most accurate results, select vehicle by your VIN (Vehicle Identification Number).
10 Batteries found
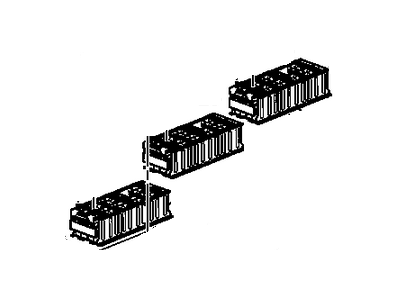
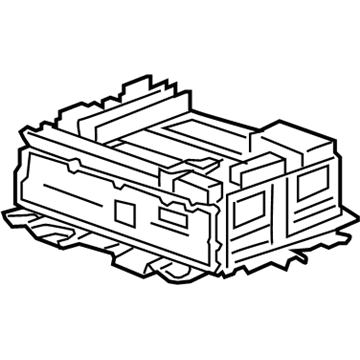
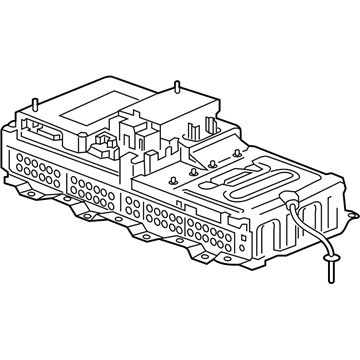
Chevrolet Malibu Battery Assembly, High Vltg (Export)
Part Number: 24288530$375.09 MSRP: $563.31You Save: $188.22 (34%)Chevrolet Malibu BATTERY ASM,GEN <SEE GUIDE/CONTACT BFO>
Part Number: 19433399$276.73 MSRP: $415.60You Save: $138.87 (34%)Chevrolet Malibu Battery Asm,Generator (Refurb)
Part Number: 12677405$1698.39 MSRP: $2562.18You Save: $863.79 (34%)Chevrolet Malibu Battery Assembly, High Voltage (New Domestic)
Part Number: 24286375$1852.27 MSRP: $2794.33You Save: $942.06 (34%)Chevrolet Malibu Battery, Generator
Part Number: 20960900$276.73 MSRP: $415.60You Save: $138.87 (34%)Chevrolet Malibu Battery Asm,Generator <See Guide/Contact Bfo>
Part Number: 19119108$640.80 MSRP: $820.30You Save: $179.50 (22%)
Chevrolet Malibu Batteries
The Chevrolet Malibu Batteries is an important unit used to charge electrical energy which is used in different circuits of the auto vehicle. It supports the starter motor, the ignition parts, and other additional items including the radio. The Battery also boosts more current if called for, and retains component memory making it operational even when the car is off. There are several categories of batteries that has been used in Malibu vehicles and they include; Conventional Flooded Lead-Acid (FLA batteries), FLA Maintenance-Free batteries and Absorbed Glass Mat (AGM) batteries. Both types have its pros with the AGM having the following; they are faster to charge, they offer more maximum starting power and withstand shock and vibration. Some of the distinctions that may affect the decision making to purchase a new Battery for the car include, the size, arrangement and the ratting details such as Cold Cranking Amps (CCA) and Reserve Capacity. In summary, the Chevrolet Malibu Battery is an important component on the vehicle that is responsible for powering most of the electrical equipment on the car.
Each OEM Chevrolet Malibu Batteries we offer is competitively priced and comes with the assurance of the manufacturer's warranty for the part. Furthermore, we guarantee the speedy delivery of your orders right to your doorstep. Our hassle-free return policy is also in place for your peace of mind.
Chevrolet Malibu Batteries Parts Questions & Experts Answers
- Q: What precautions should be taken when servicing batteries on Chevrolet Malibu?A:It has a protective cover that has to be unscrewed in order to get access to the battery and the terminals. Regular check up of the battery of the vehicle that will provide quick start up is so advisable and right equipment must always be used while handling the battery. The measures include offing the ignition key, and all electrical loads, and the removal of the battery terminal clamp. The battery generates flammable hydrogen gas; do not take any spark producing items, cigarette, or even light a matchstick near the battery and ensure it is charged in a well-ventilated region. Electrolyte consists of corrosive sulfuric acid and thus requires protective safety glasses and protecting skin, eyes, as well mouth from direct contact with the solution. Less intrusive conditions involve checking the battery exterior and making sure that the positive terminal and cable clamps have no sign of damage, corrosion or cracks. If there is signs corrosion, it is necessary to remove the battery for cleaning with the best precaution of disconnecting the ground cable. Using safety goggles and gloves, the cable ends and terminals with warm water and baking soda, and all cleaned area should be washed with water. Check various specifications on the battery tray for their condition, and make sure that the hold-down clamp is tightened as much as necessary, but is not overtightened. Any part that is made of metal deformed by corrosion should be recoated with zinc based primer and later painted. For charging it is most advisable to disconnect the battery from the vehicle to avoid damage of the paint due to leaking gas while slow charge rate is recommended when charging a discharged battery. One or two-amp charger is safe, three to five amps are average and anything higher than five amps should not cause more than 1/10th the amp/hour of the battery. Even if you are using a trickle charger the average charge time generally takes 12 to 16 hours. If fitted with cell caps, unscrew and cover the holes, if not, skip this step, remove the negative cable and ensure that the charger cables connect to the terminals correctly, before connecting the charger. Warning light for overcharging battery should be kept an eye on if a high rate charger is used while a trickle charger is left to work overnight once initial tests are made. The specific gravity of the electrolyte during charging should be measured during the last hours with a hydrometer and the battery considered fully charged when the reading ceases to rise and gassing begins. Sealed batteries with an accurate readout of charge include some sealed batteries with hydrometers, you can check most sealed batteries via a digital multimeter, a fully charged battery should hover around 12.5 volts or more.


