My Garage
My Account
Cart
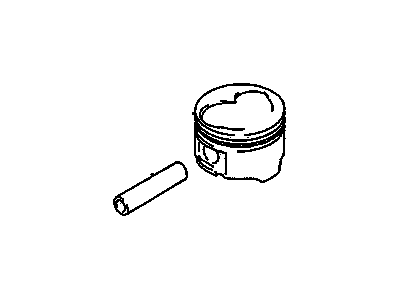
Genuine Chevrolet Metro Piston
Engine Pistons- Select Vehicle by Model
- Select Vehicle by VIN
Select Vehicle by Model
orMake
Model
Year
Select Vehicle by VIN
For the most accurate results, select vehicle by your VIN (Vehicle Identification Number).
18 Pistons found
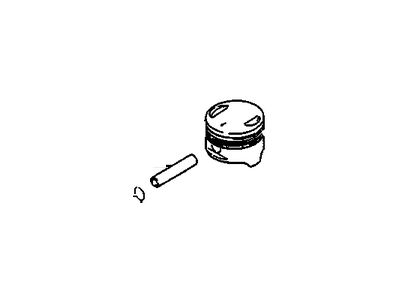
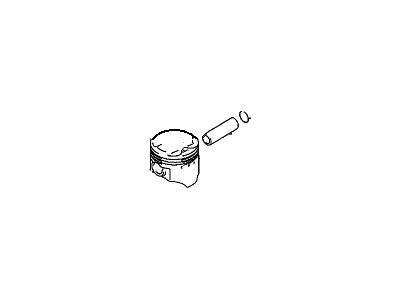
Chevrolet Metro Piston Kit(Std,Mark 2) (On Esn)
Part Number: 91176990$13.04 MSRP: $78.71You Save: $65.67 (84%)Ships in 1-2 Business Days
Chevrolet Metro Piston
In Chevrolet Metro vehicles, the Piston plays an important function which change the heat energy produced during the combustion process in to the mechanical force requirant to move the car. An important component of internal combustion engine it transmits force due to expanding gases to the crankshaft so that vehicles may move efficiently. Chevrolet Metro Pistons are ordinarily supplied in aluminum alloys so that they are light, strong and durable and there are special high performance versions available that have either forged or billet pistons. There has been the usage of varied type of Pistons in Chevrolet Metro vehicles in the course of the years. Trunk pistons used both in petrol and in diesel engines help to cope side forces and are equipped with oil rings located below the gudgeon pin. In high-speed moving and petrol engines, slipper pistons are utilized to minimal weight, this gives a great balance and efficiency. For this reason, these variations in Piston design assists Chevrolet Metro to deliver enhanced performance and durability in different driving conditions.
Each OEM Chevrolet Metro Piston we offer is competitively priced and comes with the assurance of the manufacturer's warranty for the part. Furthermore, we guarantee the speedy delivery of your orders right to your doorstep. Our hassle-free return policy is also in place for your peace of mind.
Chevrolet Metro Piston Parts Questions & Experts Answers
- Q: What steps should be taken before installing the piston and connecting rod assemblies on Chevrolet Metro?A:When engaging the piston and the connecting rods, be certain that the walls of the cylinders are free from contaminants, the top of the cylinders are cut along a taper and the crank shaft is already in place. In the same manner installed, unscrew the cap from the number one connecting rod, and pull out the originals bearing inserts and clean the bearing surfaces with a clean, lint-free rag. Remove the old upper bearing insert and clean the front side of the new upper bearing insert along with the rear side of the connecting rod and then lay the new upper bearing insert in the connecting rod in such a manner that the tab sits in the recess without hammering the tab in or damaging the face of the bearing. Do the same for the other bearing insert in the rod cap, and make sure that all the faces making contact are free of oil and dirt. Align the Piston Ring gaps properly, slide a portion of a hose over each of the connecting rod cap bolt, wet the piston and the rings with clean engine oil and then place a piston ring compressor on it with the skirt sticking out to help in the pushing of the piston into the cylinder. Screw or turn the Crankshaft in such a manner that the number one connecting rod journal is located at the bottom dead center of the engine block and then apply engine oil on the cylinder walls. Place the piston/close coupling in the cylinder bore with the arrow on the piston vertical to the front of the engine and retracted ring compressor into the block. Tap the piston lightly with a wooden or a plastic hammer handle in order to help you align the connecting rod on the crankshaft journal and at the same time ensure the depression on the ring compressor do not cause the rings to come out. After installation, the connecting Rod Bearing oil clearance should be checked by Plastigage, while the bearing surfaces are clean, and the connecting rod bearing should be lubricated with a thin layer of grease or assembly lube before the connecting rod is slid over the piston pin and the rod cap nuts are tightened to the proper torque. That is doing for the other pistons and connecting rods with the clean bearing inserts and connecting rods, the correct piston/rod combination, and the lubrication on the cylinder walls and bearing faces. Last, but not the least, with all the assemblies in place, turn the crankshaft to feel for binding and then to measure the connecting rod end play and compare with standard measurements to confirm the correct setting. If needed, rebury the rods at an auto machine shop, while the remaining components can be reinstalled in the reverse manner to their removal.
