My Garage
My Account
Cart
Genuine Chevrolet Nova Control Arm
Suspension Arm- Select Vehicle by Model
- Select Vehicle by VIN
Select Vehicle by Model
orMake
Model
Year
Select Vehicle by VIN
For the most accurate results, select vehicle by your VIN (Vehicle Identification Number).
4 Control Arms found
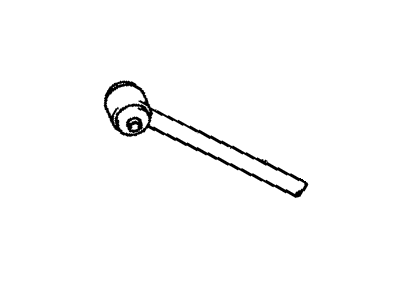
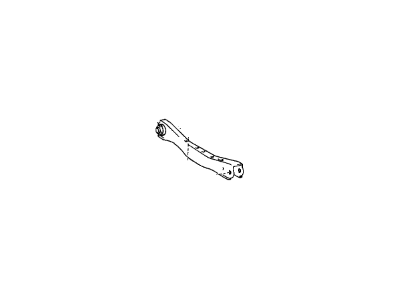
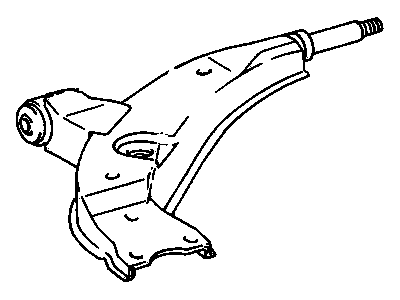
Chevrolet Nova Control Arm
Chevrolet Nova vehicles manufacturing features Control Arm as one of its most important components to transmit the movement of the suspension system in relation to the frame of the vehicle and the wheels. This part enables up and down movement of the wheel while at the same time providing the means of ensuring that the vehicle is properly aligned and its handling is proper. It is worth to notice, that Chevrolet Nova models use different kinds of Control Arms, from the traditional stamped-steel to contemporary cast-iron or aluminum Control Arms, which are usually stronger and lighter. The distinction between these Control Arms appear to be most sharply defined in their structure and sturdiness. Rusting is apparent on stamped steel arms as they flatten out and they may require replacements with other materials, the newer ones offering the right performance in aggressive-driving conditions. Control Arms labelled as 'racing or high-performance oriented are built to accept more horsepower and provide better alignment choices and are ideal for race or modified vehicles. In total, the Control Arm is crucial in the safety and effective tire handling on Chevrolet Nova automobiles.
Each OEM Chevrolet Nova Control Arm we offer is competitively priced and comes with the assurance of the manufacturer's warranty for the part. Furthermore, we guarantee the speedy delivery of your orders right to your doorstep. Our hassle-free return policy is also in place for your peace of mind.
Chevrolet Nova Control Arm Parts Questions & Experts Answers
- Q: How to properly remove and reinstall a upper control arm on Chevrolet Nova?A:Loosen the wheel lug nuts, raise the front of the vehicle, and support it securely on jackstands while applying the parking brake before removing the wheel. Support the lower control arm with a jack or jackstand, ensuring the support point is close to the balljoint for maximum leverage. Disconnect the upper balljoint from the Steering Knuckle, avoiding the use of a "pickle fork" type separator to prevent damage to the balljoint seals. Remove the control arm-to-frame nuts and bolts, taking care to record the position of any alignment shims for reinstallation to maintain wheel alignment. Detach the control arm from the vehicle, noting that the control arm bushings are pressed in and require special tools for removal and installation; if replacement is necessary, take the control arm to a dealer service department or an automotive machine shop for the bushings to be pressed out and new ones pressed in. Position the control arm on the frame, install the bolts and nuts, and any alignment shims that were removed, tightening the nuts to the specified torque. Insert the balljoint stud into the steering knuckle, tighten the nut to the specified torque, and install a new cotter pin, adjusting the nut slightly if needed to align a slot with the hole in the balljoint stud. Finally, install the wheel and lug nuts, lower the vehicle, and tighten the lug nuts to the specified torque before driving to an alignment shop for a front end alignment check and adjustment if necessary.


