My Garage
My Account
Cart
Genuine Chevrolet Tracker A/C Accumulator
Accumulator- Select Vehicle by Model
- Select Vehicle by VIN
Select Vehicle by Model
orMake
Model
Year
Select Vehicle by VIN
For the most accurate results, select vehicle by your VIN (Vehicle Identification Number).
4 A/C Accumulators found
Chevrolet Tracker A/C Accumulator
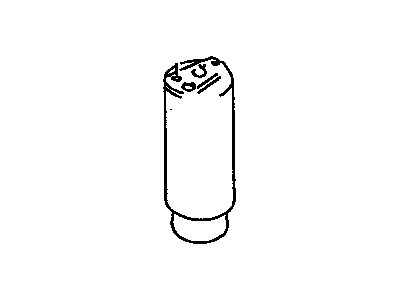
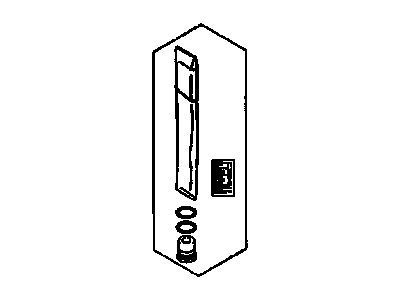
The A/C Accumulator is found in Chevrolet Tracker vehicles and it plays an important role of preserving the air conditioning system. It is especially to capture any moisture and debris in order to minimize opportunities for sludge and corrosion which could result in system breakdown. The Chevrolet Tracker succeeds in using the accumulator and the receiver drier, both of which contain desiccant bag. The accumulator is located between the evaporator and the compressor while the receiver drier is located between the high pressure liquid line, condenser and the expansion valve. For years, depending on the model, the Chevrolet Tracker has employed both of these types of A/C Accumulators, with the only real difference being in the latter's location within the A/C system. It is recommended that in single and multiplex A/C systems, normal replacement of A/C Accumulator should be conducted even during major overhauls in order to rectify most of its causes such as abnormal gauge readings and potential leaks. This is important for the proper care of the Chevrolet Tracker so that the system used in the car's air conditioning will last longer.
Each OEM Chevrolet Tracker A/C Accumulator we offer is competitively priced and comes with the assurance of the manufacturer's warranty for the part. Furthermore, we guarantee the speedy delivery of your orders right to your doorstep. Our hassle-free return policy is also in place for your peace of mind.
Chevrolet Tracker A/C Accumulator Parts Questions & Experts Answers
- Q: How to replace the A/C Accumulator on Chevrolet Tracker?A:For pre-1999 models, begin by discharging the air conditioning system and disconnecting the negative battery cable. Unplug the electrical connector from the pressure switch located near the top of the A/C Accumulator, then remove the bolts and disconnect the refrigerant lines from the top of the A/C Accumulator. To prevent dirt and moisture from entering, plug the open fittings. Loosen the mounting bracket pinch bolt and lift the A/C Accumulator out. If installing a new A/C Accumulator, remove the Schrader valve and pour the oil into a measuring cup, noting the amount, then add fresh refrigerant oil to the new unit equal to the amount removed plus one ounce. Installation follows the reverse order of removal, and afterward, take the vehicle back to the shop for evacuation, charging, and leak testing. For 1999 and later models, the A/C Accumulator is welded to the condenser and cannot be replaced separately, but the filter and dryer elements can be replaced. Have the system discharged by a dealer or automotive air conditioning shop, then remove the condenser. Unscrew the plug from the top of the A/C Accumulator unit and pull out the filter and drier using long needle nose pliers. Before installing a new drier, add 40 cc of refrigerant oil and do not remove it from its plastic bag until just before insertion. Ensure the double-layer portion of the new drier faces down when inserting it into the A/C Accumulator unit. Installation is otherwise the reverse of removal, and once completed, have the system evacuated and recharged by a dealer or automotive air conditioning shop.
Related Chevrolet Tracker Parts
Browse by Year
2004 A/C Accumulator 2003 A/C Accumulator 2002 A/C Accumulator 2001 A/C Accumulator 2000 A/C Accumulator 1999 A/C Accumulator 1998 A/C Accumulator 1997 A/C Accumulator 1996 A/C Accumulator 1995 A/C Accumulator 1994 A/C Accumulator 1993 A/C Accumulator 1992 A/C Accumulator 1991 A/C Accumulator 1990 A/C Accumulator 1989 A/C Accumulator


