My Garage
My Account
Cart
Genuine Chevrolet Tracker Piston
Engine Pistons- Select Vehicle by Model
- Select Vehicle by VIN
Select Vehicle by Model
orMake
Model
Year
Select Vehicle by VIN
For the most accurate results, select vehicle by your VIN (Vehicle Identification Number).
20 Pistons found
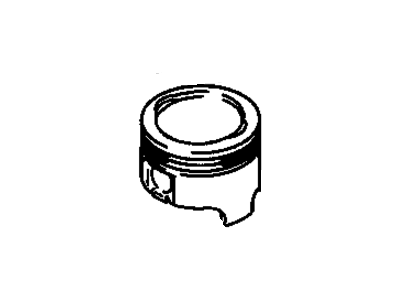
Chevrolet Tracker Piston,Engine
Part Number: 91173287$8.49 MSRP: $121.59You Save: $113.10 (94%)Ships in 1-2 Business DaysChevrolet Tracker Piston,Engine
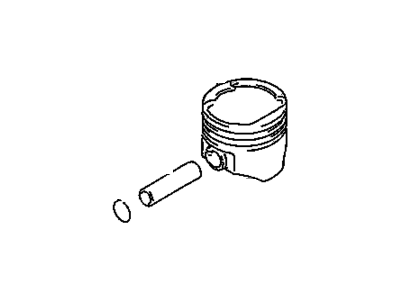
Part Number: 91177380$14.99 MSRP: $114.41You Save: $99.42 (87%)Ships in 1-2 Business DaysChevrolet Tracker Piston Kit,Os:0.50 (On Esn) *Includes Pis
Part Number: 91173289$4.94 MSRP: $117.68You Save: $112.74 (96%)Ships in 1-2 Business DaysChevrolet Tracker Piston (On Esn)
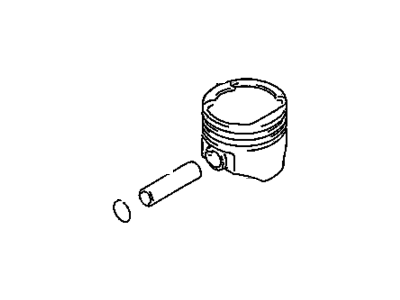
Part Number: 91177383$5.68 MSRP: $130.17You Save: $124.49 (96%)Ships in 1-2 Business DaysChevrolet Tracker Piston Kit,Os:050 (On Esn)
Part Number: 91177382$59.71 MSRP: $120.40You Save: $60.69 (51%)
Chevrolet Tracker Piston
Piston in Chevrolet Tracker is a part of the internal combustion engines which is very effective in the transformation of combustion power into the energy needed to power the vehicle. It functions by transmitting power from the expanding gases to the crankshaft for a proper running of the engine. Conventionally made from aluminum alloys, for their strength and low weight, the blown design incorporates gas-tight piston rings. Various piston styles have been used in Tracker vehicles over the years these include trunk pistons for both petrol and diesel engines which provide side force and features oil rings. Also, racing pistons have more protection with lightweight and high strength to achieve required RPM. There are also certain adaptations such as cross head and slipper piston that are also used in some special applications since owing to their special design they facilitate better lubrication and lesser friction which is quite effective for a vehicle.
Each OEM Chevrolet Tracker Piston we offer is competitively priced and comes with the assurance of the manufacturer's warranty for the part. Furthermore, we guarantee the speedy delivery of your orders right to your doorstep. Our hassle-free return policy is also in place for your peace of mind.
Chevrolet Tracker Piston Parts Questions & Experts Answers
- Q: How to install piston/connecting rod assemblies on Chevrolet Tracker?A:To ensure clean cylinder walls and chamfer top edge of each cylinder before installing piston/connecting rod assemblies. Similarly, for the installation to be successful, the Crankshaft must be positioned well. Therefore, by removing the cap from the end of number one connecting rod and wiping bearing surfaces of both connecting rod and cap with clean cloth. The tab on this bearing insert should fit into a recess in the rod too. Also, another bearing insert has to be cleaned at its backside before it is put into position in the rod cap with its tab matching a recess in the cap. After that, put Piston Ring gaps around piston then apply some clean engine oil to lubricate both piston and rings. Using a Piston Ring Compressor, attach it to pistons; compress also until rings become flush with pistons themselves. Finally rotate crankshaft so that number one connecting rod journal is at bottom dead center then coat cylinder walls with an engine oil film. Match pistons to cylinders and gently insert assembled piston/connecting rods assembly into number one cylinder bore. While guiding connecting rod onto crankshaft journal tap top of piston using wooden/plastic hammer handle as well as fit it perfectly in place. Plastigage will be used to measure clearance which requires being checked after assembling the entire unit (piston/rod). To do so, plastigage material needs to be wiped out from either the bearing face or rod journal followed by application of moly-based grease or clean engine assembly lube on them all over again Clean Plastigage material off bearing face/rod journal and then apply a thin coating of clean molybase grease or engine assembly lube across them Slide back connecting road into place over journal; install next rod cap using nuts that will need tightening up until reaching required torque value Awaiting for completion suivant cet ordre de retirer les composants restants. Finally install other remaining components in reverse order.
