My Garage
My Account
Cart
Genuine GMC Jimmy Piston
Engine Pistons- Select Vehicle by Model
- Select Vehicle by VIN
Select Vehicle by Model
orMake
Model
Year
Select Vehicle by VIN
For the most accurate results, select vehicle by your VIN (Vehicle Identification Number).
38 Pistons found
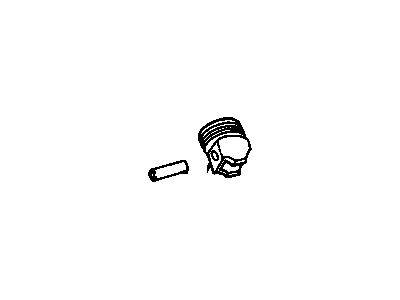
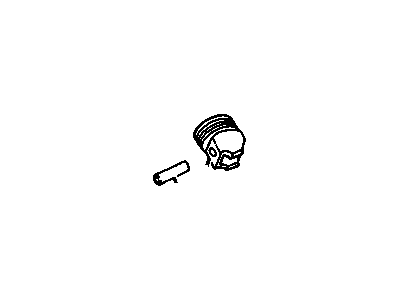
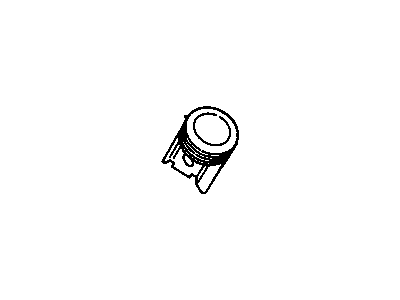
GMC Jimmy Piston Asm,(W/ Pinion)(Std)
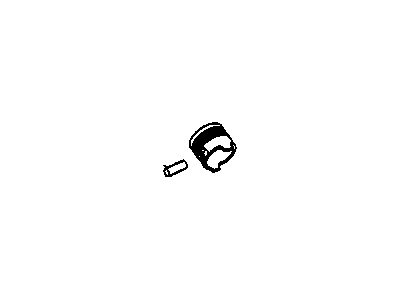
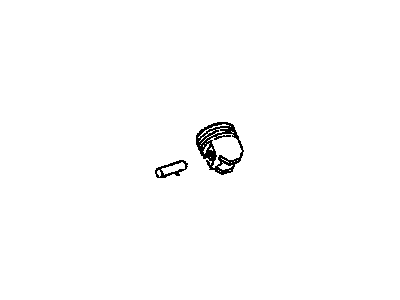
Part Number: 88894280$133.03 MSRP: $220.18You Save: $87.15 (40%)Ships in 1-3 Business DaysGMC Jimmy Piston Kit, (Includes Rings) Std
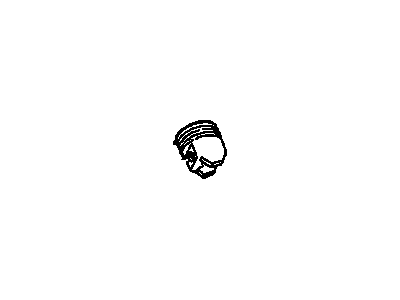
Part Number: 12455573$65.88 MSRP: $132.83You Save: $66.95 (51%)GMC Jimmy F, Piston
Part Number: 10049077$36.49 MSRP: $52.44You Save: $15.95 (31%)Ships in 1-2 Business DaysGMC Jimmy PISTON, Engine Piston
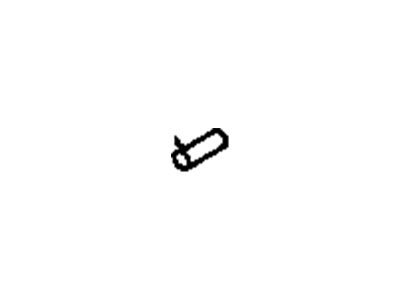
Part Number: 10049078$46.50 MSRP: $66.83You Save: $20.33 (31%)Ships in 1-2 Business DaysGMC Jimmy Pin Kit,Piston
Part Number: 19302651$107.79 MSRP: $178.40You Save: $70.61 (40%)Ships in 1-3 Business DaysGMC Jimmy Piston & Piston Pinion Assembly, .030 Outside
Part Number: 14093991$7.26 MSRP: $133.33You Save: $126.07 (95%)Ships in 1-2 Business DaysGMC Jimmy Piston & Pinion Assembly, Service Std
Part Number: 23500391$155.92 MSRP: $246.43You Save: $90.51 (37%)
| Page 1 of 2 |Next >
1-20 of 38 Results
GMC Jimmy Piston
In GMC Jimmy vehicles, this component called piston is used in conversion of the energy output of the combustion process into mechanical energy needed in the operation of the vehicle. Being one of the most crucial parts of any internal combustion engine, the piston in GMC Jimmy moves back and forth inside the cylinder, pushing the force created by the expanding gaseous fuel through the crankshaft. This action is made possible by the piston, which is normally made of aluminum alloys to provide strength with a lighter weight while additional piston rings provide a gas tight seal in the cylinder. In the course of using or producing different models of GMC Jimmy, several types of pistons may have been used in order to enhance the performance of the engines. There are several general types such as the trunk pistons which are popular with both petrol and diesel engines hence being designed to cater for side forces while at the same time integrating oil rings to enhance the lubrication process. On the other hand, racing pistons, which might be fitted onto high-Revolution per minute and or high temperature engines, like in the high-Performance GMC Jimmy, are made to be very strong and highly resistant and may use the following types of materials or construction including, forged or billet aluminum. Every piston model of the Jimmy manufactured by GMC is unique depending on what an engine needs during varied driving situations. From a basic trunk piston to a high-performance racing piston, the GMC Jimmy still employs this part to provide the car's dependability and efficiency.
Each OEM GMC Jimmy Piston we offer is competitively priced and comes with the assurance of the manufacturer's warranty for the part. Furthermore, we guarantee the speedy delivery of your orders right to your doorstep. Our hassle-free return policy is also in place for your peace of mind.
GMC Jimmy Piston Parts Questions & Experts Answers
- Q: What steps should be followed before installing the piston and connecting rod assemblies on GMC Jimmy?A:Prior to fitting of the piston and connecting rod assemblies the cylinder walls should be clean, the top edge of each cylinder should be chamfered and the crank shaft should be fitted. Take off the connecting rod cap of the number one connecting rod and pull out the bearing inserts; there are always some debris on the bearing surface-wipe this area with a clean cloth. Remove any dirt or grease from the back side of new upper bearing half, place the half in its place on the connecting rod so that the tab should fit into the recess and so that you do not hammer the bearing face or nick it, do not lubricate at this time. Remove the bearings on one rod cap and clean the other side of the bearing insert that is on the other rod cap and then you will place the other bearing insert into the rod cap making sure the tab gets into the recess without use of grease.-align the gaps of the Piston Ring in the right position and place a section of a plastic or rubber hose over the connecting rod cap bolts. Dip the piston and the rings in clean engine oil, place the piston ring compressor on it and center the skirt about 1/4-inch away. Turn the Crankshaft through 720 degrees and place the number one connecting rod journal at bottom dead centre and wipe the cylinder walls with engine oil. With your notch on top of the piston facing the front of the engine, carefully install the piston and connecting rod assembly into the number one cylinder bore with bottom of ring compressor lying on the block and tap the top side for better contact. Scrape, deglaze and clean the 'top' of the number one connecting rod journal, on the crankshaft, and the bearing surfaces, in the rod. Ease the piston onto the crankshaft journal with downward pressure on the ring compressor to avoid the piston rings' shooting out through the open upper end of the cylinder; with a wooden hammer handle, gently knock the top of the piston. After the fixture is set, measure the oil clearance of connecting Rod Bearing by placing a piece of Plastigage at number one connecting rod journal before finally tightening the rod cap permanently in place. Scrub the connecting rod cap bearing face, Remove protectors from the connecting rod bolts and then carefully fit the rod cap in a manner that the marks faced each other. All the nuts to be tightened performed in three steps without having to rotate the crankshaft. Slowly and cautiously undo the rod cap to avoid upsetting the Plastigage and by referring to the width of the crushed Plastigage on the scale on the container get the oil clearance that should conform to the specifications. Remove as much Plastigage material from the bearing without damaging the bearing itself, clean both bearing faces, using a finger or paper towel applied a thin film of clean engine assembly lube. Put the connecting rod back to its position, take off the protective hoses, fix the rod cap and tighten the nuts in three sequences. Do the same for the piston and connecting rod assemblies that are yet to be cleaned; also make sure that the pistons are in the right position. Once all the assemblies are in place take the crank by the aid of a breaker bar, turn the crankshaft to feel for binding, and at last check the connecting rod end float, match them up to the standard provided for correctness.
