My Garage
My Account
Cart
Genuine GMC Sierra Drive Shaft
Axle Shaft- Select Vehicle by Model
- Select Vehicle by VIN
Select Vehicle by Model
orMake
Model
Year
Select Vehicle by VIN
For the most accurate results, select vehicle by your VIN (Vehicle Identification Number).
360 Drive Shafts found
GMC Sierra Propeller Shaft Assembly
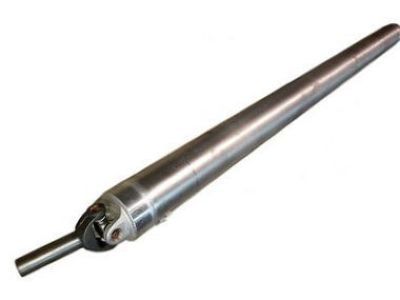
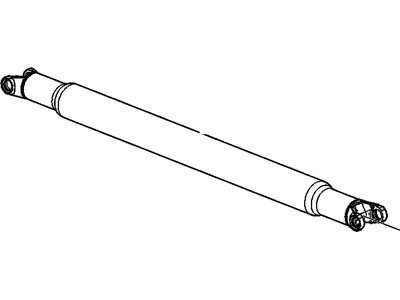
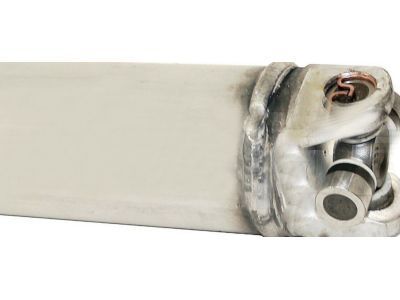
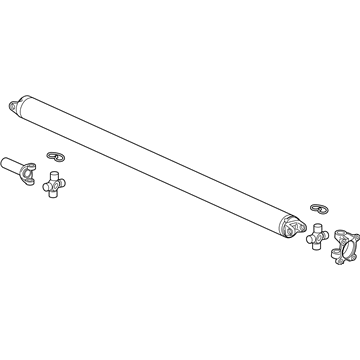
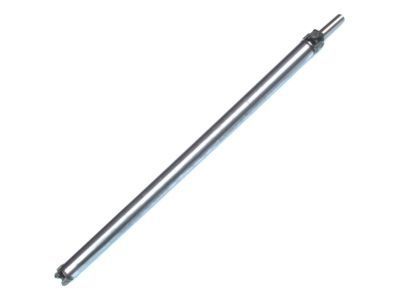
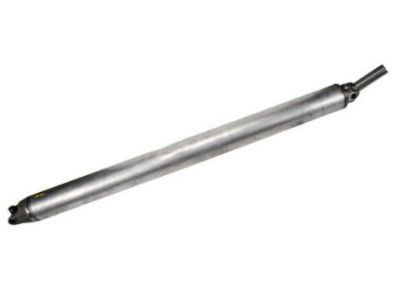
Part Number: 15112325$878.93 MSRP: $1364.97You Save: $486.04 (36%)GMC Sierra Propeller Shaft Assembly
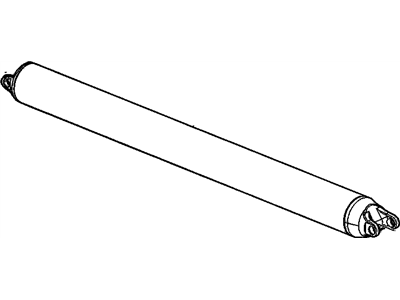
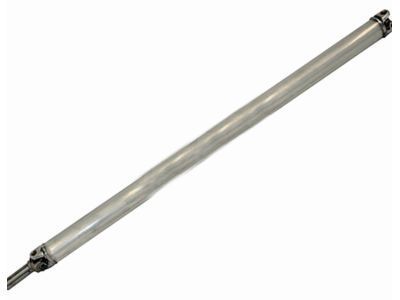
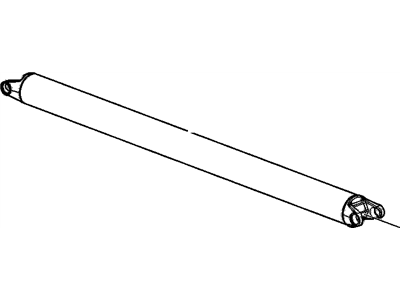
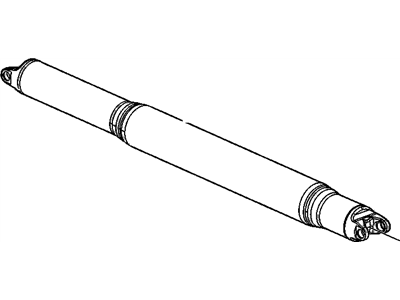
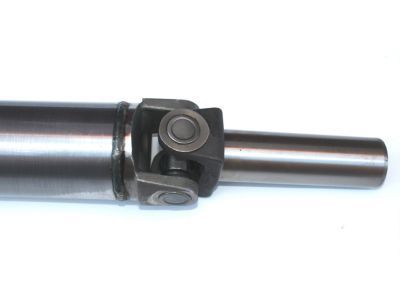
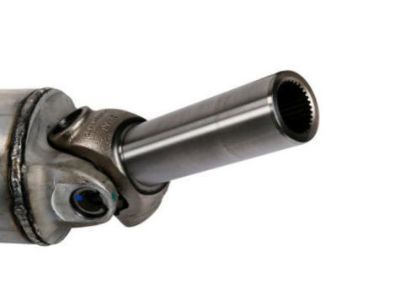
Part Number: 25857868$821.35 MSRP: $1153.75You Save: $332.40 (29%)GMC Sierra Propeller Shaft Assembly
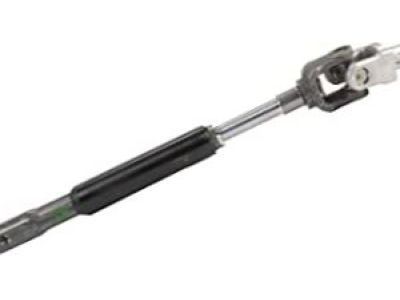
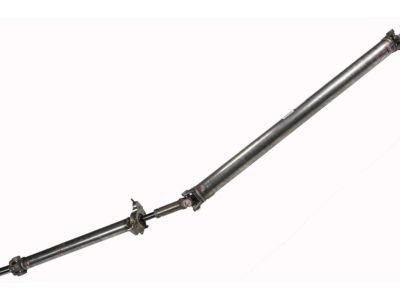
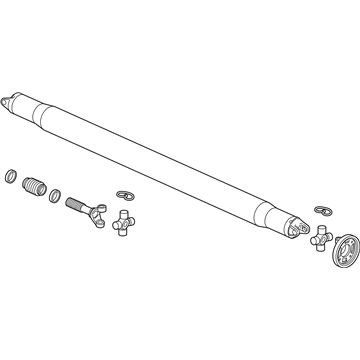
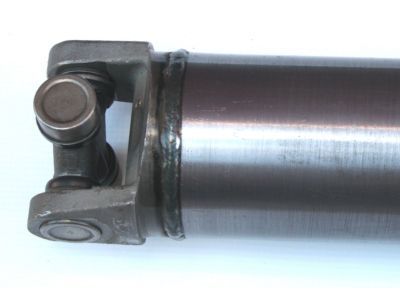
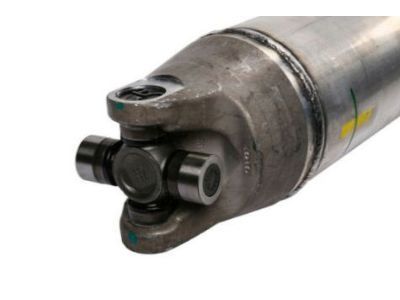
Part Number: 23251126$1234.15 MSRP: $3218.01You Save: $1983.86 (62%)Ships in 1-3 Business DaysGMC Sierra Front & Rear Propeller Shaft Assembly
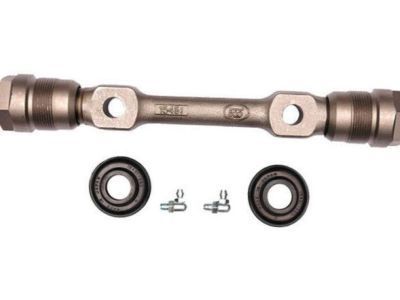
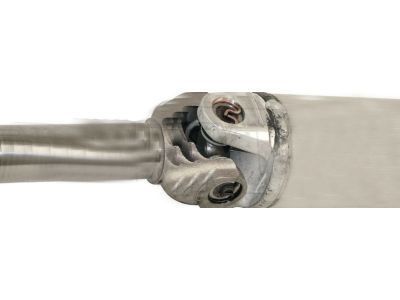
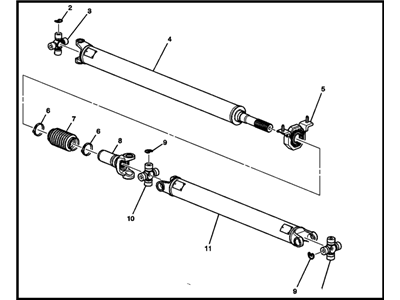
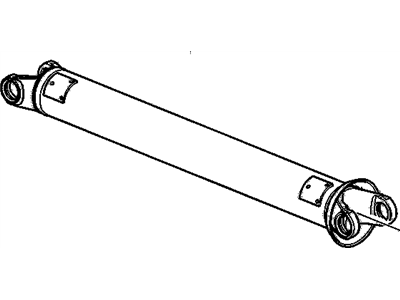
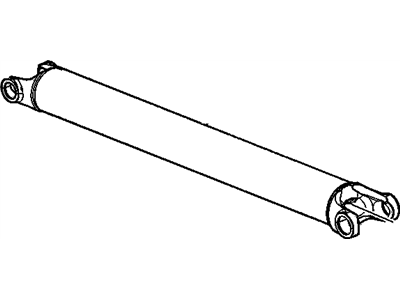
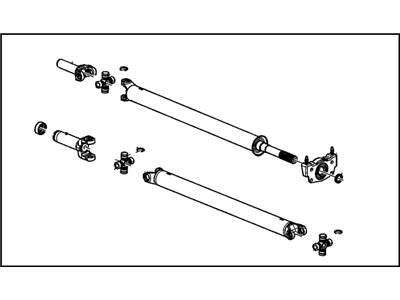
Part Number: 23508419$1295.42 MSRP: $2878.34You Save: $1582.92 (55%)Ships in 1-3 Business DaysGMC Sierra Propeller Shaft Assembly
Part Number: 84669661$791.02 MSRP: $1352.65You Save: $561.63 (42%)GMC Sierra Propeller Shaft Assembly
Part Number: 23418973$771.12 MSRP: $1245.12You Save: $474.00 (39%)Ships in 1-2 Business DaysGMC Sierra Propeller Shaft Assembly
Part Number: 84907490$571.47 MSRP: $911.24You Save: $339.77 (38%)Ships in 1-3 Business DaysGMC Sierra Propeller Shaft Assembly
Part Number: 20912702$1591.31 MSRP: $2235.31You Save: $644.00 (29%)Ships in 1-2 Business DaysGMC Sierra Propeller Shaft Assembly
Part Number: 84669660$586.32 MSRP: $955.64You Save: $369.32 (39%)Ships in 1-3 Business DaysGMC Sierra Propeller Shaft Assembly
Part Number: 23418972$898.40 MSRP: $2019.15You Save: $1120.75 (56%)GMC Sierra Propeller Shaft Assembly
Part Number: 84669664$612.30 MSRP: $997.95You Save: $385.65 (39%)GMC Sierra Propeller Shaft Assembly
Part Number: 84229485$1041.95 MSRP: $2276.27You Save: $1234.32 (55%)Ships in 1-2 Business DaysGMC Sierra Propeller Shaft Assembly
Part Number: 84202536$440.14 MSRP: $752.61You Save: $312.47 (42%)Ships in 1-2 Business DaysGMC Sierra Propeller Shaft Assembly
Part Number: 84041624$599.67 MSRP: $956.39You Save: $356.72 (38%)GMC Sierra Propeller Shaft Assembly
Part Number: 84997516$554.71 MSRP: $956.90You Save: $402.19 (43%)Ships in 1-3 Business DaysGMC Sierra Front Axle Propeller Shaft Assembly
Part Number: 22760959$327.44 MSRP: $579.32You Save: $251.88 (44%)Ships in 1-2 Business DaysGMC Sierra Propeller Shaft Assembly
Part Number: 15751438$693.14 MSRP: $896.13You Save: $202.99 (23%)GMC Sierra Propeller Shaft Assembly
Part Number: 10382035$596.43 MSRP: $946.93You Save: $350.50 (38%)
| Page 1 of 18 |Next >
1-20 of 360 Results
GMC Sierra Drive Shaft
The GMC Sierra Drive Shaft functions as an essential linkage which directs transmission power to the rear axle of rear-wheel drive models and directs transfer case power to the front differential of all-wheel and four-wheel drive GMC Sierra units. Power transmission depends on flexible joints which include U-joints or double cardan joints to operate within GMC Sierra vehicle designs that consist of hollow tubes with yokes at the ends. During the history of GMC Sierra models manufacturers have employed both single-piece and split Drive Shaft as power transmission components. Drive Shaft with two separate pieces incorporate a bearing at their center to enhance their capability for managing limited space requirements. Excessive operating angles in 4WD platforms require the implementation of rzeppa-type constant velocity joints to maintain effective drive. Drive Shaft experience two main type of operational problems because of worn flexible joints and the absence of proper lubrication or an unbalanced condition that results in operational vibrations and noise.
Each OEM GMC Sierra Drive Shaft we offer is competitively priced and comes with the assurance of the manufacturer's warranty for the part. Furthermore, we guarantee the speedy delivery of your orders right to your doorstep. Our hassle-free return policy is also in place for your peace of mind.
GMC Sierra Drive Shaft Parts Questions & Experts Answers
- Q: How to remove and install the drive shaft on GMC Sierra?A:Raising the vehicle and supporting it on jackstands, with the front wheels blocked, would remove the rear driveshaft. In order to reinstall in the same position reference marks should be made on the driveshaft and pinion flange and ensure that the transmission is in Neutral with the parking brake off. The drive shaft should be lowered by removing its back u-joint bolts and retainers then slid out of transfer case or transmission. When installing, slide front end into transmission or transfer case then raise rear into position with marks aligned. Afterward, all bolts must be tightened to their proper torque specifications and clamps used to secure bearing caps. For 4WD models' front drive shaft, raise vehicle using jack stands after removal of differential carrier splash shield if any. The boot at the transfer case output shaft should be disengaged and relationship between driveshaft and companion flange marked for future reference. Thereafter disconnect bolts as well as clamps from differential flange while pushing driveshaft toward rear so that it can be separated from this flange before lowering it down to pull out of transfer case. To install, insert a sliding shaft that has splines at its rear through transfer case's output ends while aligning marks attached to them with those found on companion flange's front end. Install clamps together with bolts tightly according to specified torque values whereas push up boot over groove of transfer case output shaft where new clip will have been crimped into place subsequently using clamp-crimping pliers for reinforcement purposes. Lastly, splash shield of front differential carrier should be installed back there again.
Related GMC Sierra Parts
Browse by Year
2024 Drive Shaft 2023 Drive Shaft 2022 Drive Shaft 2021 Drive Shaft 2020 Drive Shaft 2019 Drive Shaft 2018 Drive Shaft 2017 Drive Shaft 2016 Drive Shaft 2015 Drive Shaft 2014 Drive Shaft 2013 Drive Shaft 2012 Drive Shaft 2011 Drive Shaft 2010 Drive Shaft 2009 Drive Shaft 2008 Drive Shaft 2007 Drive Shaft 2006 Drive Shaft 2005 Drive Shaft 2004 Drive Shaft 2003 Drive Shaft 2002 Drive Shaft 2001 Drive Shaft 2000 Drive Shaft 1999 Drive Shaft
