My Garage
My Account
Cart
Genuine Oldsmobile Cutlass Brake Master Cylinder
- Select Vehicle by Model
- Select Vehicle by VIN
Select Vehicle by Model
orMake
Model
Year
Select Vehicle by VIN
For the most accurate results, select vehicle by your VIN (Vehicle Identification Number).
16 Brake Master Cylinders found
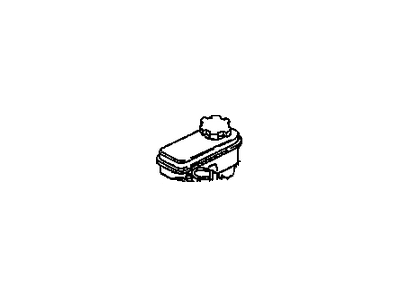
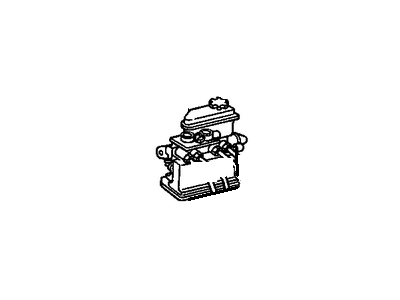
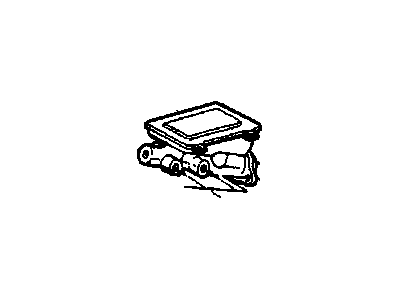
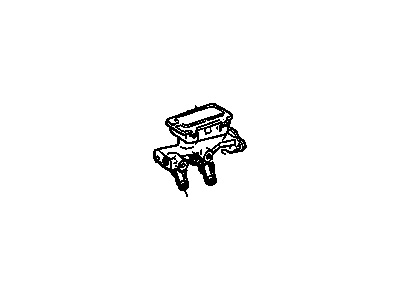
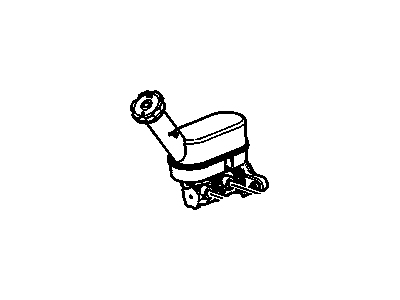
Oldsmobile Cutlass Brake Master Cylinder Assembly
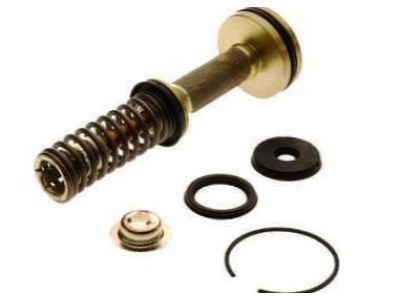
Part Number: 18021215$277.53 MSRP: $423.94You Save: $146.41 (35%)Ships in 1-2 Business DaysOldsmobile Cutlass Cylinder Assembly, Brake Master (Remanufactured Control & Pump Assembly)
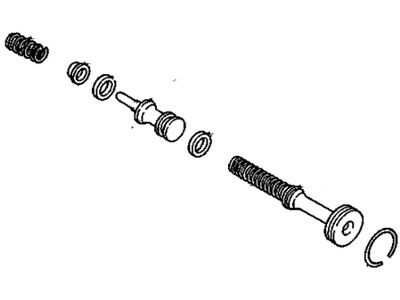
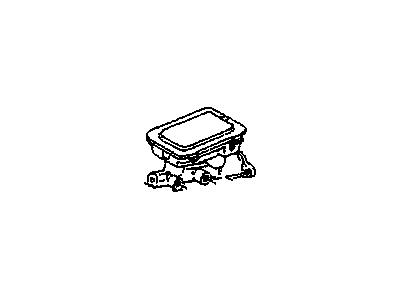
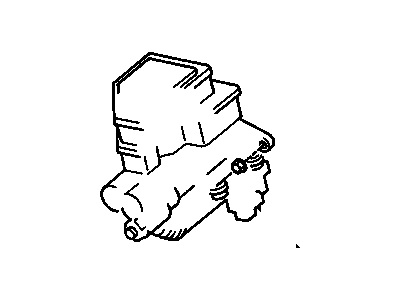
Part Number: 18038869
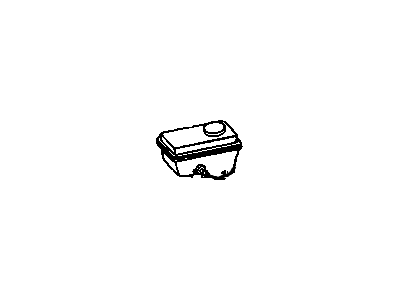
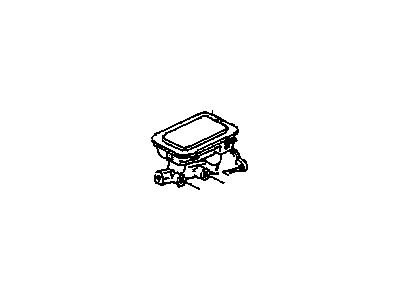
Oldsmobile Cutlass Brake Master Cylinder
The Brake Master Cylinder used in Oldsmobile Cutlass cars is an important unit to the braking process, which translates pressure applied on the brake pedal into hydraulic pressure for operation of the brakes. It usually incorporates pistons, seals, and springs that may be made of cast iron or aluminium while the fluid storage may be integrated or detached. The design enables the usage of two circuits thus in the event that one of the circuits fails the other will continue supplying braking pressure, increasing safety. Oldsmobile Cutlass models up to the current have come with different styles of Brake Master Cylinder and most were different in reservoir styling and material. Others are the leakage of the brake fluid and internal failure that can cause low braking power. lubrication also helps in the prevention of corrosion due to moisture to allow the efficient performance of Brake Master Cylinder for safety of the Oldsmobile Cutlass.
Each OEM Oldsmobile Cutlass Brake Master Cylinder we offer is competitively priced and comes with the assurance of the manufacturer's warranty for the part. Furthermore, we guarantee the speedy delivery of your orders right to your doorstep. Our hassle-free return policy is also in place for your peace of mind.
Oldsmobile Cutlass Brake Master Cylinder Parts Questions & Experts Answers
- Q: How should you properly fit and rebuild a brake master cylinder on Oldsmobile Cutlass?A:Due to the variant of types and sizes of Brake Master Cylinders used in GM cars, all these components may need to be taken to auto parts store for proper fitting. First untighten the hydraulic lines coming out from the Brake Master Cylinder, wipe any dripping fluid with the dry clothes and use plugs to cover the ends of these hydraulic lines so that no fluid spills or any dirt gets into the Brake Master Cylinder. In as much as the manual brakes are connected to the push rod of the Brake Pedal inside the car, you should detach it together with the Brake Master Cylinder bolts from the fire wall or the power booster of the car but do not allow the brake fluid drop on any painted surface. Remove all the fluid from the Brake Master Cylinder, mount the unit in a vise making sure that it is in between two wooden blocks. In the case of manual brakes, the primary spring and push rod retaining clip should be removed, then the second stop bolt, which is usually provided at the underside of the front fluid reservoir or at the base of the Brake Master Cylinder housing. Take off the retaining ring from the groove and breakdown the primary piston assembly; secondary piston, spring and retainer may also be required to be stripped by a bent stiff wire where possible. On all models which are from the year 1978 onwards, the reservoir can be lip pried off the Brake Master Cylinder body. Check the Brake Master Cylinder for external scoring on the internal cylinder wall and secondary piston; if observed, replace the Brake Master Cylinder. If the components are in good condition, the assembly should be washed in clean hydraulic fluid and all rubber components as well as the primary piston should be discarded and instead a rebuild kit should be procured which contains all the parts necessary for the overhaul of the assembly. Where the fluid pipes connect to the Brake Master Cylinder body lies the seats of the tube, these should be changed if worn with new ones found in the overhaul kit, it is gotten by forcing out the current one with a screw and the new one fitted by the help of a spare brake line nut. Insert the new secondary seals into the groove of the secondary piston and put the primary seals as well as the seal protector at the end of the secondary piston. Coat the cylinder bore and the bore of the second piston with brake fluid, then insert the spring keeper into the spring and position them over the sharpen end of the second piston, the keeper must fit the inside of the primary sealing lips. With the Brake Master Cylinder in a vertical position, use your fingers to push the secondary piston into the bore to compress the spring, using the brake fluid wet the seals of the primary piston then place it in the cylinder bore while holding it down, screw in the retaining ring into the cylinder groove. Press on the piston while tightening the stop screw, then, the diaphragm should be fit back into the reservoir cover plate and should be completely twisted inside the concave cover. If ever removed, place the lid aside and fit in the reservoir into the cylinder body. Last, reinstall the Brake Master Cylinder in the how it was removed, tighten the bolts which attach the Brake Master Cylinder to specification value, add new brake fluid to the Brake Master Cylinder and then bleed the entire hydraulic system.
Related Oldsmobile Cutlass Parts
Browse by Year
1999 Brake Master Cylinder 1998 Brake Master Cylinder 1997 Brake Master Cylinder 1996 Brake Master Cylinder 1995 Brake Master Cylinder 1994 Brake Master Cylinder 1993 Brake Master Cylinder 1992 Brake Master Cylinder 1991 Brake Master Cylinder 1990 Brake Master Cylinder 1989 Brake Master Cylinder 1988 Brake Master Cylinder 1987 Brake Master Cylinder 1986 Brake Master Cylinder 1985 Brake Master Cylinder 1984 Brake Master Cylinder 1983 Brake Master Cylinder 1982 Brake Master Cylinder
