My Garage
My Account
Cart
Genuine Oldsmobile Cutlass Rod Bearing
Engine Connecting Rod Bearing- Select Vehicle by Model
- Select Vehicle by VIN
Select Vehicle by Model
orMake
Model
Year
Select Vehicle by VIN
For the most accurate results, select vehicle by your VIN (Vehicle Identification Number).
14 Rod Bearings found
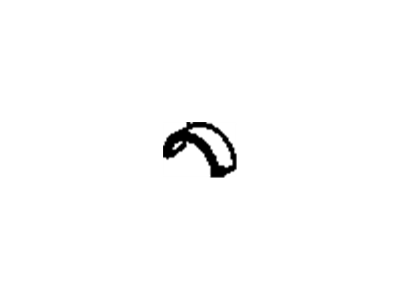
Oldsmobile Cutlass Bearing,Connect Rod
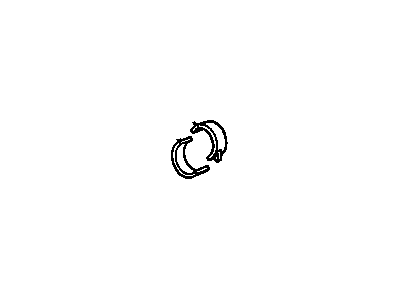
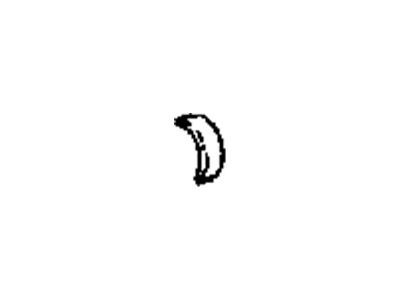
Part Number: 12522143$20.42 MSRP: $41.18You Save: $20.76 (51%)Oldsmobile Cutlass Bearing Unit,Connect Rod
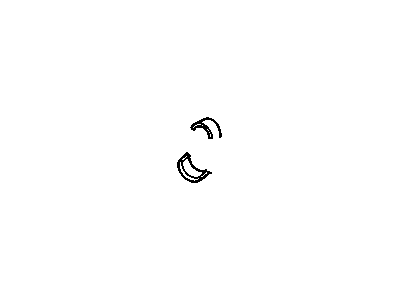
Part Number: 10181335$16.26 MSRP: $32.80You Save: $16.54 (51%)Oldsmobile Cutlass Bearing Kit,Connect Rod
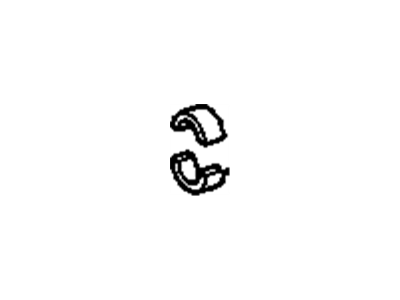
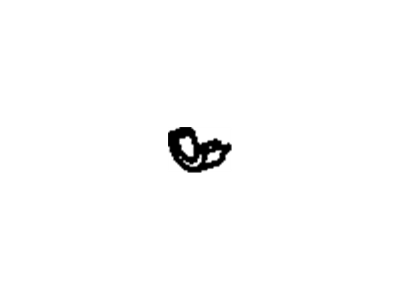
Part Number: 12482039$52.80 MSRP: $106.49You Save: $53.69 (51%)Oldsmobile Cutlass Bearing Kit,Connect Rod
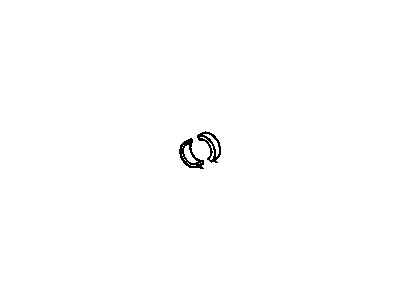
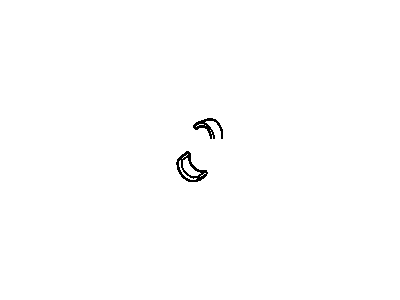
Part Number: 89017700$15.23 MSRP: $25.21You Save: $9.98 (40%)Ships in 1-2 Business DaysOldsmobile Cutlass Connect Rod Bearing Kit
Part Number: 12480255$0.38 MSRP: $0.59You Save: $0.21 (36%)
Oldsmobile Cutlass Rod Bearing
The Rod Bearing of the Oldsmobile Cutlass vehicle model plays an important role of bearing the crankshaft and connecting rods, this is used to allow for rotation of the crank while at the same time reducing friction. These are often plain bearings and these can either be of bi-metal or tri-metal construction. Bi-metal Rod Bearings have aluminium alloy lining and this is usually reinforced by silicone for increased hardness and seizure. On the other hand, the so-called tri-metal Rod Bearings feature a copper alloy layer together with a lead-tin-copper overlay to boost the material's strength and fatigue life. Since the inception of Oldsmobile Cutlass cars, the manufacturers have applied a range of Rod Bearing types and specs, the high-performance cars incorporate the three-metal bearings due to the features of strong bearing capacity and better lubrication. High strength steel or alloy may also be used for these performance Rod Bearings, these may also include proprietary surface treatments and varying degree of eccentricity to manage oil clearance and friction thus ideal for high output engine applications. Rod Bearing is very important for Oldsmobile Cutlass in terms of its performance and durability and that is why it needs to be installed properly and maintained correctly.
Each OEM Oldsmobile Cutlass Rod Bearing we offer is competitively priced and comes with the assurance of the manufacturer's warranty for the part. Furthermore, we guarantee the speedy delivery of your orders right to your doorstep. Our hassle-free return policy is also in place for your peace of mind.
Oldsmobile Cutlass Rod Bearing Parts Questions & Experts Answers
- Q: How should rod bearing clearances be checked during an engine overhaul in V8 engine on Oldsmobile Cutlass?A:When working with Plastigage, three precautions should be taken, Before testing, it is very important to see to it that all the oil and grease will be 'off' at the Crankshaft and bearing surfaces, do not revolve the crankshaft while the Plastigage is in place as this would be damaging to this piece of equipment, and also while removing the Plastigage, be very careful not to harm the crankshaft or the bearing surfaces and when doing this, only use fingers or a Main and connecting rod bearings have to be checked whenever an engine is overhauled, also for reused bearings and new ones; the procedure is similar. It is advised that you start with the placement of main bearings and caps followed by cleaning all the grit and oil from the crankshaft and bearing journal. Put dowels of Plastigage across every main bearing journal and then loosely screw every main bearing cap and tighten it to recommended torque that must see the arrow on every cap pointing towards the front side of the applicable engine. When tightening is complete, for each bearing, remove the bearing cap and then compare the flattened width of the Plastigage strip with the scale on the envelope to know the bearing clearance. If the Plastigage is flattened more near to the ends than towards the middle of the width, then it can be ascertained if there is journal taper or not as per standard limit. To check for out-of-round, you have to uninstall the PlastiGage, turn the crankshaft by 90 degrees and redo the clearances checks to compare the two readings in order to determine eccentricity. For connecting rod bearing clearances, each Piston/rod assembly is to be fitted and Plastigage used as mentioned earlier together with checking of connecting rod side clearance. If the bearings are within the tolerance limits then they may be fitted, but if they are outside then they have to be replaced with the correct one, where the upper and lower bearings have to fit together.
Related Oldsmobile Cutlass Parts
Browse by Year
1999 Rod Bearing 1998 Rod Bearing 1997 Rod Bearing 1996 Rod Bearing 1995 Rod Bearing 1994 Rod Bearing 1993 Rod Bearing 1992 Rod Bearing 1991 Rod Bearing 1990 Rod Bearing 1989 Rod Bearing 1988 Rod Bearing 1987 Rod Bearing 1986 Rod Bearing 1985 Rod Bearing 1984 Rod Bearing 1983 Rod Bearing 1982 Rod Bearing
