My Garage
My Account
Cart
Genuine Pontiac Control Arm
Suspension Arm- Select Vehicle by Model
- Select Vehicle by VIN
Select Vehicle by Model
orMake
Model
Year
Select Vehicle by VIN
For the most accurate results, select vehicle by your VIN (Vehicle Identification Number).
160 Control Arms found
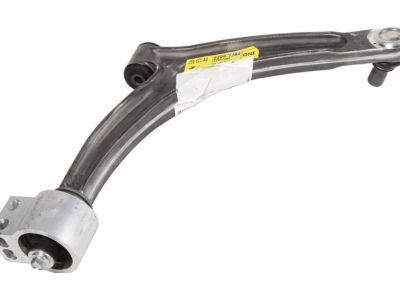
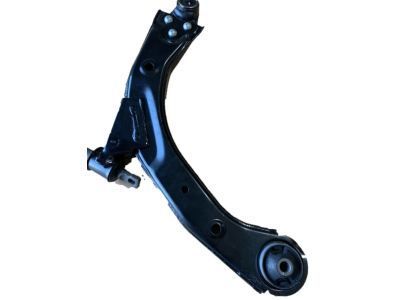
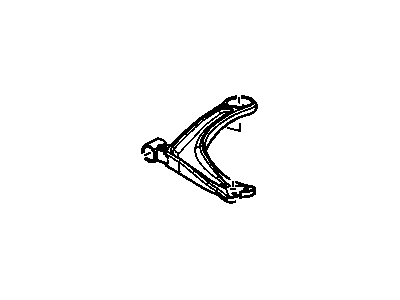
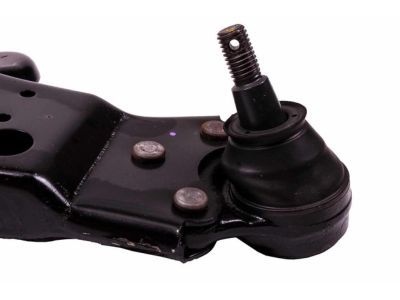
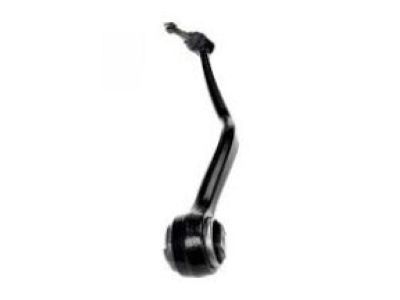
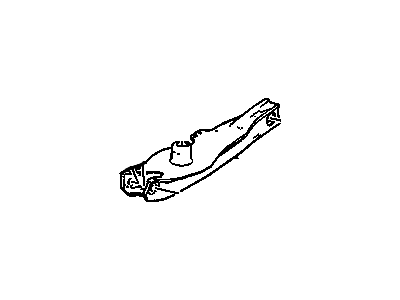
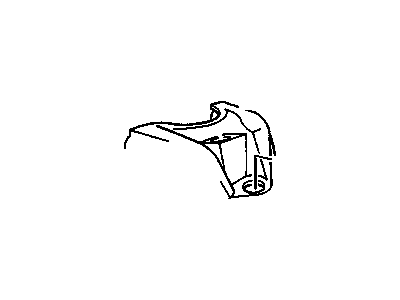
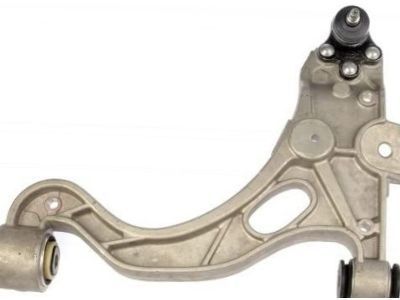
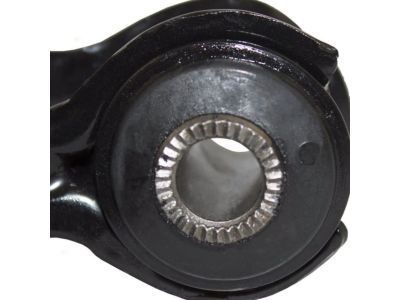
Pontiac Front Lower Control Arm Assembly
Part Number: 22997284$260.71 MSRP: $445.80You Save: $185.09 (42%)Ships in 1-2 Business DaysProduct Specifications- Other Name: Arm Assembly, Front Lower Control; Lower Control Arm
- Position: Front Lower
- Replaces: 22730775, 88966975, 15292911
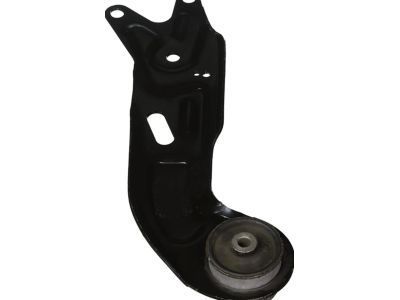
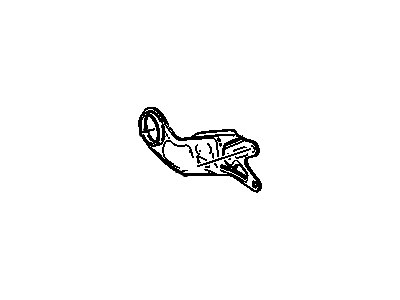
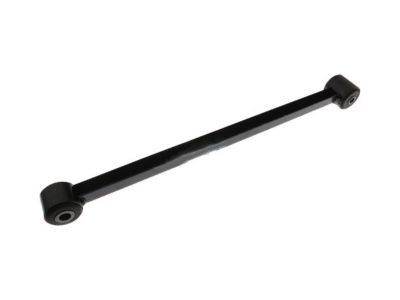
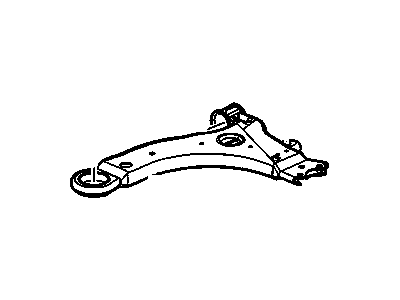
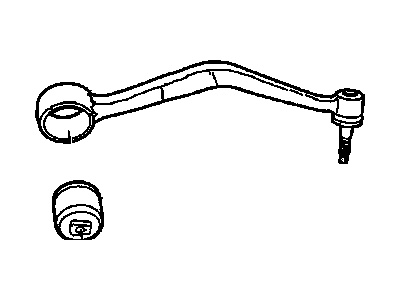
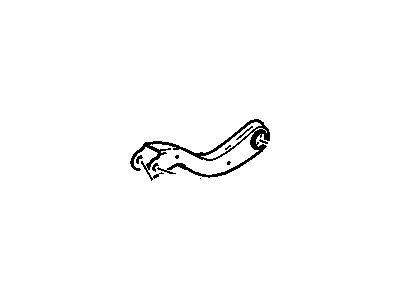
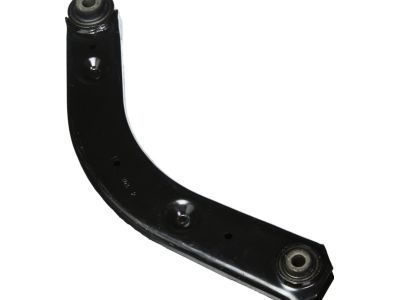
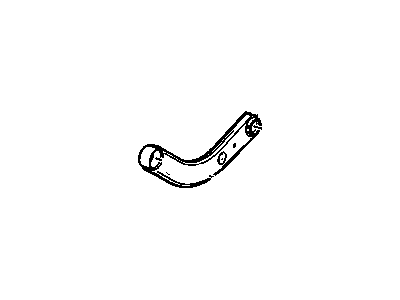
Pontiac Rear Axle Control Arm
Part Number: 15292404$62.37 MSRP: $106.63You Save: $44.26 (42%)Ships in 1-2 Business DaysProduct Specifications- Other Name: Arm,Rear Axle Control; Trailing Arm
- Position: Rear
- Replaces: 22724673, 15212416, 15212417
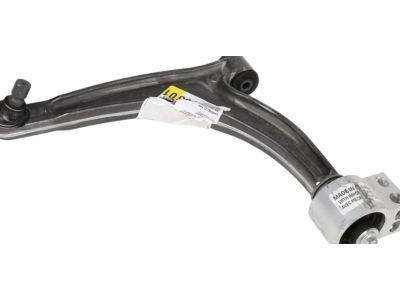
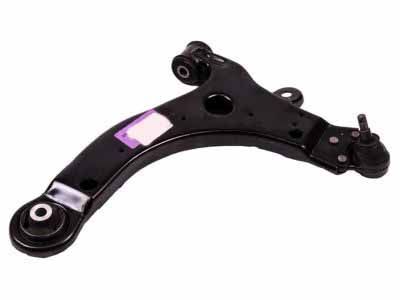
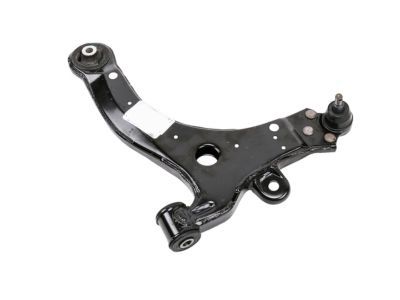
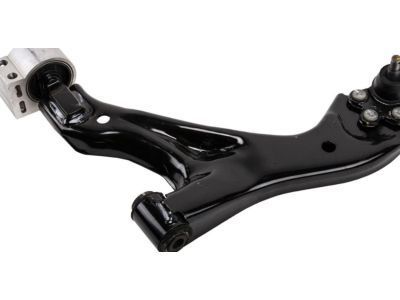
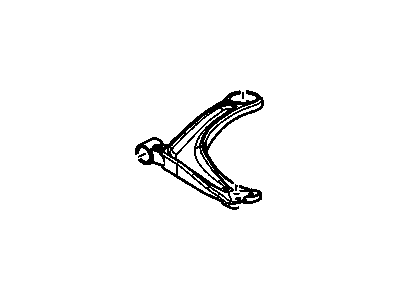
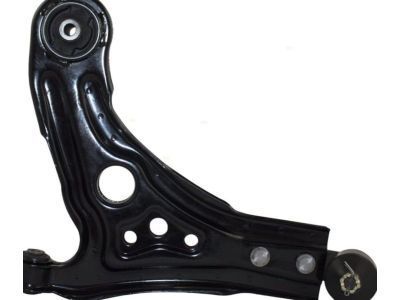
Pontiac Front Lower Control Arm Assembly
Part Number: 25984680$152.97 MSRP: $263.89You Save: $110.92 (43%)Ships in 1-2 Business DaysProduct Specifications- Other Name: Arm Assembly, Front Lower Control ; Arm, Steering Knuckle Upper & Lower Control; Lower Control Arm
- Position: Front Lower
- Replaces: 15240092, 15803768
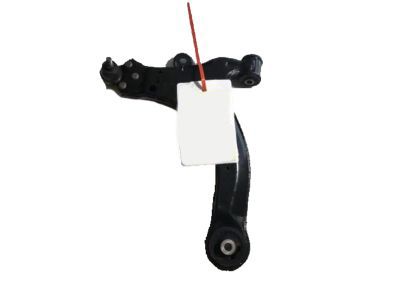
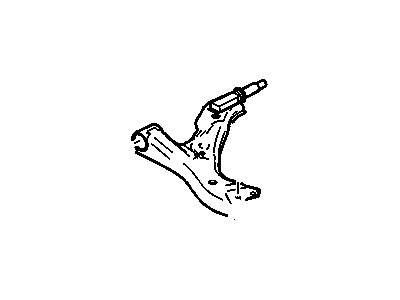
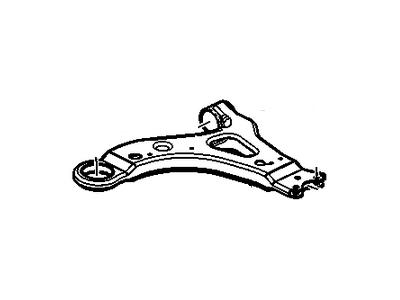
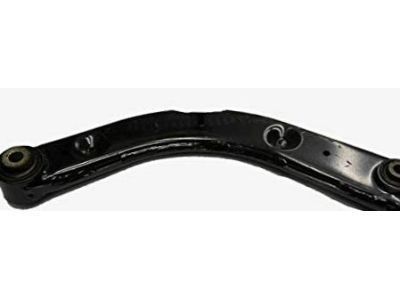
Pontiac Rear Suspension Trailing Arm Assembly
Part Number: 15820927$60.40 MSRP: $102.38You Save: $41.98 (41%)Ships in 1-2 Business DaysProduct Specifications- Other Name: Arm Assembly, Rear Suspension Trailing ; Arm, Rear Axle Control Arm; Trailing Arm
- Position: Rear
- Replaces: 10244461
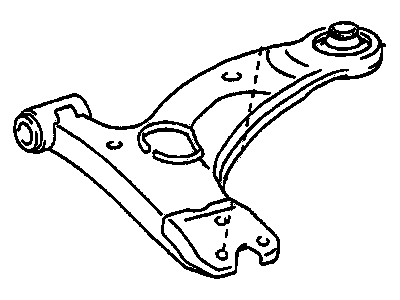
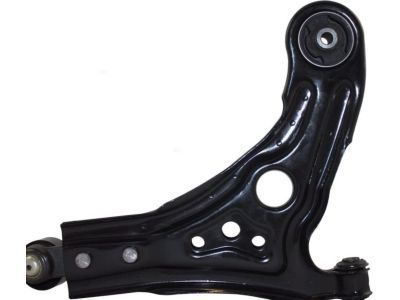
Pontiac Front Lower Control Arm
Part Number: 22947666$69.94 MSRP: $119.61You Save: $49.67 (42%)Ships in 1-2 Business DaysProduct Specifications- Other Name: Arm,Front Lower Control; Lower Control Arm
- Position: Front Lower
- Replaces: 10328902, 10344930, 10300977, 10427741, 15293669, 25853337, 10243840, 10301562, 10301563, 10327402, 15293663, 20977509, 10348615, 25853333
Pontiac Front Lower Control Arm Assembly
Part Number: 22947663$174.89 MSRP: $299.06You Save: $124.17 (42%)Ships in 1-2 Business DaysProduct Specifications- Other Name: Arm Assembly, Front Lower Control ; Arm, Steering Knuckle Lower Control; Lower Control Arm
- Position: Front Lower
- Replaces: 10328897, 10303057, 10348612, 10287709, 10328899, 10301553, 15293664, 15293661, 10301555, 10291504, 10348610, 15293666, 20977506, 25853334
Pontiac Front Lower Control Front Arm
Part Number: 92253411$178.16 MSRP: $281.58You Save: $103.42 (37%)Ships in 1-2 Business DaysProduct Specifications- Other Name: Arm,Front Lower Control Front; Front Lower Control Arm, Lower Control Arm
- Position: Front Lower
- Replaces: 92244047, 92224667
Pontiac Front Lower Control Arm Assembly
Part Number: 25878029$230.10 MSRP: $366.97You Save: $136.87 (38%)Ships in 1-2 Business DaysProduct Specifications- Other Name: Arm Assembly, Front Lower Control ; Arm, Steering Knuckle Upper & Lower Control; Control Arm, Lower Control Arm
- Position: Front Lower
- Replaces: 15780424, 15213471
Pontiac Front Lower Control Arm Assembly
Part Number: 22997285$221.27 MSRP: $495.72You Save: $274.45 (56%)Ships in 1-2 Business DaysProduct Specifications- Other Name: Arm Assembly, Front Lower Control; Lower Control Arm
- Position: Front Lower
- Replaces: 22730776, 88966974, 15292910
Pontiac Rear Lower Control Arm
Part Number: 22632794$118.66 MSRP: $269.32You Save: $150.66 (56%)Ships in 1-2 Business DaysProduct Specifications- Other Name: Arm,Rear Axle Lower Control; Lower Control Arm
- Position: Rear Lower
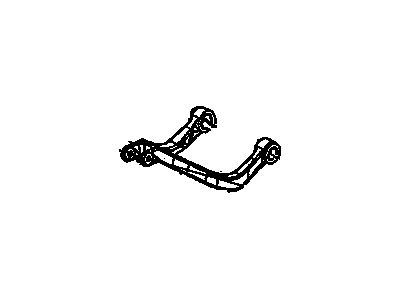
Pontiac Rear Upper Suspension Control Arm Assembly
Part Number: 22945699$45.84 MSRP: $112.35You Save: $66.51 (60%)Ships in 1-2 Business DaysProduct Specifications- Other Name: Arm Assembly, Rear Suspension Upper Control ; Arm, Rear Axle Control Arm; Upper Control Arm
- Position: Rear Upper
- Replaces: 96842685
Pontiac Front Lower Control Arm Assembly
Part Number: 25984681$152.83 MSRP: $261.34You Save: $108.51 (42%)Ships in 1-2 Business DaysProduct Specifications- Other Name: Arm Assembly, Front Lower Control ; Arm, Steering Knuckle Upper & Lower Control; Lower Control Arm
- Position: Front Lower
- Replaces: 15803769, 15240093
Pontiac Front Lower Control Arm Assembly
Part Number: 15218622$166.45 MSRP: $259.57You Save: $93.12 (36%)Ships in 1-2 Business DaysProduct Specifications- Other Name: Arm Assembly, Front Lower Control ; Arm, Steering Knuckle Upper & Lower Control; Lower Control Arm
- Position: Front Lower
Pontiac ARM KIT,FRT UPR CONT<SEE GUIDE/CONTACT BFO>
Part Number: 19416899$218.77 MSRP: $377.38You Save: $158.61 (43%)Ships in 1-2 Business DaysProduct Specifications- Other Name: Control Arm, Upper Control Arm
- Replaces: 12376266, 19133654, 12543948, 12546748
Pontiac Front Lower Control Arm Assembly
Part Number: 22611132$142.24 MSRP: $286.84You Save: $144.60 (51%)Product Specifications- Other Name: Arm Assembly, Front Lower Control ; Arm, Steering Knuckle Lower Control; Control Arm, Lower Control Arm
- Position: Front Lower
- Replaces: 22603950, 22603945, 22611130, 22599834, 22659721, 22659719, 22611134, 22597832, 22603952, 22576821
Pontiac Rear Upper Control Arm Assembly
Part Number: 25850211$73.31 MSRP: $131.50You Save: $58.19 (45%)Product Specifications- Other Name: Arm Assembly, Rear Axle Upper Control ; Arm, Rear Axle Control Arm; Upper Control Arm
- Position: Rear Upper
- Replaces: 10384438
- Product Specifications
- Other Name: Arm Assembly, Front Lower Control; Control Arm, Lower Control Arm
- Position: Front Lower
- Replaces: 19202594, 25696335, 25766509, 25672871, 88986633, 25746325, 25702222, 25703056, 25699468
Pontiac Front Lower Control Arm Assembly
Part Number: 95975941$94.56 MSRP: $148.79You Save: $54.23 (37%)Product Specifications- Other Name: Arm Asm,Front Lower Control ; Arm, Steering Knuckle Upper & Lower Control; Lower Control Arm
- Position: Front Lower
- Replaces: 96535081, 96815893, 96870465
- Product Specifications
- Other Name: Arm Assembly, Rear Suspension Upper Control ; Arm, Rear Axle Control Arm; Upper Control Arm
- Position: Rear Upper
- Replaces: 10412909
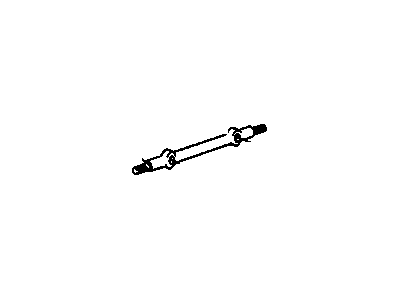
- Product Specifications
- Other Name: SHAFT KIT, Steering Knuckle Upper Control Arm
- Position: Front Upper
| Page 1 of 8 |Next >
1-20 of 160 Results
Pontiac Control Arm
If you're searching for OEM Pontiac Control Arms, look no further. Our website boasts an extensive inventory of genuine Pontiac Control Arms, all available at competitive prices online. Every part we offer comes with a manufacturer's warranty. In addition, we provide a straightforward return policy and rapid delivery services, making your shopping experience a breeze.
Pontiac Control Arm Parts Questions & Experts Answers
- Q: How to replace the front Ball Joint and Control Arm on Pontiac Fiero?A:The lower balljoint is welded to the lower control arm and cannot be serviced separately, necessitating the replacement of the entire lower control arm if the lower balljoint requires replacement. To begin removal, loosen the wheel lug nuts without removing them, then raise the front of the vehicle and support it on jackstands before removing the tire and wheel assembly. Disconnect the stabilizer bar from the lower control arm, ensuring to disconnect only the necessary end if only one lower control arm is being removed, or remove the entire stabilizer bar if both are being replaced. Next, disconnect the tie-rod from the steering knuckle and the shock absorber at the lower control arm. Support the lower control arm with a floor jack, remove the cotter key from the lower balljoint stud, and loosen the castellated nut without removing it. Use a pickle fork tool to break the balljoint loose from the knuckle, then remove the balljoint nut and swing the knuckle and hub out of the way. Loosen the lower control arm pivot bolts, install a chain over the upper control arm and through the coil spring for safety, and slowly lower the jack to remove the chain and withdraw the spring. Remove the pivot bolts at the frame rail and crossmember to take out the lower control arm, noting that removal of the forward pivot bolt may require loosening or removing the steering assembly mounting bolts if the pivot bolts have forward-facing heads. For installation, position the lower control arm and install the pivot bolts at the frame rail and crossmember, tightening them slightly. Inspect the rubber control arm bumper on the crossmember and replace it if worn or damaged. Position the spring, install it into the upper pocket, and align the bottom with the lower control arm pocket, possibly needing assistance to compress the spring enough to slide it over the lower control arm seat. Use the floor jack to raise the lower control arm and compress the coil spring, then install the balljoint in the steering knuckle, tightening the nut to the specified torque. Connect the stabilizer bar and tie-rod, tightening their respective bolts to the specified torque, and install the shock absorber on the lower control arm, also tightening the bolt to the specified torque. If the steering rack assembly bolts were removed or loosened, replace them with new bolts and tighten to the specified torque. Finally, tighten the lower control pivot bolts, install the tire and wheel assembly, and tighten the wheel lug nuts finger tight before lowering the vehicle and tightening the lug nuts to the specified torque, with a recommendation to have the wheels aligned after reassembling the suspension.
- Q: How to remove and install the coil spring and front lower control arm on Pontiac Firebird?A:Remove the coil spring and separate the balljoint from the steering knuckle. Check the bushings in the lower control arm before installation; if they are worn or damaged, they can be replaced with the proper tools. Installation follows the reverse of the removal procedure, ensuring that when attaching the lower control arm to the front crossmember, the front leg is installed first, followed by the rear leg. When the bolts are finally tightened, the vehicle must be at normal ride height, and all bolts should be tightened to the specified torque.
Related Pontiac Parts
Browse by Model
6000 Control Arm Aztek Control Arm Bonneville Control Arm Fiero Control Arm Firebird Control Arm G3 Control Arm G5 Control Arm G6 Control Arm G8 Control Arm GTO Control Arm Grand Am Control Arm Grand Prix Control Arm J2000 Control Arm LeMans Control Arm Montana Control Arm Parisienne Control Arm Pursuit Control Arm Safari Control Arm Solstice Control Arm Sunbird Control Arm Sunfire Control Arm Sunrunner Control Arm T1000 Control Arm Torrent Control Arm Trans Sport Control Arm Vibe Control Arm
