My Garage
My Account
Cart
Genuine Pontiac G6 Crankshaft Position Sensor
Engine Crankshaft Position Sensor- Select Vehicle by Model
- Select Vehicle by VIN
Select Vehicle by Model
orMake
Model
Year
Select Vehicle by VIN
For the most accurate results, select vehicle by your VIN (Vehicle Identification Number).
4 Crankshaft Position Sensors found
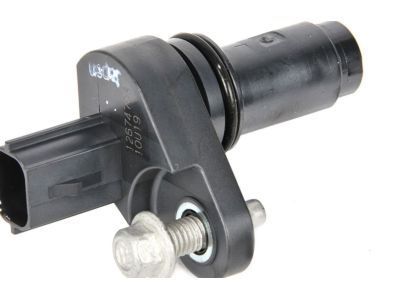
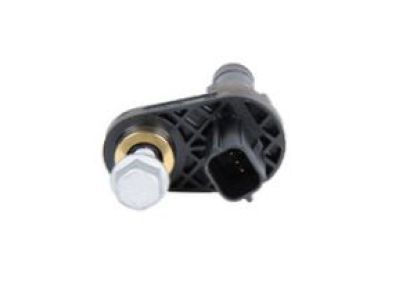
Pontiac G6 Sensor Assembly, Crankshaft Position
Part Number: 12674703$33.18 MSRP: $62.60You Save: $29.42 (47%)Ships in 1-3 Business DaysPontiac G6 Sensor, Crankshaft Position
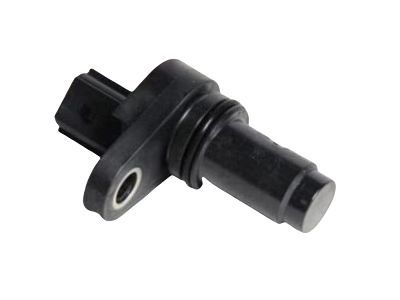
Part Number: 12613030$36.33 MSRP: $68.55You Save: $32.22 (47%)Ships in 1 Business DayPontiac G6 Sensor Assembly, Crankshaft Position <Use 12F 37
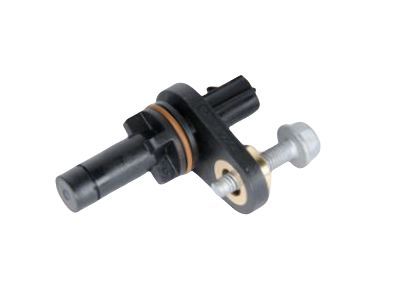
Part Number: 12574323$40.64 MSRP: $82.89You Save: $42.25 (51%)Ships in 1-2 Business DaysPontiac G6 Sensor Assembly, Crankshaft Position <Use 12F 37
Part Number: 12598208$24.39 MSRP: $46.02You Save: $21.63 (47%)Ships in 1-2 Business Days
Pontiac G6 Crankshaft Position Sensor
Crankshaft Position Sensor is an important electrical device which is installed in Pontiac G6 cars and is utilized to determine crank shaft position and its revolutions. This data is relayed to the powertrain control module, which in turn uses it to properly adjust the amount of fuel injected and the time at which the engine ignites so as to achieve optimum performance. If this sensor, Crankshaft Position Sensor, fails, it can result to starting problems or stalling of the engine. The following are the types of CKP Sensors that have been fitted in the Pontiac G6 cars: The Inductive, Hall Effect, magnetoresistive, The Optical. Inductive sensors do not generate any magnetic field while Hall Effect and Magnetoresistive sensors can only detect DC magnetic fields. Optical sensors give a high accuracy at the edge of the flow field but may suffer from fouling. The available sensor types define the possibility of sensor failure or its capability to function in difficult conditions, including high temperatures and vibrations, which are typical for Pontiac G6.
Each OEM Pontiac G6 Crankshaft Position Sensor we offer is competitively priced and comes with the assurance of the manufacturer's warranty for the part. Furthermore, we guarantee the speedy delivery of your orders right to your doorstep. Our hassle-free return policy is also in place for your peace of mind.
Pontiac G6 Crankshaft Position Sensor Parts Questions & Experts Answers
- Q: What procedures must be followed when replacing the Crankshaft Position Sensor and reprogramming the PCM on Pontiac G6?A:Whenever the crankshaft sensor is replaced, then the crankshaft pulley is changed, the crankshaft is changed or the engine is pulled out of the vehicle, then the PCM must be re calibrated by a scanner. An electrical crankshaft sensor variation relearn requires one to use a TECH-2 scan tool and the PCM must be reflashed by a dealer service department or any qualified automotive shop. For four-cylinder models, the CKP sensor is mounted on the front of the engine block at a distance from the starter. Start by lifting the front of the vehicles and placing it on jackstands and then proceed to remove the starter motor. Remove the cable-tethered electrical connector from the CKP sensor, loosen the mounting bolt of the sensor and pull the sensor out. However, if reusing the old CKP sensor, then always take out the former and install a new O-ring. As will be seen during removal, installation is in the reverse order to that shown above and the mounting bolt is tightened. In the 3.5L and 3.9L V6 models, the CKP sensor is fitted to the back side of the engine block. Following lifting of the vehicle and ensuring it stays in the requisite position you need to: Unplug the electrical connection, pull out the mounting bolt, and dispose the old O-ring. As with removal, installation is the complete opposite, employing a new O-ring and torquing the bolt to a precise value appropriately termed. For 3.6L V6 models, then, lift the vehicle and secure it on jackstands, as well as unscrew the heat shield of the lower part of the rear exhaust manifold, further, unscrew the electrical connector of the sensor in addition to the sensor mounting bolt to remove the sensor from the block. As mentioned before, installation is the mirror image of removal which means to use a new O-ring and tighten the bolt well.
