My Garage
My Account
Cart
Genuine Pontiac Grand Prix Sway Bar Bushing
Stabilizer Sway Bar Bushing- Select Vehicle by Model
- Select Vehicle by VIN
Select Vehicle by Model
orMake
Model
Year
Select Vehicle by VIN
For the most accurate results, select vehicle by your VIN (Vehicle Identification Number).
15 Sway Bar Bushings found
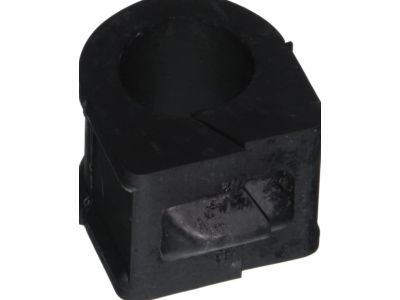
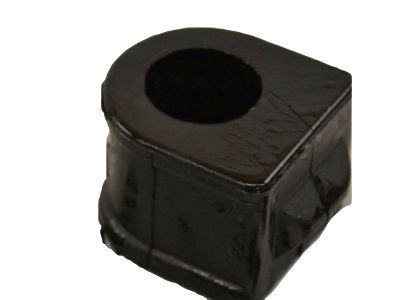
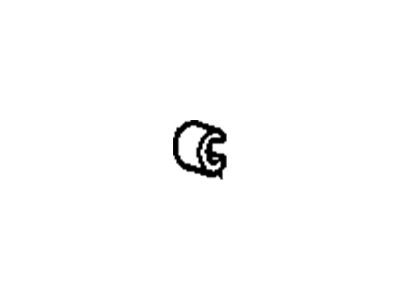
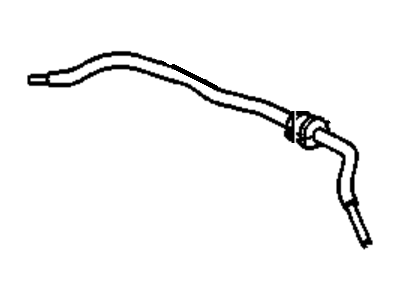
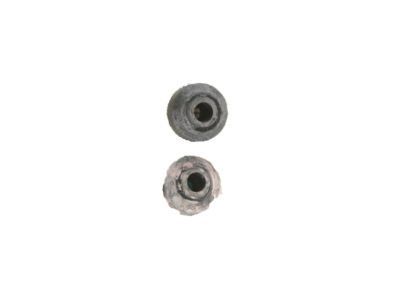
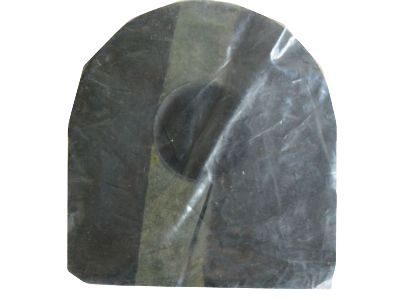
Pontiac Grand Prix Front Stabilizer Shaft Insulator
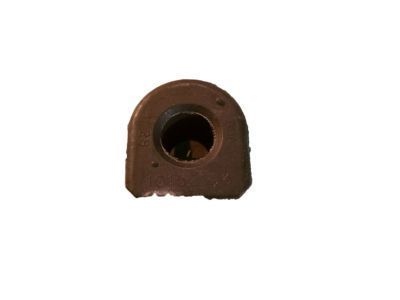
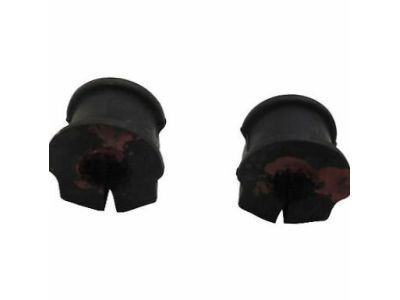
Part Number: 10275555$9.03 MSRP: $16.43You Save: $7.40 (46%)Ships in 1-2 Business DaysPontiac Grand Prix Insulator, Front Stabilizer Shaft *Green
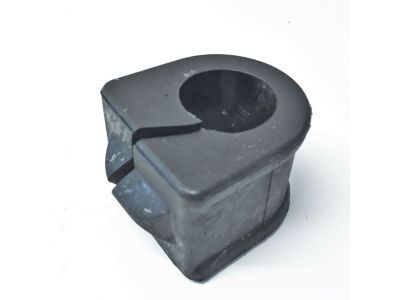
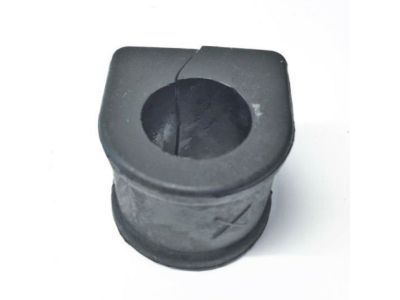
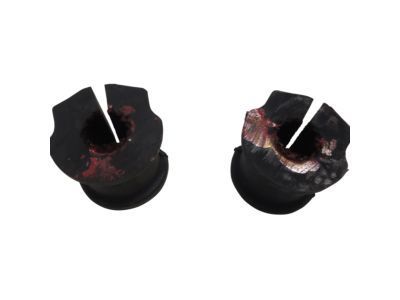
Part Number: 10284149$10.57 MSRP: $18.97You Save: $8.40 (45%)Ships in 1-2 Business DaysPontiac Grand Prix Insulator, Rear Stabilizer Shaft *Green
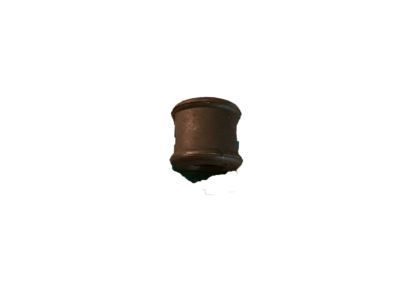
Part Number: 10351312$9.12 MSRP: $16.36You Save: $7.24 (45%)Ships in 1-2 Business DaysPontiac Grand Prix Front Stabilizer Shaft Insulator
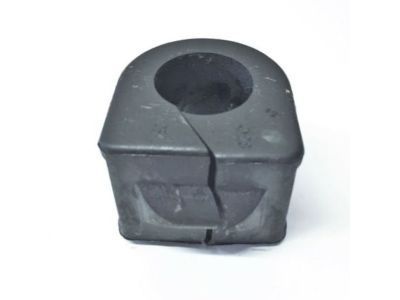
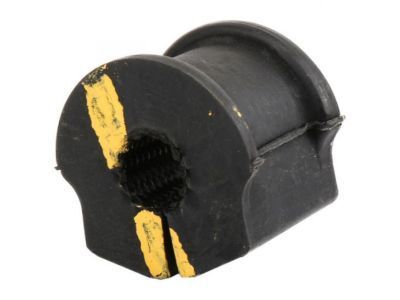
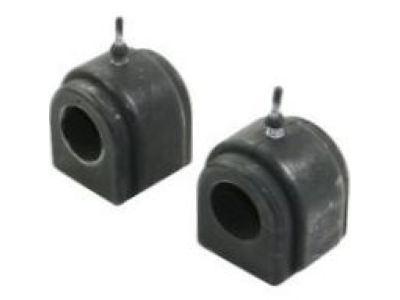
Part Number: 10152155$4.13 MSRP: $10.95You Save: $6.82 (63%)Ships in 1-2 Business DaysPontiac Grand Prix Insulator, Rear Stabilizer Shaft *Red
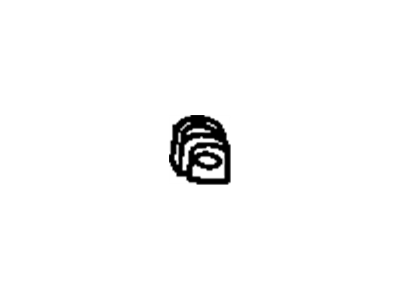
Part Number: 10351313$9.33 MSRP: $16.76You Save: $7.43 (45%)Ships in 1-3 Business DaysPontiac Grand Prix Front Stabilizer Shaft Insulator
Part Number: 10284183$11.39 MSRP: $19.37You Save: $7.98 (42%)Ships in 1-2 Business DaysPontiac Grand Prix Insulator, Stabilizer Shaft Link
Part Number: 6270752$1.17 MSRP: $1.86You Save: $0.69 (38%)
Pontiac Grand Prix Sway Bar Bushing
Sway Bar Bushing is one of the highly important components used in the suspension mechanism of Pontiac Grand Prix vehicles which helps to improve the riding quality along with making necessary changes towards maintaining the stability of the automobile. These bushings are intended to dampen the roads and reduce the noise, while giving good ride underneath, and along with the support they grant for the Sway bar that reduces the body roll when turning. Generally, Pontiac Grand Prix models come with front and rear sway bar bushing both of which play the role of linking the sway bars to the exterior frame of the vehicle. However, the Sway Bar Bushing may deteriorate with time, making the car less responsive to steering, develop rattling noises and squeaking. The above symptoms therefore require attention before moving to worse handling and safety standards. The Sway Bar Bushing of Pontiac Grand Prix vehicles need servicing often so as to ensure that the vehicle does not become unstable on the road through the formation of Sway Bar Bushing noise.
Each OEM Pontiac Grand Prix Sway Bar Bushing we offer is competitively priced and comes with the assurance of the manufacturer's warranty for the part. Furthermore, we guarantee the speedy delivery of your orders right to your doorstep. Our hassle-free return policy is also in place for your peace of mind.
Pontiac Grand Prix Sway Bar Bushing Parts Questions & Experts Answers
- Q: How to remove and install the front Sway Bar Bushing and Sway Bar Kit on Pontiac Grand Prix?A:Loosen the lug nuts on both front wheels, raise the vehicle, and support it securely on jackstands before removing the front wheels. Next, remove the steering shaft pinch bolt and loosen the Sway Bar Kit-to-Control Arm nuts/bolts or the link bolts/nuts on later models, using a wrench to hold the bolt head while loosening the stabilizer link nut if applicable. Loosen the Sway Bar insulator-to-frame nuts/bolts, which are accessible from underneath. Place a jack under the rear of the subframe cross member, then loosen the two front subframe-to-body bolts four turns and remove the two rear subframe-to-body bolts. Slowly lower the jack to allow the rear of the subframe to drop down, ensuring no part of your body is under the subframe assembly during this process. Remove the stabilizer clamps and insulators, then pull the Sway Bar Kit to the rear, swing it down, and remove it through the left side wheel well. Inspect the Sway Bar Bushing for wear and damage, replacing them if necessary by prying the bushing clamp off with a screwdriver and pulling the bushings off the bar. For easier installation, spray the inside and outside of the bushings with a silicone-based lubricant, avoiding petroleum-based lubricants on any rubber suspension part. For installation, assemble the shaft bushings and clamps on the bar, guide the bar through the wheel well, over the frame, and into position. Install the clamps loosely to the frame and control arm, securing the nuts finger tight before tightening the bolts to the specified torque. Raise the frame into place while guiding the steering shaft into position in the steering gear and install the rear bolts, tightening the frame bolts to the specified torque figures. Finally, install the pinch bolt, put the wheels back on, lower the vehicle, and tighten the lug nuts to the specified torque.
Related Pontiac Grand Prix Parts
Browse by Year
2008 Sway Bar Bushing 2007 Sway Bar Bushing 2006 Sway Bar Bushing 2005 Sway Bar Bushing 2004 Sway Bar Bushing 2003 Sway Bar Bushing 2002 Sway Bar Bushing 2001 Sway Bar Bushing 2000 Sway Bar Bushing 1999 Sway Bar Bushing 1998 Sway Bar Bushing 1997 Sway Bar Bushing 1996 Sway Bar Bushing 1995 Sway Bar Bushing 1994 Sway Bar Bushing 1993 Sway Bar Bushing 1992 Sway Bar Bushing 1991 Sway Bar Bushing 1990 Sway Bar Bushing 1989 Sway Bar Bushing 1988 Sway Bar Bushing 1987 Sway Bar Bushing 1986 Sway Bar Bushing 1985 Sway Bar Bushing 1984 Sway Bar Bushing 1983 Sway Bar Bushing 1982 Sway Bar Bushing
