My Garage
My Account
Cart
Genuine Pontiac Headlight
Headlamp- Select Vehicle by Model
- Select Vehicle by VIN
Select Vehicle by Model
orMake
Model
Year
Select Vehicle by VIN
For the most accurate results, select vehicle by your VIN (Vehicle Identification Number).
158 Headlights found
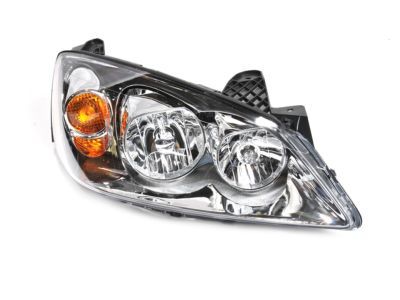
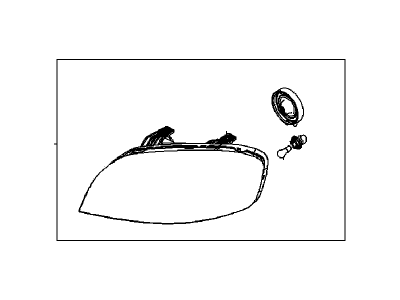
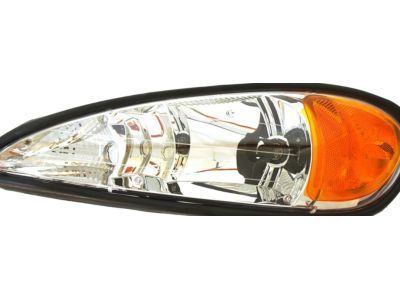
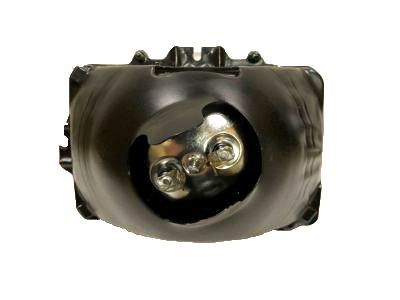
Pontiac Headlamp Assembly
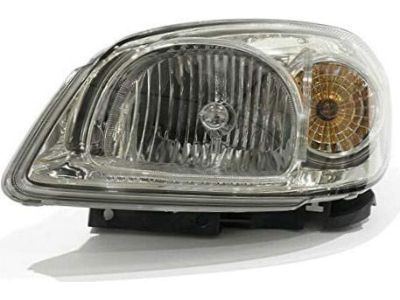
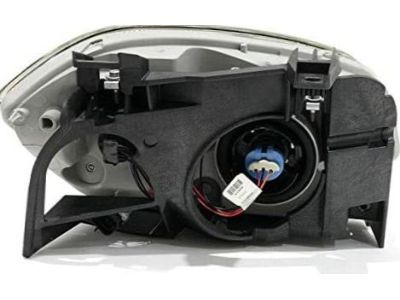
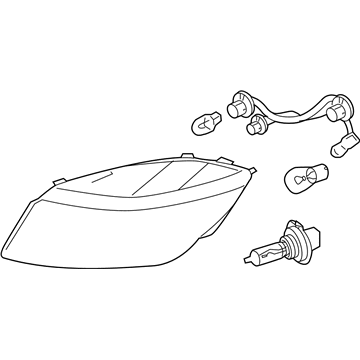
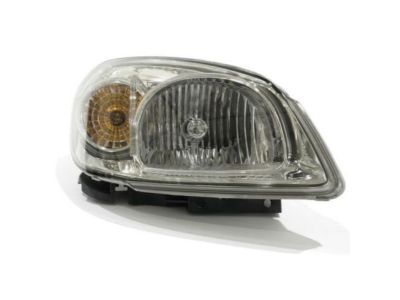
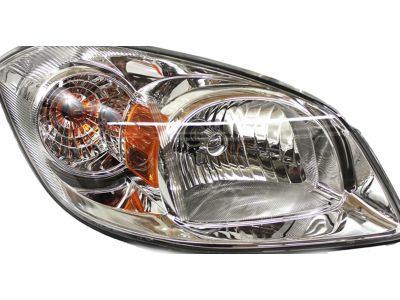
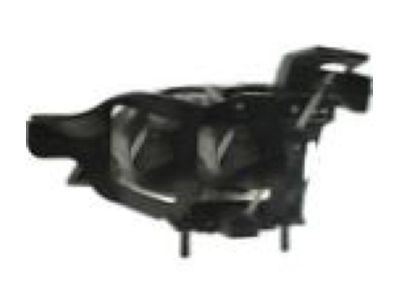
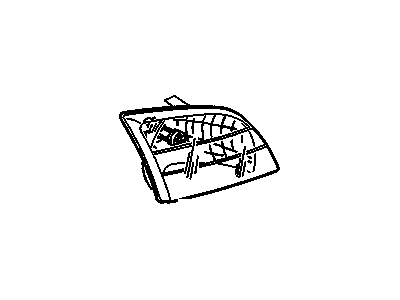
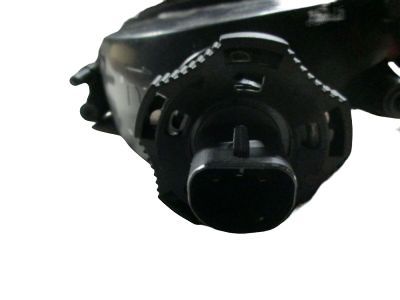
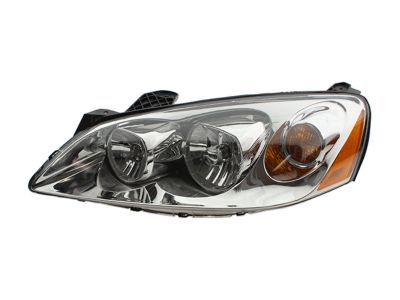
Part Number: 20964008$271.15 MSRP: $386.33You Save: $115.18 (30%)Ships in 1-3 Business DaysProduct Specifications- Other Name: Headlamp Asm ; Headlamp, Capsule/Headlamp/Fog Lamp; Composite Assembly, Headlamp, Headlamp Assembly
- Replaces: 20825581, 25784532
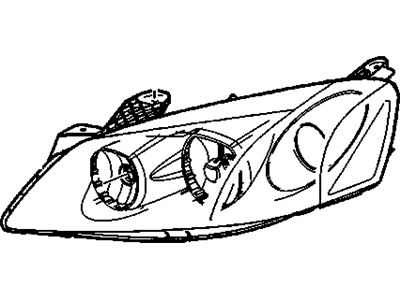
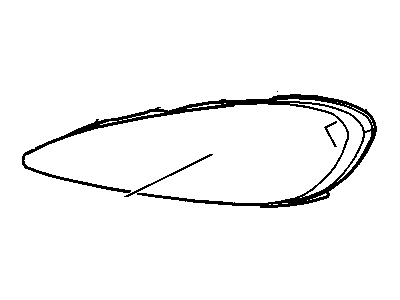
Pontiac Headlamp Assembly
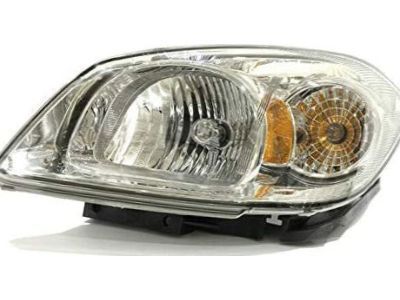
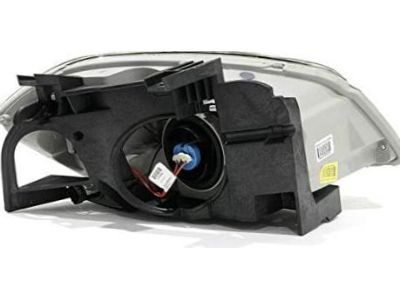
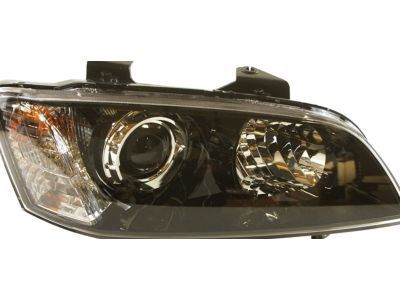
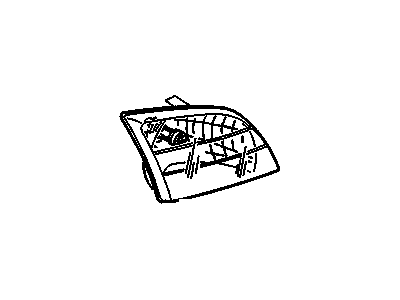
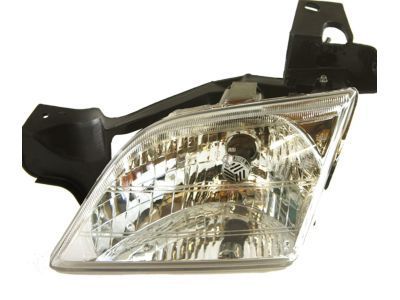
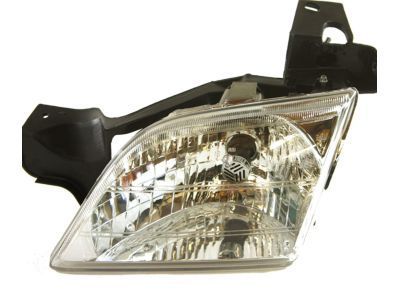
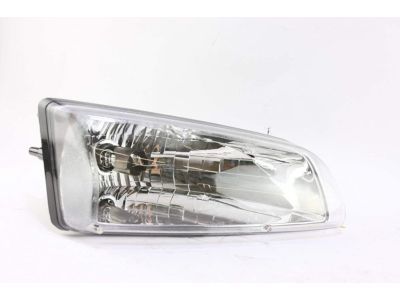
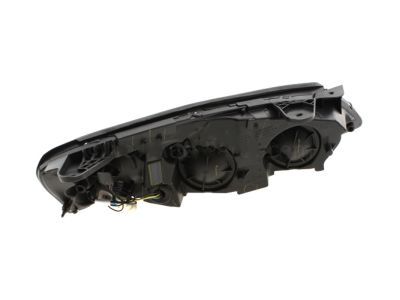
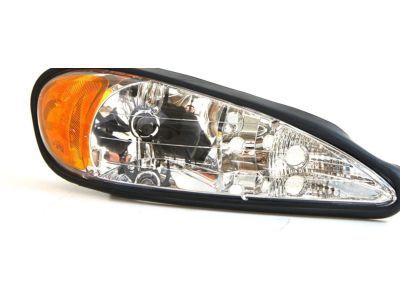
Part Number: 20964009$342.99 MSRP: $515.10You Save: $172.11 (34%)Ships in 1-3 Business DaysProduct Specifications- Other Name: Headlamp Asm ; Headlamp, Capsule/Headlamp/Fog Lamp; Composite Assembly, Headlamp, Headlamp Assembly
- Replaces: 20825580, 25784533
- Product Specifications
- Other Name: Headlamp Asm ; Headlamp, Capsule/Headlamp/Fog Lamp; Composite Headlamp, Headlamp Assembly
- Replaces: 92202358
- Product Specifications
- Other Name: Capsule Assembly, Headlamp ; Capsule, Capsule/Headlamp/Fog Lamp; Composite Assembly, Headlamp Assembly
- Replaces: 10316046, 16525740, 16526206, 16526146, 16521176
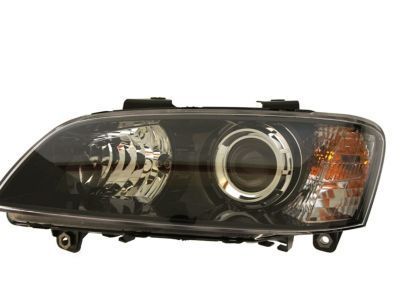
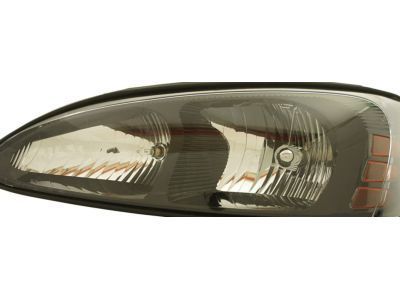
Pontiac Headlamp Assembly, (W/Front Side Marker Lamp)
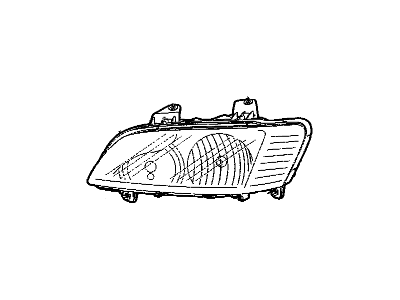
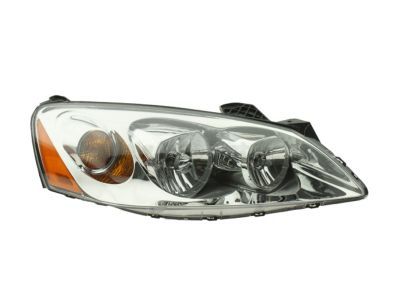
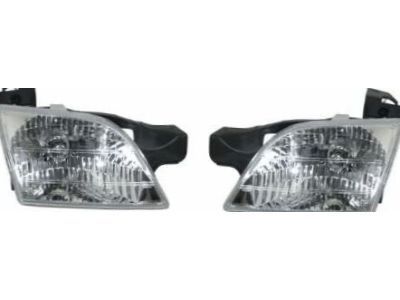
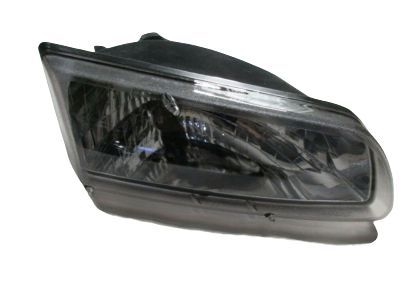
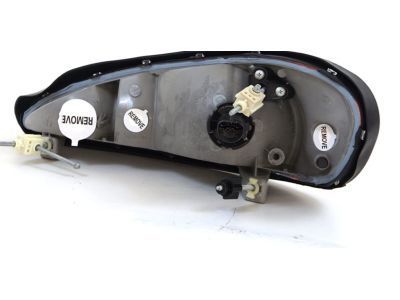
Part Number: 20821144$117.74 MSRP: $176.82You Save: $59.08 (34%)Ships in 1-3 Business DaysProduct Specifications- Other Name: Headlamp Assembly, (W/Front Side Marker Lamp) ; Headlamp, Capsule/Headlamp/Fog Lamp; Composite Headlamp, Headlamp Assembly
- Position: Front
- Replaces: 15221728, 15783700, 15881658, 15221726, 15835751
- Product Specifications
- Other Name: Headlamp Asm ; Headlamp, Capsule/Headlamp/Fog Lamp; Composite Headlamp, Headlamp Assembly
- Replaces: 92202357
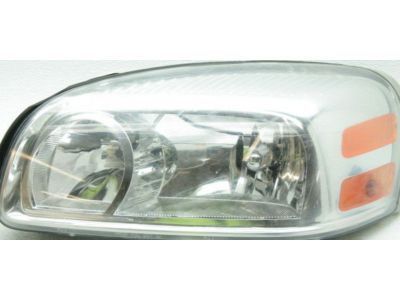
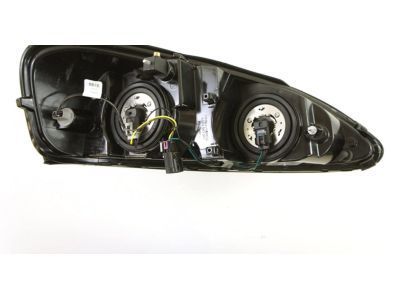
Pontiac Headlamp Assembly
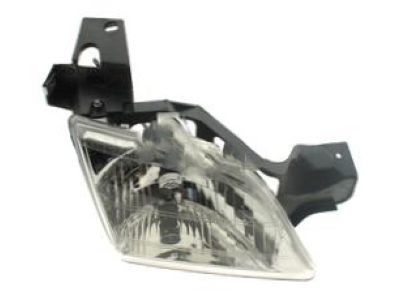
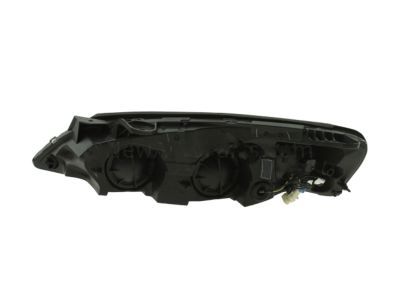
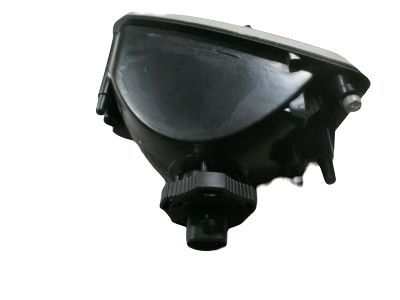
Part Number: 25891660$192.03 MSRP: $288.39You Save: $96.36 (34%)Ships in 1-3 Business DaysProduct Specifications- Other Name: Headlamp Asm ; Headlamp, Capsule/Headlamp/Fog Lamp; Composite Assembly, Headlamp Assembly
- Replaces: 15249998, 15855662, 25869754, 15784595
- Product Specifications
- Other Name: Capsule Assembly, Headlamp ; Capsule, Capsule/Headlamp/Fog Lamp; Composite Assembly, Headlamp Assembly
- Replaces: 16525569, 16526145, 10316045, 16525739, 16526205, 16521175
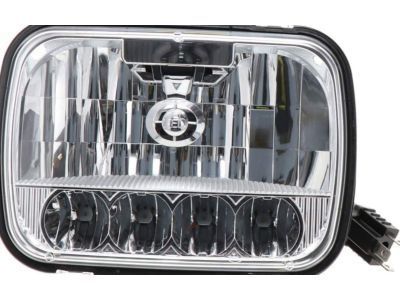
Pontiac Headlamp Capsule Assembly
Part Number: 19149590$127.82 MSRP: $191.96You Save: $64.14 (34%)Ships in 1-2 Business DaysProduct Specifications- Other Name: Capsule Asm,Headlamp ; Capsule, Capsule/Headlamp/Fog Lamp; Lens & Housing
- Replaces: 16522600
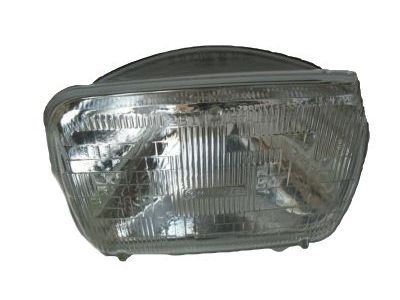
Pontiac Headlamp Assembly
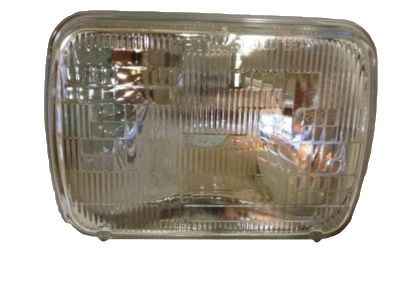
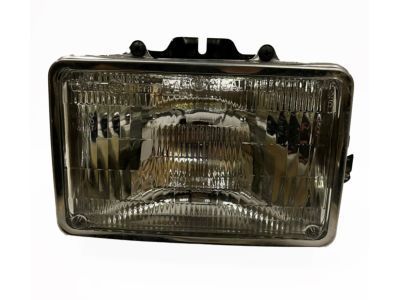
Part Number: 5968098$13.76 MSRP: $24.05You Save: $10.29 (43%)Ships in 1-2 Business DaysProduct Specifications- Other Name: Bulb,Headlamp ; Headlamp, Capsule/Headlamp/Fog Lamp; Sealed Beam
Pontiac Capsule / Headlamp / Fog Lamp Headlamp
Part Number: 22713667$114.18 MSRP: $153.91You Save: $39.73 (26%)Ships in 1-2 Business DaysProduct Specifications- Other Name: Headlamp Asm ; Headlamp, Capsule/Headlamp/Fog Lamp; Composite Assembly, Headlamp Assembly
- Replaces: 22708375
- Product Specifications
- Other Name: Headlamp Asm; Composite Assembly, Headlamp Assembly
Pontiac Headlamp Assembly
Part Number: 96650526$114.91 MSRP: $180.72You Save: $65.81 (37%)Ships in 1-3 Business DaysProduct Specifications- Other Name: Headlamp Asm ; Headlamp, Capsule/Headlamp/Fog Lamp; Composite Headlamp, Headlamp Assembly
- Product Specifications
- Other Name: Headlamp Asm ; Headlamp, Capsule/Headlamp/Fog Lamp; Composite Assembly, Headlamp Assembly
- Replaces: 15855663, 15784596, 25869755, 15249999
- Product Specifications
- Other Name: Bulb,Headlamp ; Seal Beam; Capsule, Headlamp, Sealed Beam
Pontiac Headlamp Assembly, (W/Front Side Marker Lamp)
Part Number: 20821143$104.90 MSRP: $156.83You Save: $51.93 (34%)Product Specifications- Other Name: Headlamp Assembly, (W/Front Side Marker Lamp) ; Headlamp, Capsule/Headlamp/Fog Lamp; Composite Headlamp, Headlamp Assembly
- Position: Front
- Replaces: 15221725, 15835750, 15881657, 15221727, 15783699
Pontiac Capsule / Headlamp / Fog Lamp Headlamp
Part Number: 22672207$128.50 MSRP: $192.99You Save: $64.49 (34%)Product Specifications- Other Name: Headlamp Asm ; Headlamp, Capsule/Headlamp/Fog Lamp; Composite Headlamp, Headlamp Assembly
- Replaces: 16526011
- Product Specifications
- Other Name: Headlamp Asm ; Headlamp, Capsule/Headlamp/Fog Lamp; Composite Headlamp, Headlamp Assembly
- Replaces: 10347163, 10372372, 10438689, 21998962
Pontiac Capsule / Headlamp / Fog Lamp Headlamp
Part Number: 22672208$121.22 MSRP: $182.05You Save: $60.83 (34%)Product Specifications- Other Name: Headlamp Asm ; Headlamp, Capsule/Headlamp/Fog Lamp; Composite Headlamp, Headlamp Assembly
- Replaces: 16526012
- Product Specifications
- Other Name: Capsule,Headlamp; Headlamp Assembly, Headlamp Capsule
| Page 1 of 8 |Next >
1-20 of 158 Results
Pontiac Headlight
If you're searching for OEM Pontiac Headlights, look no further. Our website boasts an extensive inventory of genuine Pontiac Headlights, all available at competitive prices online. Every part we offer comes with a manufacturer's warranty. In addition, we provide a straightforward return policy and rapid delivery services, making your shopping experience a breeze.
Pontiac Headlight Parts Questions & Experts Answers
- Q: What should be considered temporary when a home mechanic adjusts the aim of the headlights on Pontiac Firebird?A:All corrections that the home mechanic makes which impacts on the sight line of the car headlights should be seen in the temporary nature only. If at all possible have the beams readjusted promptly by a facility that possesses the right type of aligning equipment as some states mandate the usage to be through only state-certified facilities. Each state has its laws on the use of seat belts, it is therefore advisable to consult the local motor vehicle department. There are adjustment screws on the front part of each headlight for horizontal adjustment using the side screw as well as for vertical adjustment using the top screw; the top screw moves the headlight beam upwards and the side screw moves it to the left. These adjustment screws are present in the same positions on concealed headlight assembly while the rest caution has to be taken not to mar the body paint work.
- Q: How to replace both headlights on Pontiac Fiero?A:If you are replacing both headlights, it will be much easier to do only one at a time because the other headlight assembly will act as your guide. Starting with opening the front compartment lid and retracting the headlight connectors from the rear side of the headlight. Switch on the headlight switch to provide lift to the headlamp assemblies and clamp the front compartment lid shut. Next, there are two Torx screws on the upper left and right points of the black plastic bezel of the front part of the headlight, after which, with the help of raising the front compartment lid again it is possible to unscrew two Torx screws at each side of the bezel and take off the bezel. Twist the headlight switch counter-clock wise and switch off, next with the help of a hooked tool or pliers, pull the retaining spring upwards. Switch on the headlight switch back, close the front compartment lid and pull the headlight assembly from the adjuster screws making sure that you do not discard the retaining spring with it. There are four screws in the chrome headlight retaining ring, unscrew and take out the headlight. It is installed by using the front compartment lid open, the headlight switch in the OFF state and inserting the recess of the retaining spring hook onto the teeth of the actuator In this way the headlight can be switched on by closing the lid and turning the switch ON. Using pliers take the headlight retaining spring and pull down to its seat which is on the inner lower part of the headlight assembly. Ensure that the slots of the headlight ring are fixed on the adjuster screws, open the front compartment lid and then replace black plastic bezel and tighten the two outer Torx screws. Insert the headlight connector, shut the front compartment cover, and replace the remaining two Torx screws at the upper front side of the plastic housing and then check for normal operation.
- Q: How to Remove and Install Headlight Housing on Pontiac Vibe?A:Remove the headlight bulbs and the parking light bulb. The front bumper cover must be removed to access the headlight housing fasteners. Remove the retaining bolts, detach the housing, and withdraw it from the vehicle. Installation is the reverse of removal, and be sure to check headlight adjustment.
Related Pontiac Parts
Browse by Model
6000 Headlight Aztek Headlight Bonneville Headlight Fiero Headlight Firebird Headlight G3 Headlight G5 Headlight G6 Headlight G8 Headlight GTO Headlight Grand Am Headlight Grand Prix Headlight J2000 Headlight LeMans Headlight Montana Headlight Parisienne Headlight Phoenix Headlight Pursuit Headlight Safari Headlight Solstice Headlight Sunbird Headlight Sunfire Headlight Sunrunner Headlight T1000 Headlight Torrent Headlight Trans Sport Headlight Vibe Headlight
