My Garage
My Account
Cart
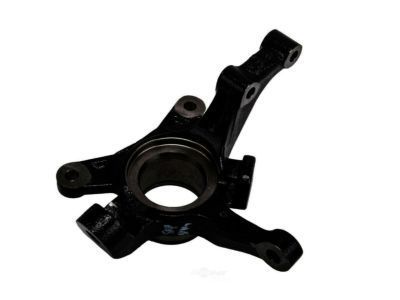
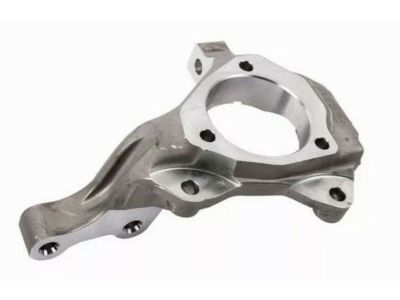
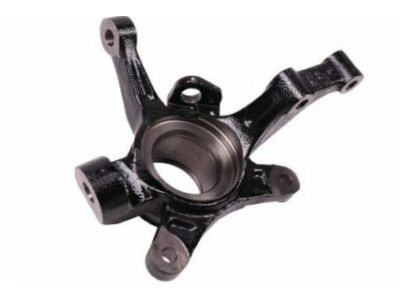
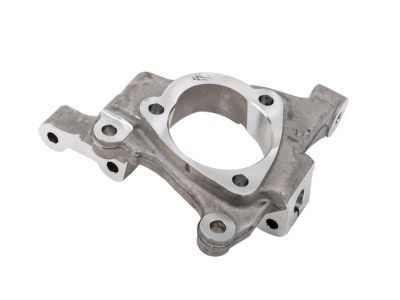
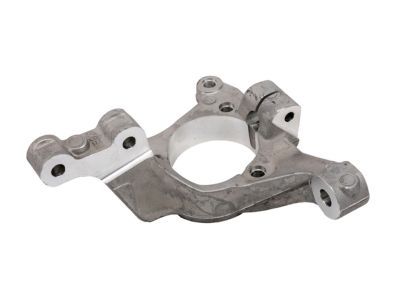
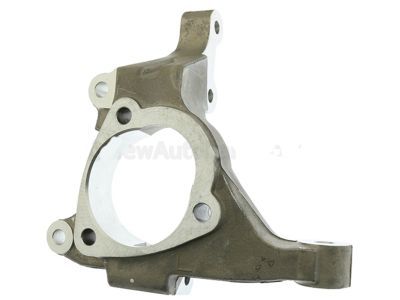
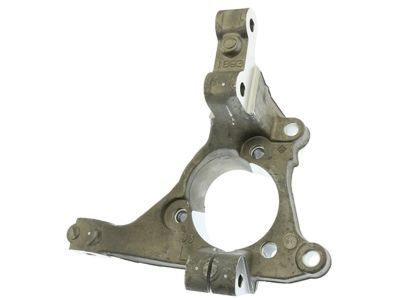
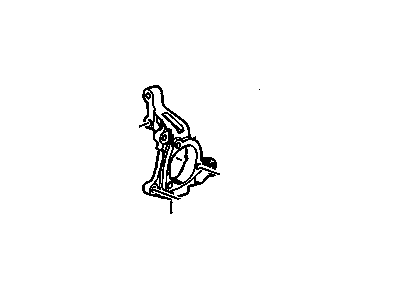
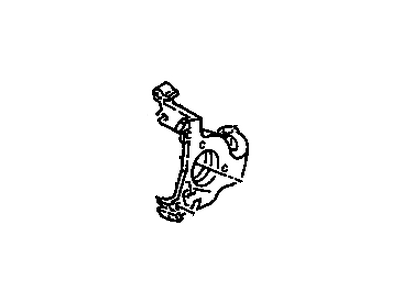
Genuine Pontiac Steering Knuckle
Front Steering Knuckle- Select Vehicle by Model
- Select Vehicle by VIN
Select Vehicle by Model
orMake
Model
Year
Select Vehicle by VIN
For the most accurate results, select vehicle by your VIN (Vehicle Identification Number).
113 Steering Knuckles found
- Product Specifications
- Other Name: Knuckle Asm,Steering ; Knuckle, Steering; Knuckle
- Replaces: 96459243
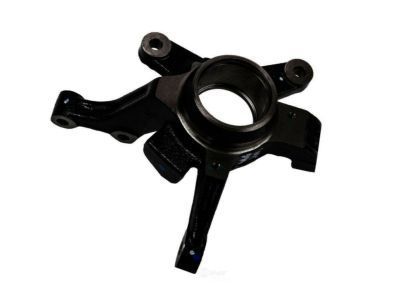
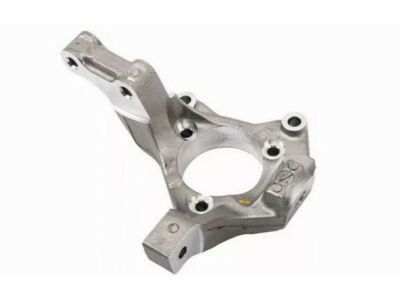
Pontiac Steering Knuckle (Machining)
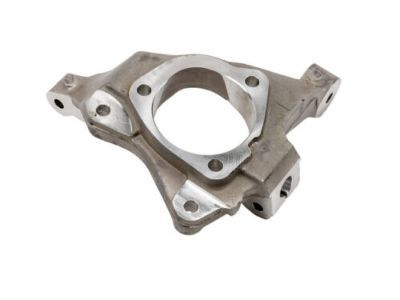
Part Number: 23127629$267.62 MSRP: $442.93You Save: $175.31 (40%)Ships in 1-2 Business DaysProduct Specifications- Other Name: Knuckle,Steering(Machining); Knuckle
- Replaces: 18060638, 18060652, 88955418, 10434254, 18060680, 20899802, 25816684, 22990752
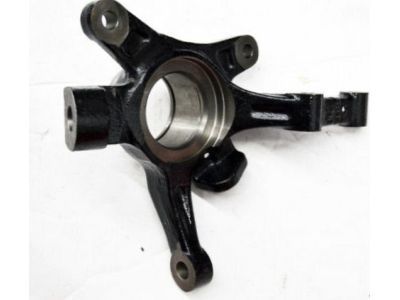
Pontiac Steering Knuckle Assembly
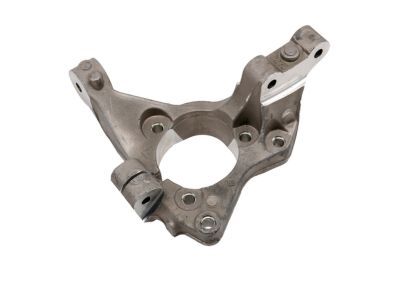
Part Number: 96870491$112.53 MSRP: $179.47You Save: $66.94 (38%)Ships in 1-3 Business DaysProduct Specifications- Other Name: Knuckle Asm,Steering ; Knuckle, Steering; Knuckle
- Replaces: 96535190
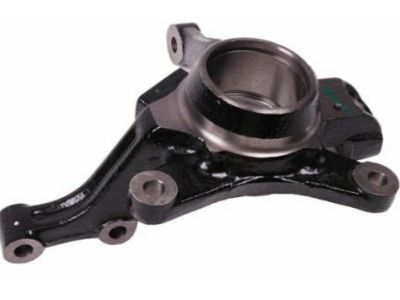
Pontiac Steering Knuckle
Part Number: 19303853$286.62 MSRP: $457.11You Save: $170.49 (38%)Ships in 1-2 Business DaysProduct Specifications- Other Name: Knuckle,Steering; Knuckle
- Replaces: 21995733, 22705299, 25872803
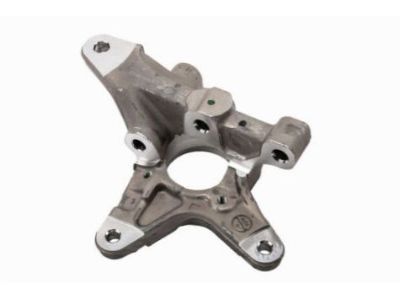
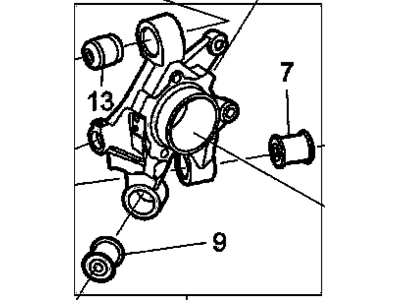
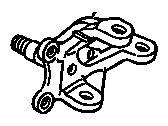
Pontiac Knuckle, Rear Suspension
Part Number: 23130696$386.37 MSRP: $639.48You Save: $253.11 (40%)Ships in 1-2 Business DaysProduct Specifications- Other Name: KNUCKLE, Rear Wheel; Knuckle
- Position: Rear
- Replaces: 19151396, 18022046, 25816705, 18060616
- Product Specifications
- Other Name: Knuckle,Rear Suspension; Knuckle
- Position: Rear
- Replaces: 18025912
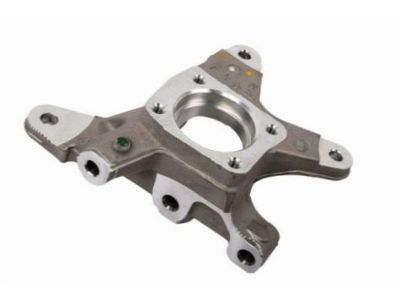
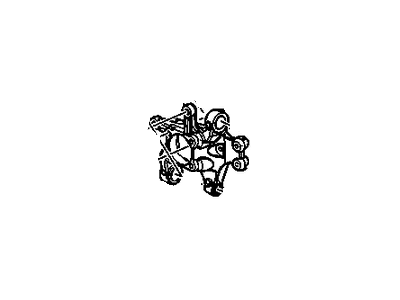
Pontiac Rear Suspension Knuckle
Part Number: 18060633$146.36 MSRP: $218.25You Save: $71.89 (33%)Ships in 1-2 Business DaysProduct Specifications- Other Name: Knuckle,Rear Suspension ; Knuckle, Rear Wheel; Knuckle
- Position: Rear
- Replaces: 18025919
- Product Specifications
- Other Name: Knuckle, Steering ; Knuckle, Steering; Knuckle
- Product Specifications
- Other Name: Knuckle,Steering ; Knuckle,Strg; Knuckle, Steering Knuckle
- Replaces: 18018564
Pontiac Knuckle, Rear Suspension
Part Number: 23130695$433.92 MSRP: $623.98You Save: $190.06 (31%)Ships in 1-2 Business DaysProduct Specifications- Other Name: KNUCKLE, Rear Wheel; Knuckle
- Position: Rear
- Replaces: 19151397, 18022047, 18060617, 25816704
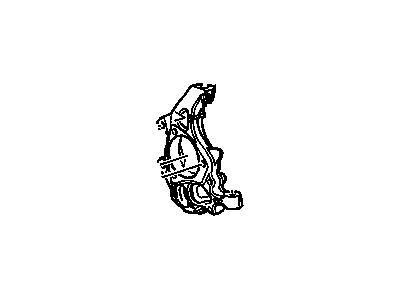
Pontiac Steering Knuckle
Part Number: 18060622$165.71 MSRP: $367.02You Save: $201.31 (55%)Ships in 1-2 Business DaysProduct Specifications- Other Name: Knuckle,Steering; Knuckle
- Replaces: 18023057, 18018101, 18060592
- Product Specifications
- Other Name: Knuckle,Rear Suspension; Knuckle
- Position: Rear
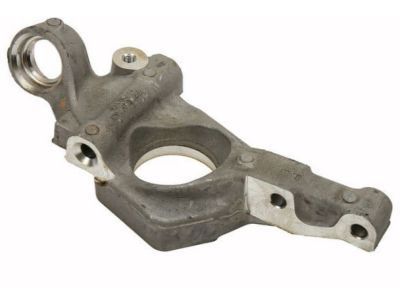
Pontiac Front, Steering Knuckle Spindle
Part Number: 18060635$164.43 MSRP: $376.96You Save: $212.53 (57%)Ships in 1-2 Business DaysProduct Specifications- Other Name: Knuckle,Steering; Knuckle
- Position: Front
- Replaces: 18021762, 18026646
Pontiac Steering Knuckle
Part Number: 96058661$74.61 MSRP: $364.63You Save: $290.02 (80%)Ships in 1-2 Business DaysProduct Specifications- Other Name: Knuckle,Steering ; Knuckle,Strg; Knuckle
- Product Specifications
- Other Name: Knuckle,Steering; Knuckle, Lower Control Arm
- Replaces: 22667248, 25836292
Pontiac Rear Suspension Knuckle Assembly
Part Number: 92287355$241.64 MSRP: $381.92You Save: $140.28 (37%)Product Specifications- Other Name: Knuckle Assembly, Rear Suspension; Knuckle
- Position: Rear
- Replaces: 92203813, 92225043, 92198027, 92207143
Pontiac Rear Suspension Knuckle Assembly
Part Number: 23343507$293.17 MSRP: $463.36You Save: $170.19 (37%)Product Specifications- Other Name: Knuckle Assembly, Rr Susp; Knuckle
- Position: Rear
- Replaces: 22864824, 25937773
Pontiac Steering Knuckle (Machining)
Part Number: 23127630$266.87 MSRP: $421.79You Save: $154.92 (37%)Product Specifications- Other Name: Knuckle, Steering (Machining); Knuckle
- Replaces: 18060639, 22990753, 25816683, 10434255, 18021361, 18060681, 20899801, 88955419, 18060653
- Product Specifications
- Other Name: Knuckle,Rear Suspension ; Knuckle, Rear Wheel; Knuckle
- Position: Rear
- Product Specifications
- Other Name: Knuckle,Steering; Knuckle
- Replaces: 18020482
| Page 1 of 6 |Next >
1-20 of 113 Results
Pontiac Steering Knuckle
If you're searching for OEM Pontiac Steering Knuckles, look no further. Our website boasts an extensive inventory of genuine Pontiac Steering Knuckles, all available at competitive prices online. Every part we offer comes with a manufacturer's warranty. In addition, we provide a straightforward return policy and rapid delivery services, making your shopping experience a breeze.
Pontiac Steering Knuckle Parts Questions & Experts Answers
- Q: How to remove and install the rear Steering Knuckle on Pontiac Fiero?A:For the removal of the rear knuckle first remove the rear wheel hub and the bearing assembly and for the removal of the toe link rod at the knuckle, use a puller or a suitable tool. After that, the clamp bolt of the knuckle should be unscrewed and detached from the ball stud. Place jack under the lower part of the control arm and unbolt the large bosses that hold the strut to the knuckle. To install, fit the extended knuckle to the balljoint, ensure that the figured lines between the strut bracket and the knuckle are in line before tightening the knuckle to strut mounting bolts to the recommended torque. Screw the toe link rod to the specified torque to the knuckle and complete the nut; install the hub and bearing assembly to the knuckle. At last, take vehicle to a dealer service or an alignment shop and get the camber and the toe checked and adjusted. To take off the toe link rod, it is done at the knuckle and then the nut at the other end of the rod at the cradle fixes the rod to a bracket at the engine cradle bar. Check the degree of exposure of the threads on the rod and based on this check determine the position of adjusting nut on the newly acquired rod. To install it simply screw in the inboard end of the new toe link rod into the mounting bracket at the cradle and then tighten the nut, then screw in the outboard end to the knuckle then tighten the mounting nut to the torque specified by the manufacturer. Take the vehicle to the dealer service department or an alignment shop to get camber, and toe changes.
Related Pontiac Parts
Browse by Model
6000 Steering Knuckle Aztek Steering Knuckle Bonneville Steering Knuckle Fiero Steering Knuckle Firebird Steering Knuckle G3 Steering Knuckle G5 Steering Knuckle G6 Steering Knuckle G8 Steering Knuckle GTO Steering Knuckle Grand Am Steering Knuckle Grand Prix Steering Knuckle J2000 Steering Knuckle LeMans Steering Knuckle Montana Steering Knuckle Phoenix Steering Knuckle Pursuit Steering Knuckle Solstice Steering Knuckle Sunbird Steering Knuckle Sunfire Steering Knuckle Sunrunner Steering Knuckle T1000 Steering Knuckle Torrent Steering Knuckle Trans Sport Steering Knuckle Vibe Steering Knuckle
