My Garage
My Account
Cart
Genuine Pontiac Transmission Assembly
Trans Assembly- Select Vehicle by Model
- Select Vehicle by VIN
Select Vehicle by Model
orMake
Model
Year
Select Vehicle by VIN
For the most accurate results, select vehicle by your VIN (Vehicle Identification Number).
199 Transmission Assemblies found
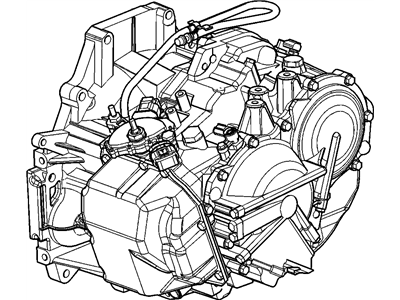
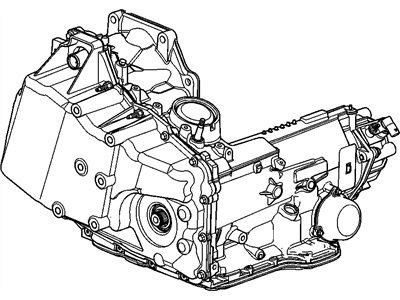
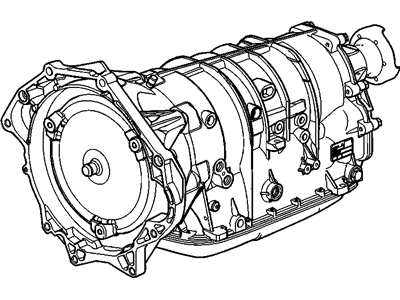
Pontiac Transaxle Asm, Auto (Goodwrench Remanufacture) (04Mln)
Part Number: 19178291$611.39 MSRP: $2993.13You Save: $2381.74 (80%)Ships in 1-2 Business DaysProduct Specifications- Other Name: Transaxle
- Replaces: 24233897
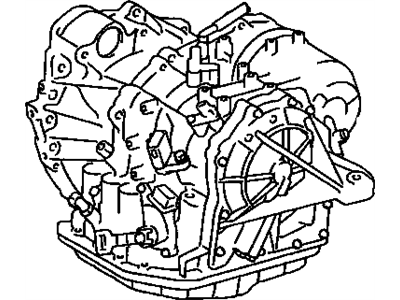
Pontiac Transaxle Asm,Auto (Goodwrench Remanufacture)
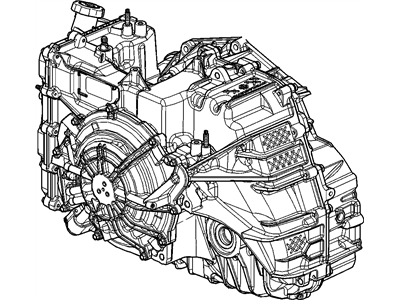
Part Number: 24242210$3970.60 MSRP: $4475.00You Save: $504.40 (12%)Ships in 1-3 Business DaysProduct Specifications- Other Name: TRANSAXLE, Automatic; Transaxle
- Replaces: 24236358
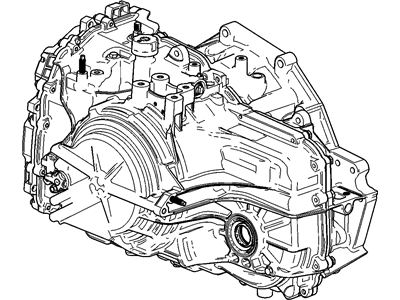
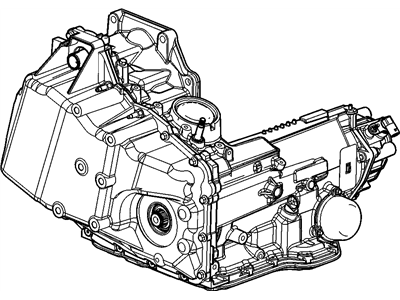
Pontiac Transaxle Asm, Auto (Goodwrench Remanufacture) (5 Speed Fwd)
Part Number: 19125370$3974.28 MSRP: $4479.17You Save: $504.89 (12%)Ships in 1-3 Business DaysProduct Specifications- Other Name: TRANS REM; Transaxle
- Replaces: 88975903
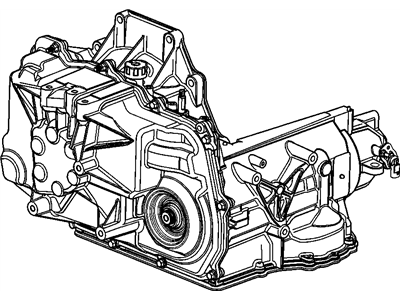
Pontiac Transaxle Asm,Auto (Service Remanufacture) *Programming
Part Number: 19332231$3114.24 MSRP: $3487.27You Save: $373.03 (11%)Ships in 1-3 Business DaysProduct Specifications- Other Name: TRANSAXLE, Automatic; Transaxle
- Replaces: 17804314, 17804465, 17804359
Pontiac Automatic Transaxle Assembly (Remanufacture)
Part Number: 24235550$2437.84 MSRP: $2741.12You Save: $303.28 (12%)Ships in 1-3 Business DaysProduct Specifications- Other Name: TRANSAXLE, Automatic; Transaxle
Pontiac Transaxle Asm,Auto (Goodwrench Remanufacture) (08Gsb)
Part Number: 17804086$2649.57 MSRP: $2980.63You Save: $331.06 (12%)Ships in 1-3 Business DaysProduct Specifications- Other Name: TRANSAXLE, Automatic; Transaxle
- Replaces: 17803837, 17803735, 17803898, 17803736, 17803718
Pontiac Transaxle Asm,Auto (Goodwrench Remanufacture) (8Aft/9Aft)
Part Number: 19125372$4918.02 MSRP: $5546.73You Save: $628.71 (12%)Ships in 1-3 Business DaysProduct Specifications- Other Name: TRANSAXLE, Automatic; Transaxle
- Replaces: 24242955, 24247519, 24248167, 24239272
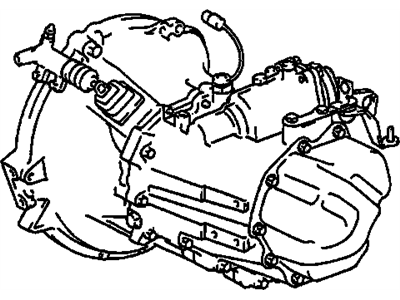
Pontiac Manual Transaxle Assembly (Service)
Part Number: 96957176$6871.22 MSRP: $7772.88You Save: $901.66 (12%)Ships in 1-3 Business DaysProduct Specifications- Other Name: Transaxle Asm,Man (Service); Transaxle
- Replaces: 96850542, 96987617, 96957177, 96813261, 96243178, 96956819, 96873587
Pontiac Transaxle Asm,Auto (Service Remanufacture) *Programming
Part Number: 19332856$4171.02 MSRP: $4682.72You Save: $511.70 (11%)Ships in 1-3 Business DaysProduct Specifications- Other Name: Transaxle
- Replaces: 17803984, 17803920
Pontiac Transaxle Asm,Auto (Goodwrench Remanufacture) (09Jmb)
Part Number: 17804085$2699.85 MSRP: $3037.50You Save: $337.65 (12%)Ships in 1-3 Business DaysProduct Specifications- Other Name: TRANSAXLE, Automatic; Transaxle
- Replaces: 17803738, 17803836, 17803890, 17803969, 17803709
Pontiac Transaxle Asm, Auto (Goodwrench Remanufacture) (05Mmn)
Part Number: 19178296$612.81 MSRP: $2836.88You Save: $2224.07 (79%)Ships in 1-2 Business DaysProduct Specifications- Other Name: TRANS REM
- Replaces: 24234432
Pontiac Transmission Asm,Auto (7Gvg) (Goodwrench Remanufacture)
Part Number: 96043173$5215.64 MSRP: $5900.04You Save: $684.40 (12%)Ships in 1-3 Business DaysProduct Specifications- Other Name: TRANSMISSION, Manual(5 Speed); Transmission
- Replaces: 96042988
Pontiac Transaxle Asm,Auto (3.73 Ratio)
Part Number: 96423624$5271.15 MSRP: $5946.20You Save: $675.05 (12%)Ships in 1-3 Business DaysProduct Specifications- Other Name: TRANSAXLE, Manual(5 Speed); Transaxle
- Replaces: 96484423
Pontiac Automatic Transaxle Assembly (Remanufacture)
Part Number: 24235541$2827.85 MSRP: $3182.30You Save: $354.45 (12%)Ships in 1-3 Business DaysProduct Specifications- Other Name: TRANSAXLE, Automatic; Transaxle
- Replaces: 24230054
Pontiac Transaxle,Auto (Service)
Part Number: 17044110$2498.42 MSRP: $2809.64You Save: $311.22 (12%)Ships in 1-3 Business DaysProduct Specifications- Other Name: TRANSAXLE, Automatic; Transaxle
- Replaces: 17803828
Pontiac Automatic Transaxle Assembly (Remanufacture)
Part Number: 24235532$2827.85 MSRP: $3182.30You Save: $354.45 (12%)Ships in 1-3 Business DaysProduct Specifications- Other Name: TRANSAXLE, Automatic; Transaxle
Pontiac Transaxle Assembly, Man (3.94 Ratio)
Part Number: 12571728$1047.49Ships in 1-2 Business DaysProduct Specifications- Other Name: TRANSAXLE, Manual(5 Speed)
Pontiac Transaxle Asm,Man (Service)
Part Number: 25181001$957.66 MSRP: $1083.33You Save: $125.67 (12%)Ships in 1-3 Business DaysProduct Specifications- Other Name: TRANSAXLE, Manual(5 Speed); Transaxle
Pontiac Transaxle Assembly, Man (3.94 Ratio)
Part Number: 12574746$522.13 MSRP: $525.02You Save: $2.89 (1%)Product Specifications- Other Name: TRANSAXLE, Automatic; Transaxle
- Replaces: 22602658
Pontiac Transaxle Asm,Auto (Goodwrench Remanufacture) (08Ceb)
Part Number: 17804094$2464.98 MSRP: $2771.81You Save: $306.83 (12%)Product Specifications- Other Name: TRANSAXLE, Automatic; Transaxle
- Replaces: 17803724, 17803845, 17803887, 17803706
| Page 1 of 10 |Next >
1-20 of 199 Results
Pontiac Transmission Assembly
If you're searching for OEM Pontiac Transmission Assemblies, look no further. Our website boasts an extensive inventory of genuine Pontiac Transmission Assemblies, all available at competitive prices online. Every part we offer comes with a manufacturer's warranty. In addition, we provide a straightforward return policy and rapid delivery services, making your shopping experience a breeze.
Pontiac Transmission Assembly Parts Questions & Experts Answers
- Q: How to remove the transmission assembly on Pontiac G6?A:To remove the transaxle, start by disconnecting the cable from the negative terminal of the battery, then remove the air filter duct. Disconnect the shift cable from the manual lever and the bracket on the transaxle, and support the radiator and condenser from above using wire or large plastic tie-wraps. Clearly label and unplug all accessible electrical connectors from the transaxle, detaching the harnesses from the brackets along the top. Attach an engine support fixture or hoist to the engine and raise it to support its weight, ensuring it remains supported during transaxle removal. Remove the upper transaxle-to-engine bolts, loosen the drive axle/hub nuts and front wheel lug nuts, then raise the vehicle and support it securely on jack stands before removing the front wheels. Detach both tie-rod ends from the steering knuckle arms and unbolt the control arms from the subframe. Remove the drive axles, ensuring the control arms are detached to allow for easier removal. Disconnect the electrical connectors from both front ABS wheel speed sensors and detach the harnesses from their clips. Remove the engine-to-transaxle brace and the transaxle-to-oil pan brace, followed by the starter cover bolts and the cover, then the starter motor. Mark the relationship of the torque converter to the drive plate and remove the drive plate-to-torque converter bolts, using a socket and breaker bar or a screwdriver for access. Disconnect and plug the transaxle cooler lines, remove the oil pan-to-bellhousing bracket if equipped, and disconnect all ground wires and other electrical connectors accessible from underneath. Detach the brake line from the clips along the front of the subframe, remove the transaxle cooler lines from the clip, and unbolt the power steering gear, tying it out of the way or removing it completely. Remove any interfering exhaust system components, unbolt all three powertrain mounts from the transaxle, and remove the subframe. Support the transaxle with a jack, preferably a transmission jack, and remove the left transaxle mount bracket-to-transaxle bolts, then check that all interfering wiring, brackets, and mounts are disconnected or removed. Finally, remove the remaining transaxle-to-engine bolts and slide the transaxle out toward the left side of the vehicle. For installation, reverse the removal steps, ensuring the torque converter is completely seated by pushing in while turning it, applying a film of multi-purpose grease to the nose of the converter, and ensuring the transaxle seats against the engine completely before tightening the bolts. Tighten all bolts to the specified torque, check and adjust the front end alignment if necessary, adjust the shift cable, and check the transaxle fluid level, adding fluid as needed.
Related Pontiac Parts
Browse by Model
Aztek Transmission Assembly Bonneville Transmission Assembly Firebird Transmission Assembly G3 Transmission Assembly G5 Transmission Assembly G6 Transmission Assembly G8 Transmission Assembly GTO Transmission Assembly Grand Am Transmission Assembly Grand Prix Transmission Assembly Montana Transmission Assembly Pursuit Transmission Assembly Solstice Transmission Assembly Sunbird Transmission Assembly Sunfire Transmission Assembly Sunrunner Transmission Assembly Torrent Transmission Assembly Trans Sport Transmission Assembly Vibe Transmission Assembly

