My Garage
My Account
Cart
Genuine Saturn LS Control Arm
Suspension Arm- Select Vehicle by Model
- Select Vehicle by VIN
Select Vehicle by Model
orMake
Model
Year
Select Vehicle by VIN
For the most accurate results, select vehicle by your VIN (Vehicle Identification Number).
6 Control Arms found
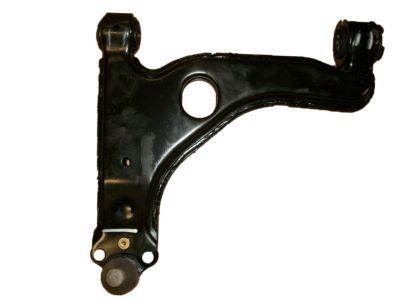
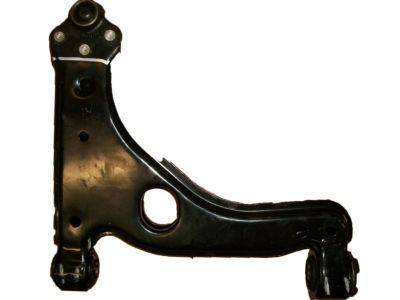
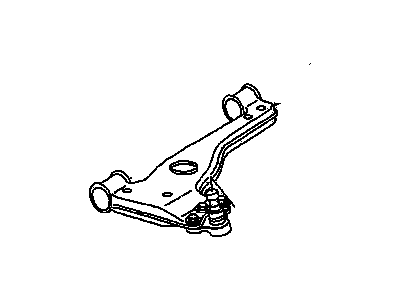
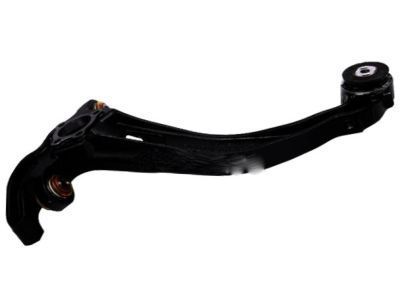
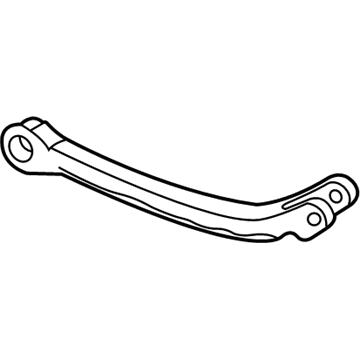
Saturn LS Front Lower Control Arm Assembly
Part Number: 22671495$122.39 MSRP: $260.70You Save: $138.31 (54%)Ships in 1-2 Business Days
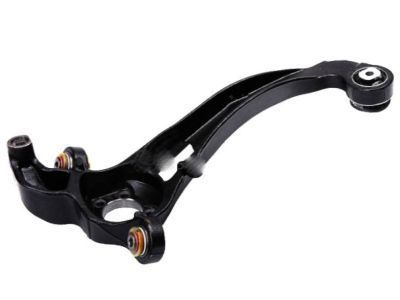
Saturn LS Control Arm
The Control Arm in Saturn LS vehicles; it is actually a part of suspension system that connects the frame of the vehicle to the wheels to enable the movement of the suspension system. It enables the wheels to react to irregularities on the road by turning and this is important in as far as aligning the wheels are concerned in order to guarantee safety. Control arms generally, have bushing for mounting on the frame and ball joint for coupling with the wheel assembly. Since the earliest models of Saturn LS vehicles, the ones utilized for suspension have been control arms, produced from stamped steel but more recent models may come equipped with state of the art cast iron or aluminum. Stamped steel arms are long lasting but they rust and that weakens the arm in use. On the other hand, there are cast options which provide the necessary strength and as the same time little weight. High performance control arms are also manufactured for the purpose of handling more stress and supporting modications including broader wheels or changed heights for better and firmer control.
Each OEM Saturn LS Control Arm we offer is competitively priced and comes with the assurance of the manufacturer's warranty for the part. Furthermore, we guarantee the speedy delivery of your orders right to your doorstep. Our hassle-free return policy is also in place for your peace of mind.
Saturn LS Control Arm Parts Questions & Experts Answers
- Q: How to remove and replace a control arm on Saturn LS?A:Loosen the wheel lug nuts on the side to be disassembled. Apply the parking brake, raise the front of the vehicle, support it securely on jackstands and remove the wheel. Remove the pinch bolt securing the balljoint to the control arm. Use a prybar to disconnect the control arm balljoint from the Steering Knuckle. To detach the control arm balljoint from the steering knuckle, remove the nut and bolt, then pry the balljoint out of the steering knuckle with a large prybar or screwdriver. Remove the bolts that attach the control arm to the subframe. Remove the control arm. Check the control arm for distortion and the bushings for wear, replacing parts as necessary. Do not attempt to straighten a bent control arm. If the bushings are cracked or show signs of wear, take the control arm to an automotive machine shop and have the bushings replaced. Installation is the reverse of removal, tighten all of the fasteners to the specific torque values. Before tightening the control arm pivot bolls, raise the outer end of the control arm with a floor jack to simulate normal ride height. Install the wheel and lug nuts, lower the vehicle and tighten the lug nuts to the specific torque. It's a good idea to have the front wheel alignment checked and, if necessary, adjusted after this job has been performed.
