My Garage
My Account
Cart
Genuine Saturn LS Oil Pan
Oil Drain Pan- Select Vehicle by Model
- Select Vehicle by VIN
Select Vehicle by Model
orMake
Model
Year
Select Vehicle by VIN
For the most accurate results, select vehicle by your VIN (Vehicle Identification Number).
2 Oil Pans found
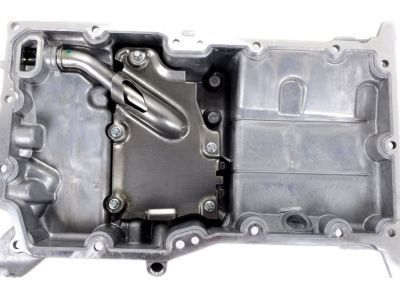
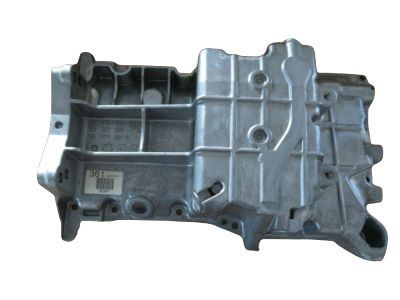
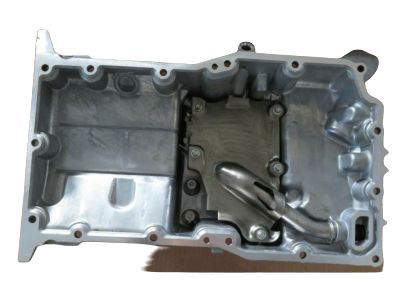
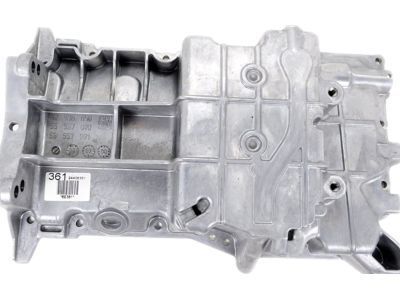
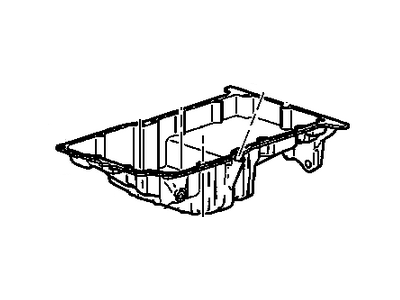
Saturn LS Pan Asm,Oil
Part Number: 19256218$100.44 MSRP: $246.02You Save: $145.58 (60%)Ships in 1-2 Business Days
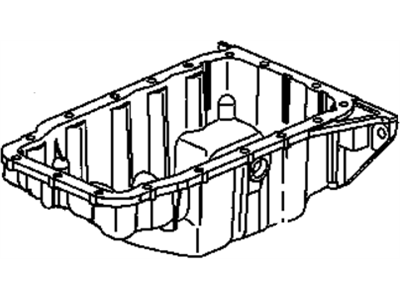
Saturn LS Oil Pan
The Oil Pan in Saturn LS vehicles is assigned for storing the oil that is required in the lubrication system of the engine. In wet sump oil handling the oil settle at the bottom of oil pan and is pulled up by the oil pump to spread on the engine parts. This design makes sure that the oil pump pickup tube always has oil packed to it hence a good arrangement of lubrication. Older oil pans were usually stamped steel and while some LS engines still use this practice, cast aluminum oil pans are much more common now. The Oil Pan in Saturn LS vehicles plays the following general function: The Oil Pan is used to hold engine oil that lubricates most of the moving parts in an automobile. Due to the implementation of the wet sump system, the oil pan additionally provided proper oil supply to the engine's internal components during a turn. Also, cast aluminum oil pans used in the later models of LS increase the reliability and durability of the lubrication system.
Each OEM Saturn LS Oil Pan we offer is competitively priced and comes with the assurance of the manufacturer's warranty for the part. Furthermore, we guarantee the speedy delivery of your orders right to your doorstep. Our hassle-free return policy is also in place for your peace of mind.
Saturn LS Oil Pan Parts Questions & Experts Answers
- Q: How to remove and install an oil pan on four cylinder engine on Saturn LS?A:Drain the engine oil. Loosen the right-front wheel lug nuts, raise the front of the vehicle and support it securely on jackstands. Remove the right front wheel. Remove the splash shield from below the right side of the engine compartment. Remove the splash shield mounting bolts-one bolt can be removed through the access hole in the inner fender splash shield. Remove the lower air conditioning compressor mounting bolt. Loosen, but don't remove, the other compressor mounting bolts. Remove the dipstick and the dipstick tube. The tube is bolted to the Intake Manifold. Remove the oil pan bolts. Follow the reverse of the tightening sequence. Tighten the pan-to-transaxle bolts until they're snug, then tighten the pan to block bolts in numerical order to the torque listed in the Specifications, then tighten bolts to the specific torque. Carefully remove the oil pan from the lower crankcase. If the oil pan is difficult to separate from the lower crankcase, use a rubber mallet or a block of wood and a hammer to jar it loose. If it's stubborn and still won't come off, pry carefully on casting protrusions. Using a gasket scraper, thoroughly clean all old gasket material from the lower crankcase and oil pan. Remove residue and oil film with a solvent such as acetone or lacquer thinner. Apply a 2 mm bead of RTV sealant to the perimeter of the oil pan, inboard of the bolt holes, and around the oil suction port. Allow the sealant to set-up before installing the oil pan to the engine. Install the oil pan and bolts. Tighten the pan-to-transaxle bolts until they're snug, then tighten the pan to block bolts in numerical order to the torque listed in the Specifications, then tighten bolts to the specific torque. Follow the correct torque sequence and tighten the bolts to the specific torque. The remaining installation is the reverse of removal. Be sure to tighten the wheel lug nuts to the specific torque.
