
My Garage
My Account
Cart
Genuine 1987 Oldsmobile Cutlass Cylinder Head
Head- Select Vehicle by Model
- Select Vehicle by VIN
Select Vehicle by Model
orMake
Model
Year
Select Vehicle by VIN
For the most accurate results, select vehicle by your VIN (Vehicle Identification Number).
5 Cylinder Heads found
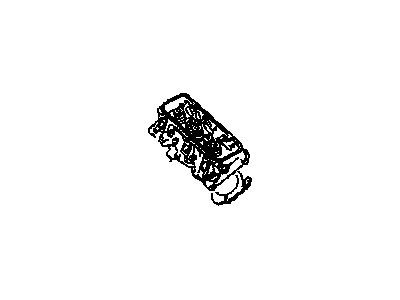 Product Specifications
- Other Name: F, Head, Rem
- Condition: New
- Fitment Type: Direct Replacement
- SKU: 12337563
- Warranty: This genuine part is guaranteed by GM's factory warranty.
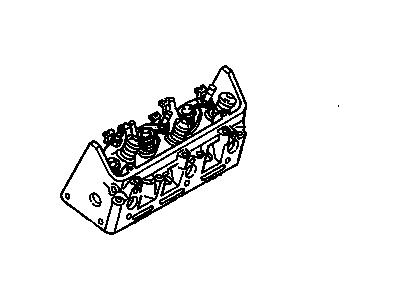 Product Specifications
- Other Name: Head Assembly, Cyl ; Head, Engine Cylinder; Cylinder Head
- Replaces: 10048649
- Item Weight: 13.00 Pounds
- Item Dimensions: 16.2 x 7.0 x 7.1 inches
- Condition: New
- Fitment Type: Direct Replacement
- Require Quantity: 2
- SKU: 12575059
- Warranty: This genuine part is guaranteed by GM's factory warranty.
 Product Specifications
- Other Name: Head Assembly, Cyl; Cylinder Head
- Replaces: 25523344
- Item Weight: 30.30 Pounds
- Item Dimensions: 16.5 x 8.5 x 6.6 inches
- Condition: New
- Fitment Type: Direct Replacement
- Require Quantity: 2
- SKU: 25527516
- Warranty: This genuine part is guaranteed by GM's factory warranty.
 Product Specifications
- Other Name: Head Assembly, Cylinder; Cylinder Head
- Item Weight: 51.80 Pounds
- Item Dimensions: 22.1 x 8.7 x 4.6 inches
- Condition: New
- Fitment Type: Direct Replacement
- Require Quantity: 2
- SKU: 22530557
- Warranty: This genuine part is guaranteed by GM's factory warranty.
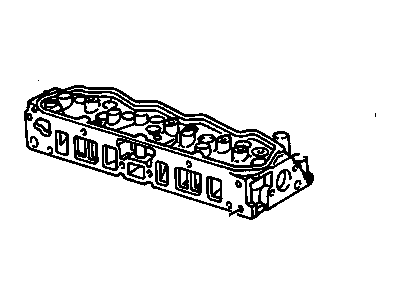 Product Specifications
- Other Name: Head Kit,Cyl; Cylinder Head
- Item Weight: 48.00 Pounds
- Item Dimensions: 22.8 x 8.7 x 4.6 inches
- Condition: New
- Fitment Type: Direct Replacement
- SKU: 12360340
- Warranty: This genuine part is guaranteed by GM's factory warranty.
1987 Oldsmobile Cutlass Cylinder Head
We are your prime source for competitively priced and high-quality OEM 1987 Oldsmobile Cutlass Cylinder Head. We provide you with parts that will allow you to save a lot of money without sacrificing quality. All our OEM parts are backed by the manufacturer's warranty and shipped out at a swift rate.
1987 Oldsmobile Cutlass Cylinder Head Parts Questions & Experts Answers
- Q:How should one inspect the cylinder head for cracks and warpage, and what steps should be taken if issues are found in V8 engine on 1987 Oldsmobile Cutlass?Posted by Lesly V.A:Carefully inspect the head for cracks around and inside the exhaust ports, combustion chambers, or external cracks to the water chamber. Check the valve stem-to-bore clearance using a dial indicator by placing a valve in its installed position with the valve head slightly off its seat. Attach a dial indicator to the head, touching the valve stem where it exits, and move the valve from side to side, noting the movement on the dial. If the clearance exceeds specifications, an oversize valve must be used after reaming the valve guide, which should be handled by a dealer or machine shop. Excessive clearance can lead to high oil consumption, while insufficient clearance may cause noisy operation and valve sticking. Inspect each valve spring and its damper, replacing any that are deformed, cracked, or broken. Check valve spring tension using GM tool J-8056 by compressing the springs to a specified height and measuring the required tension without the dampers; if not within 10 lbs of the specified load, replace the spring. Inspect rocker arm bolts or studs for wear or damage, and check push rods for warping by rolling each on a clean, flat piece of glass, replacing any that are not perfectly straight or free from damage. Check the cylinder head for warpage by placing a straightedge across its length and measuring gaps with a feeler gauge at three points across the head gasket surface and diagonally. If warpage exceeds 0.006 in at any point with a straightedge spanning the entire head, resurfacing is necessary. Using a straightedge with a span of 6 inches, warpage should not exceed 0.003 in, and resurfacing should be performed by a professional automotive machine shop. Note that resurfacing the cylinder head will slightly alter the intake manifold position, requiring proportional resurfacing of the manifold.Answered by GM Parts Specialist Jose / Jul 01, 2022
Related 1987 Oldsmobile Cutlass Parts
 1987 Oldsmobile Cutlass Rocker Arm
 1987 Oldsmobile Cutlass Rocker Shaft Spring Kit
 1987 Oldsmobile Cutlass Timing Cover
 1987 Oldsmobile Cutlass Camshaft
 1987 Oldsmobile Cutlass Intake Valve
 1987 Oldsmobile Cutlass Exhaust Valve
 1987 Oldsmobile Cutlass Rocker Arm Pivot