My Garage
My Account
Cart
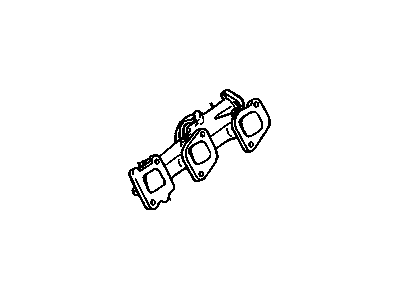
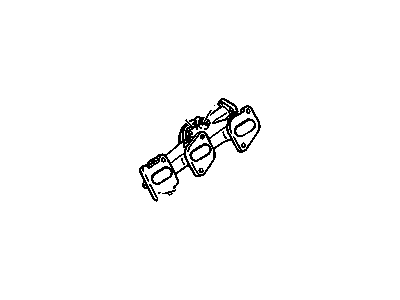
Genuine 1996 Pontiac Grand Prix Exhaust Manifold
Engine Exhaust Manifold- Select Vehicle by Model
- Select Vehicle by VIN
Select Vehicle by Model
orMake
Model
Year
Select Vehicle by VIN
For the most accurate results, select vehicle by your VIN (Vehicle Identification Number).
4 Exhaust Manifolds found
- Product Specifications
- Other Name: Manifold, Exhaust ; Manifold, Engine Exhaust Manifold; Exhaust Manifold, Manifold
- Item Weight: 5.40 Pounds
- Item Dimensions: 19.4 x 4.9 x 4.9 inches
- Condition: New
- Fitment Type: Direct Replacement
- SKU: 10182321
- Warranty: This genuine part is guaranteed by GM's factory warranty.
- Product Specifications
- Other Name: Manifold, Exhaust; Manifold
- Item Weight: 6.90 Pounds
- Condition: New
- Fitment Type: Direct Replacement
- SKU: 24505127
- Warranty: This genuine part is guaranteed by GM's factory warranty.
- Product Specifications
- Other Name: Manifold, Exhaust; Manifold
- Item Weight: 10.20 Pounds
- Item Dimensions: 17.3 x 8.0 x 5.1 inches
- Condition: New
- Fitment Type: Direct Replacement
- SKU: 24505129
- Warranty: This genuine part is guaranteed by GM's factory warranty.
- Product Specifications
- Other Name: Manifold, Exhaust ; Manifold, Engine Exhaust Manifold; Exhaust Manifold, Manifold
- Item Weight: 7.80 Pounds
- Item Dimensions: 18.2 x 6.0 x 4.8 inches
- Condition: New
- Fitment Type: Direct Replacement
- SKU: 10244605
- Warranty: This genuine part is guaranteed by GM's factory warranty.
1996 Pontiac Grand Prix Exhaust Manifold
We are your prime source for competitively priced and high-quality OEM 1996 Pontiac Grand Prix Exhaust Manifold. We provide you with parts that will allow you to save a lot of money without sacrificing quality. All our OEM parts are backed by the manufacturer's warranty and shipped out at a swift rate.
1996 Pontiac Grand Prix Exhaust Manifold Parts Questions & Experts Answers
- Q: How to disconnect and replace the exhaust manifold in 2.8L,3.1L V6 engine on 1996 Pontiac Grand Prix?A: Remove the negative terminal of the battery from the battery if the Theftlock audio system is ON, turn it off at this point. Disconnect to air cleaner assembly, inlet hose and mass air flow sensor. Let the engine to cool for some time, and remove the coolant also take off the coolant bypass tube if it is connected. For 3100 engines through 1998 replace the upper and lower radiator hoses and the coolant by pass pipe from the front exhaust manifold and water pump. Take the tie straps off the heater outlet pipe and ignition wire harness, disconnect the heater outlet pipe. If installed, therefore, the automatic transaxle vacuum modulator pipe should be detached. Disconnect the coolant reservoir, and also the serpentine drivebelt. For models through 1996, the procedure is slightly different: disconnect the hoses but retain the air conditioning compressor. If necessary, also remove the torque strut for the right side, and the torque strut bracket and the air conditioning compressor bracket for vehicles to 1996. Remove the crossover pipe after unbolting it at the front manifold, and the authors have it that on later models, the crossover pipe heat shield should be taken off for adequate access. Disconnect the manifold from the cylinder head by unbolting it and then, take off the manifold heat shield. Remove old gasket material using a clean cloth and visually check the manifold for distortion and mechanical cracks; the manifold should not be warped, and its warpage can be checked using a straight-edge. If warpage is more than 0.030-inch, it is advisable to have the manifold refinished by auto machine shop. Place the manifold back in Position and replace its gasket then tighten the mounting bolts tofinger tight and then rotate them simultaneously starting from the midpoint and work round the circle until they are torqued. Install the balance of the components in reverse sequence, engage the starter and inspect for exhaust manifold leaks. As in the case of the front manifold, switch off the battery, let the engine cool, and discharge the coolant, removing the rear manifold. Depend on your particular model the coolant reservoir should be removed, the engine rotated for clearance and the air cleaner assembly should also be removed. When necessary, move the accelerator cable, and T.V. cable aside for some space. After removing the crossover pipe by loosening the nut where the pipe is connected to the rear manifold loosen the bolts of the exhaust manifold heat shield, but you will find that the rear manifold bolts retain themselves differently from the front manifold bolts. Park the car, engage the handbrake and turn the rear wheels so that they are on stands, and then raise the front end of the vehicle on jackstands. Wrench up the vehicle and locate and undo the exhaust pipe to manifold bolts; it might be necessary to use a penetrating oil. For the 3100, lower the drivetrain/front suspension frame assembly by turning the rear frame bolts out to loosen them but do not remove them then turn out the front frame bolts and lower the front of the frame. Remove the EGA tube assembly from the exhaust manifold and if equipped, remove the automatic transaxle vacuum modulator pipe and filler tube and the oxygen sensor. Lose the exhaust manifold and carefully inspect the surfaces that are going to be bolted together for warpage and cracks; clean the surfaces. Place the manifold back allowing the surface of the new gasket to leave a factory pressed imprint on the head, use fingers to tighten the bolts and then proceed to tighten all of them with the twisting stick in a alternate fashion starting from the middle towards the outer rim of the head's surface. Install the rest of the components in a backwards sequence and start the engine in order to look for rupture of the exhaust system.


