My Garage
My Account
Cart
Genuine 1997 Pontiac Grand Prix Crankshaft Seal
- Select Vehicle by Model
- Select Vehicle by VIN
Select Vehicle by Model
orMake
Model
Year
Select Vehicle by VIN
For the most accurate results, select vehicle by your VIN (Vehicle Identification Number).
4 Crankshaft Seals found
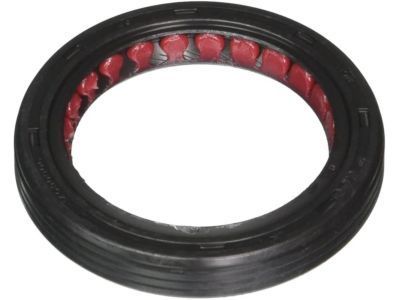
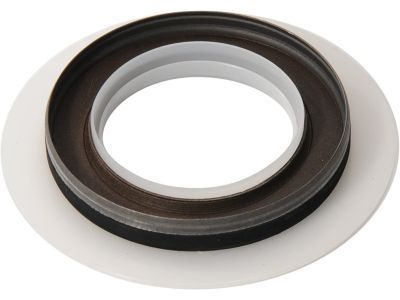
1997 Pontiac Grand Prix Seal,Crankshaft Front Oil
Part Number: 14090906$18.33 MSRP: $30.33You Save: $12.00 (40%)Ships in 1-2 Business DaysProduct Specifications- Other Name: SEAL, Engine Front Cover & Crankshaft Seal
- Position: Front
- Replaces: 12577710
- Item Weight: 0.30 Pounds
- Item Dimensions: 3.0 x 3.0 x 0.5 inches
- Condition: New
- Fitment Type: Direct Replacement
- SKU: 14090906
- Warranty: This genuine part is guaranteed by GM's factory warranty.
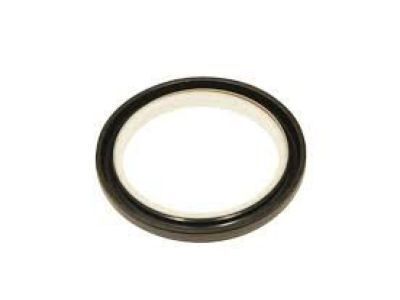
1997 Pontiac Grand Prix Seal,Crankshaft Rear Oil
Part Number: 12582320$24.46 MSRP: $40.49You Save: $16.03 (40%)Ships in 1-2 Business DaysProduct Specifications- Other Name: SEAL, Engine Rear Main Bearing; Crankshaft Seal, Rear Main Seal, Seal
- Position: Rear
- Replaces: 25534760
- Item Weight: 0.50 Pounds
- Item Dimensions: 4.4 x 4.5 x 0.3 inches
- Condition: New
- Fitment Type: Direct Replacement
- SKU: 12582320
- Warranty: This genuine part is guaranteed by GM's factory warranty.
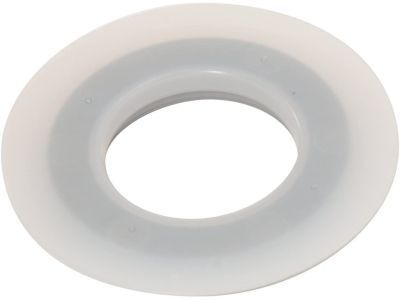
1997 Pontiac Grand Prix Seal Assembly, Crankshaft Front Oil
Part Number: 12582313$14.65 MSRP: $24.24You Save: $9.59 (40%)Ships in 1-3 Business DaysProduct Specifications- Other Name: SEAL, Engine Front Cover & Crankshaft Seal
- Position: Front
- Replaces: 24504098
- Item Weight: 0.40 Pounds
- Item Dimensions: 4.2 x 4.3 x 0.6 inches
- Condition: New
- Fitment Type: Direct Replacement
- SKU: 12582313
- Warranty: This genuine part is guaranteed by GM's factory warranty.
- Product Specifications
- Other Name: SEAL, Engine Rear Main Bearing; Cap, Rear Main Seal
- Position: Rear
- Item Weight: 1.30 Pounds
- Item Dimensions: 6.6 x 4.8 x 0.2 inches
- Condition: New
- Fitment Type: Direct Replacement
- SKU: 10191767
- Warranty: This genuine part is guaranteed by GM's factory warranty.
1997 Pontiac Grand Prix Crankshaft Seal
We are your prime source for competitively priced and high-quality OEM 1997 Pontiac Grand Prix Crankshaft Seal. We provide you with parts that will allow you to save a lot of money without sacrificing quality. All our OEM parts are backed by the manufacturer's warranty and shipped out at a swift rate.
1997 Pontiac Grand Prix Crankshaft Seal Parts Questions & Experts Answers
- Q: How to remove and install the rear crankshaft seal in 3.8L V6 engine on 1997 Pontiac Grand Prix?A: Remove the transaxle and then the driveplate. Using a thin screwdriver or seal removal tool, carefully remove the oil seal from the engine block, taking care not to damage the crankshaft surface while prying the seal out. Clean the bore in the block and the seal contact surface on the crankshaft, checking for scratches and nicks that could damage the new seal lip and cause oil leaks; if the crankshaft is damaged, a new or different crankshaft is necessary. Inspect the seal bore for nicks and scratches, smoothing it with a fine file if needed, but avoid nicking the crankshaft. A special tool is recommended for installing the new oil seal; lubricate the lips of the seal with clean engine oil and slide the seal onto the mandril until the dust lip bottoms squarely against the collar of the tool. If the special tool isn't available, carefully work the seal lip over the crankshaft and tap it into place with a hammer and punch. Align the dowel pin on the tool with the dowel pin hole in the crankshaft and attach the tool by hand-tightening the bolts. Turn the tool handle until the collar bottoms against the case, seating the seal, then loosen the tool handle and remove the bolts and the tool. Check the seal to ensure it is seated squarely in the bore, then install the driveplate and the transaxle.
