
My Garage
My Account
Cart
Genuine 1998 Pontiac Grand Prix Cylinder Head
Head- Select Vehicle by Model
- Select Vehicle by VIN
Select Vehicle by Model
orMake
Model
Year
Select Vehicle by VIN
For the most accurate results, select vehicle by your VIN (Vehicle Identification Number).
3 Cylinder Heads found
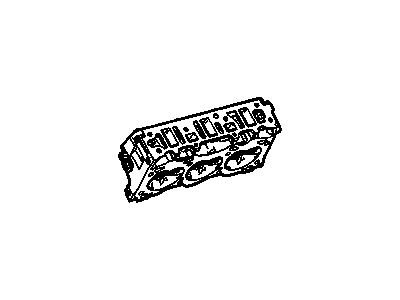
1998 Pontiac Grand Prix Cylinder Head Assembly
Part Number: 24507848$61.82 MSRP: $95.71You Save: $33.89 (36%)Product Specifications- Other Name: Head Assembly, Cyl ; Head, Engine Cylinder; Cylinder Head
- Replaces: 24503436
- Item Weight: 29.90 Pounds
- Item Dimensions: 16.6 x 10.1 x 8.8 inches
- Condition: New
- Fitment Type: Direct Replacement
- Require Quantity: 2
- SKU: 24507848
- Warranty: This genuine part is guaranteed by GM's factory warranty.
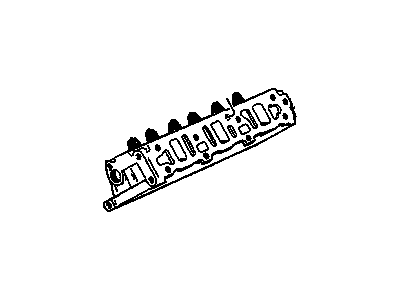 Product Specifications
- Other Name: Head Assembly, Cyl ; Head, Engine Cylinder; Cylinder Head
- Replaces: 24502259
- Item Weight: 31.90 Pounds
- Item Dimensions: 22.8 x 10.1 x 9.6 inches
- Condition: New
- Fitment Type: Direct Replacement
- Require Quantity: 2
- SKU: 24508132
- Warranty: This genuine part is guaranteed by GM's factory warranty.
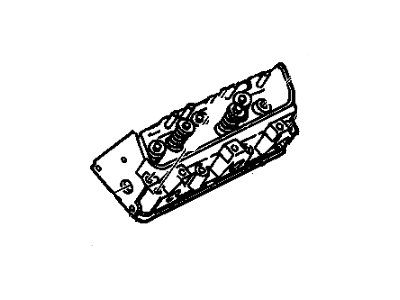 Product Specifications
- Other Name: Head Asm,Cyl ; Head, Engine Cylinder; Cylinder Head
- Replaces: 24503767
- Item Weight: 15.70 Pounds
- Item Dimensions: 16.8 x 8.5 x 9.0 inches
- Condition: New
- Fitment Type: Direct Replacement
- Require Quantity: 2
- SKU: 12575061
- Warranty: This genuine part is guaranteed by GM's factory warranty.
1998 Pontiac Grand Prix Cylinder Head
We are your prime source for competitively priced and high-quality OEM 1998 Pontiac Grand Prix Cylinder Head. We provide you with parts that will allow you to save a lot of money without sacrificing quality. All our OEM parts are backed by the manufacturer's warranty and shipped out at a swift rate.
1998 Pontiac Grand Prix Cylinder Head Parts Questions & Experts Answers
- Q:What precautions should be taken before loosening the cylinder head bolts and what steps are involved in the cylinder head removal and installation process in 2.5L four cylinder engine on 1998 Pontiac Grand Prix?Posted by Thaxter P.A:In the case of the engines, ensure that they have cooled down before proceeding to the next level and therefore loosening of the cylinder head bolts. On high-mileage vehicles, as well as during engine rebuild, the camshaft lobe height should be measured before the cylinder head is removed. First turn off the fuel injection system as well as the TBI cover, secondly, disconnect the cable from the negative terminal of the battery, while if the Theft-lock audio system is installed, lock out the system. Pull out the alternator and the brackets; also, the intake and exhaust manifolds have to be removed. Remove the dipstick tube from the exhaust manifold; un-screw the power steering pump although you do not have to disconnect the hoses; and that is about all that may be disconnected from the cylinder head; vacuum, fuel and other lines must be disconnected and labelled for reconnection. Remove the spark plug wires and spark plugs being careful to label the wires to the corresponding cylinders. Taking out the valve cover, the rocker arms and the pushrods. This time using a new head gasket the direction of cylinders and head bolts to be clearly marked on cardboard and the arrows pointing to the front of the engine should be clearly made on the cardboard. Turn each of the cylinder head mounting bolts ¼ turn at a time in step manner they can be easily pulled out and put back in the cardboard holder. Head off the engine gently if possible, or use a hammer and a block of wood to ease the pressure and then, remove the cylinder head gasket. If new cylinder head is to be put then all the externe parts should be shift from old one to the new one and the both gasket surfaces of cylinder head and engine block should be cleaned properly but not harmfully. Check that the heads of the head bolts and the threads of the corresponding holes in the engine casting are clean by means of a die and tapping them if necessary. Position the gasket on the dowel pins of the engine block with regard to any arrows, then, lower the cylinder head gently on to the block. Screw the bolts in until they are just loosely engaged, do not tighten them at this stage. Loosen each bolt by turning in a clockwise direction and then in an anti-clockwise direction as per the sequence mentioned in stage-1 and re-tighten it to the stage-1 until 1/4 turn until all bolts are marked with felt-tip pen. Perform the same for stage 2 torque and for the final tightening angle. That is about the reverse of the above removal process and remember to replace the cooling system, oil as well as the filter.Answered by GM Parts Specialist Fernando / May 02, 2025
Related 1998 Pontiac Grand Prix Parts
 1998 Pontiac Grand Prix Rocker Arm
 1998 Pontiac Grand Prix Rocker Shaft Spring Kit
 1998 Pontiac Grand Prix Timing Cover
 1998 Pontiac Grand Prix Camshaft
 1998 Pontiac Grand Prix Intake Valve
 1998 Pontiac Grand Prix Exhaust Valve