My Garage
My Account
Cart
Genuine 2014 Cadillac CTS Crankshaft Seal
- Select Vehicle by Model
- Select Vehicle by VIN
Select Vehicle by Model
orMake
Model
Year
Select Vehicle by VIN
For the most accurate results, select vehicle by your VIN (Vehicle Identification Number).
5 Crankshaft Seals found
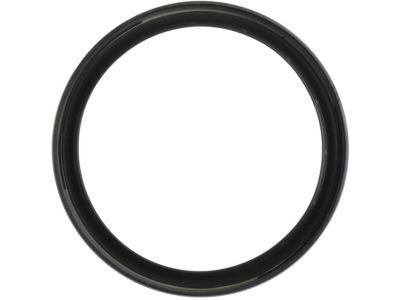
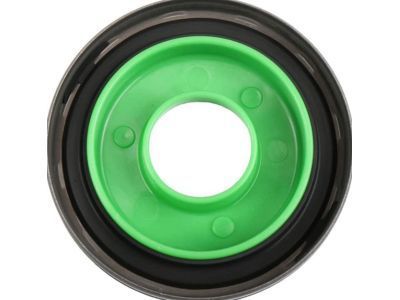
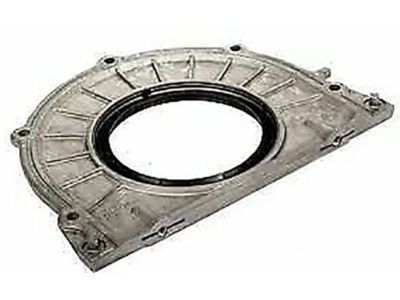
2014 Cadillac CTS Seal Assembly, Crankshaft Rear Oil
Part Number: 12591866$21.33 MSRP: $36.17You Save: $14.84 (42%)Product Specifications- Other Name: SEAL, Engine Rear Main Bearing; Rear Main Seal
- Position: Rear
- Replaces: 90298408, 90325572, 90280462, 90354378
- Item Weight: 0.30 Pounds
- Item Dimensions: 4.5 x 4.4 x 1.1 inches
- Condition: New
- Fitment Type: Direct Replacement
- SKU: 12591866
- Warranty: This genuine part is guaranteed by GM's factory warranty.
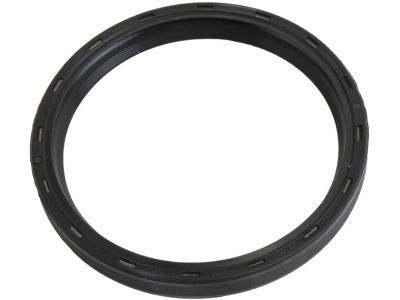
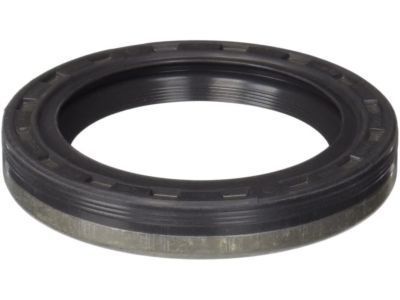
2014 Cadillac CTS Seal Assembly, Crankshaft Front Oil
Part Number: 12626923$19.78 MSRP: $32.73You Save: $12.95 (40%)Ships in 1-2 Business DaysProduct Specifications- Other Name: SEAL, Engine Front Cover & Crankshaft Seal; Crankshaft Seal, Front Crank Seal, Front Seal
- Position: Front
- Item Weight: 0.40 Pounds
- Item Dimensions: 3.0 x 3.0 x 0.5 inches
- Condition: New
- Fitment Type: Direct Replacement
- SKU: 12626923
- Warranty: This genuine part is guaranteed by GM's factory warranty.
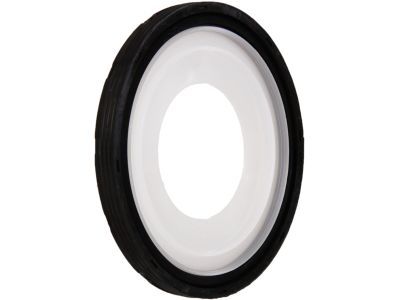
2014 Cadillac CTS Seal Kit,Crankshaft Rear Oil
Part Number: 89060436$24.13 MSRP: $39.93You Save: $15.80 (40%)Ships in 1-3 Business DaysProduct Specifications- Other Name: SEAL KIT, Engine Rear Main Bearing; Crankshaft Seal, Rear Main Seal
- Position: Rear
- Replaces: 12550574, 12585671, 89018162
- Item Weight: 0.50 Pounds
- Item Dimensions: 5.1 x 5.3 x 1.0 inches
- Condition: New
- Fitment Type: Direct Replacement
- SKU: 89060436
- Warranty: This genuine part is guaranteed by GM's factory warranty.
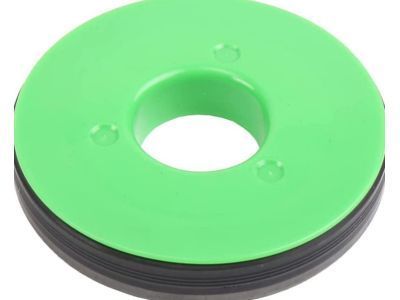
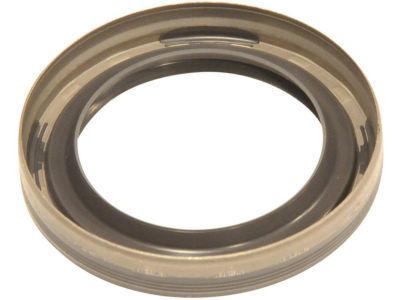
2014 Cadillac CTS Seal,Crankshaft Front Oil
Part Number: 12608750$9.18 MSRP: $15.19You Save: $6.01 (40%)Ships in 1-3 Business DaysProduct Specifications- Other Name: SEAL, Engine Front Cover & Crankshaft Seal
- Position: Front
- Replaces: 12592355
- Item Weight: 0.40 Pounds
- Item Dimensions: 3.5 x 3.4 x 0.5 inches
- Condition: New
- Fitment Type: Direct Replacement
- SKU: 12608750
- Warranty: This genuine part is guaranteed by GM's factory warranty.
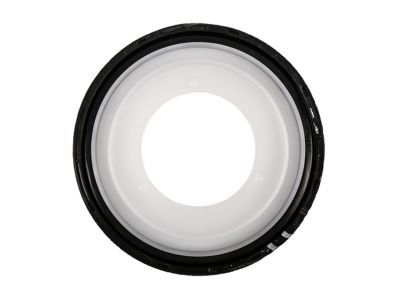
2014 Cadillac CTS Seal Assembly, Crankshaft Rear Oil
Part Number: 12637710$42.75 MSRP: $73.74You Save: $30.99 (43%)Ships in 1-2 Business DaysProduct Specifications- Other Name: SEAL, Engine Rear Main Bearing; Rear Main Seal, Rear Main Seal Retainer
- Position: Rear
- Replaces: 12608748, 12620955, 12592243, 12592242
- Item Weight: 1.10 Pounds
- Item Dimensions: 8.9 x 8.3 x 2.3 inches
- Condition: New
- Fitment Type: Direct Replacement
- SKU: 12637710
- Warranty: This genuine part is guaranteed by GM's factory warranty.
2014 Cadillac CTS Crankshaft Seal
We are your prime source for competitively priced and high-quality OEM 2014 Cadillac CTS Crankshaft Seal. We provide you with parts that will allow you to save a lot of money without sacrificing quality. All our OEM parts are backed by the manufacturer's warranty and shipped out at a swift rate.
2014 Cadillac CTS Crankshaft Seal Parts Questions & Experts Answers
- Q: How to remove and install front crankshaft seal in 3.2L V6 engine on 2014 Cadillac CTS?A: Further, time belt and crankshaft drive gear must be dismantled. With a screwdriver or hook tool remove the seal being gentle so as not to harm the oil pump cover bore or the nose and sealing surface on the crankshaft. There is also another method in which make a hole on each side of the seal and then put the self-tapping screw and this will pull the seal out without the pry bar. Clean and lightly oil the sealing surfaces of the centre portion of the oil pump cover and at the crankshaft accordingly. Rub some clean engine oil on the lip of the new seal, which comes in contact with the crankshaft. The new seal is to be installed into the oil pump cover beginning in the center of the seal; once in place, the use of a seal driver or a socket of the appropriate size can be used to push the seal into the engine cover, while being careful to ensure that it is as square with the cover as possible when it is in place. Last but not the least, fit the crank shaft drive gear and the timing belt.
