My Garage
My Account
Cart
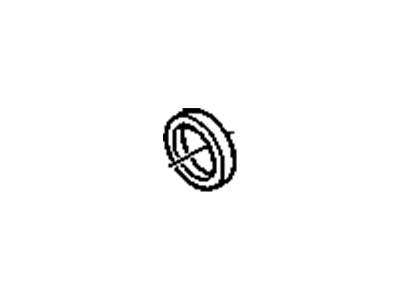
Genuine Cadillac CTS Crankshaft Seal
- Select Vehicle by Model
- Select Vehicle by VIN
Select Vehicle by Model
orMake
Model
Year
Select Vehicle by VIN
For the most accurate results, select vehicle by your VIN (Vehicle Identification Number).
9 Crankshaft Seals found
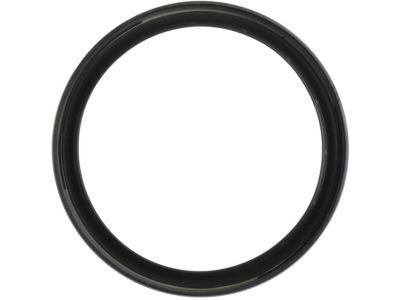
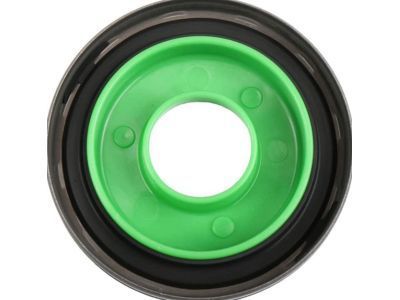
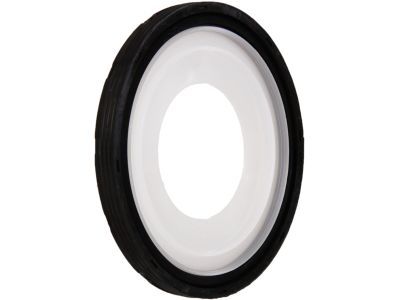
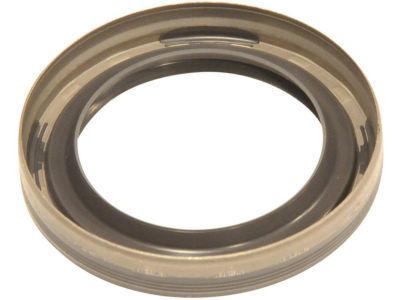
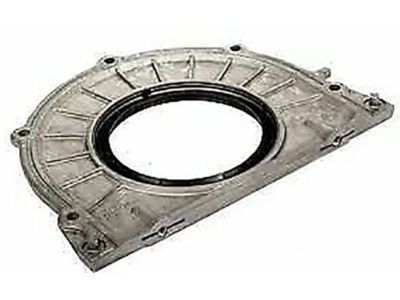
Cadillac CTS Seal Assembly, Crankshaft Rear Oil
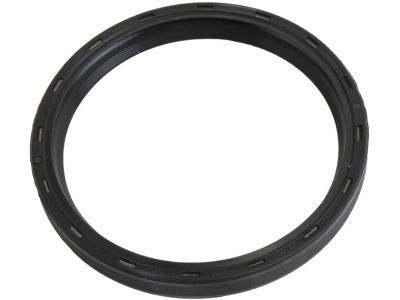
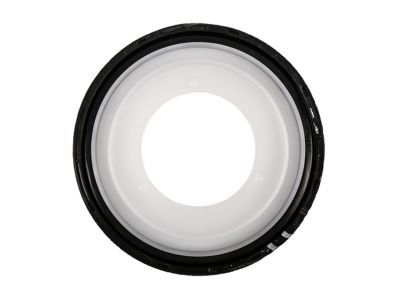
Part Number: 12591866$21.33 MSRP: $36.17You Save: $14.84 (42%)Cadillac CTS Seal Assembly, Crankshaft Front Oil
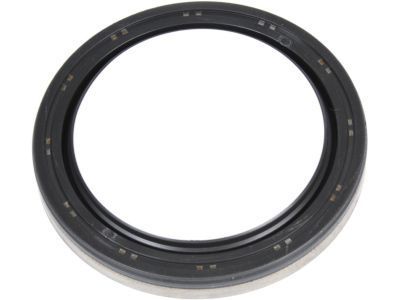
Part Number: 12626923$19.78 MSRP: $32.73You Save: $12.95 (40%)Ships in 1-2 Business DaysCadillac CTS Seal Assembly, Crankshaft Front Oil
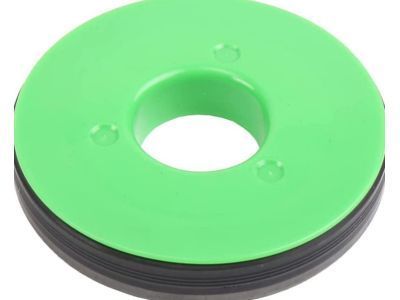
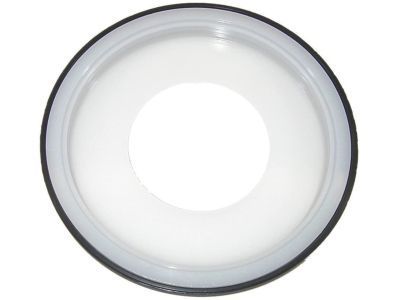
Part Number: 12634614$13.22 MSRP: $21.09You Save: $7.87 (38%)Cadillac CTS Seal Kit,Crankshaft Rear Oil
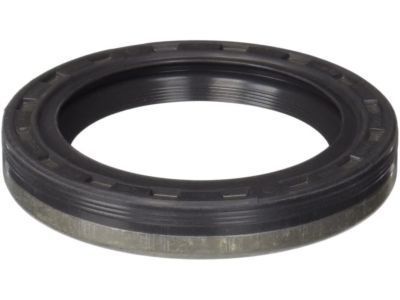
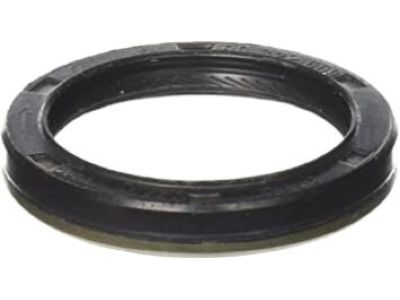
Part Number: 89060436$24.13 MSRP: $39.93You Save: $15.80 (40%)Ships in 1-3 Business DaysCadillac CTS Seal,Crankshaft Front Oil
Part Number: 12608750$9.18 MSRP: $15.19You Save: $6.01 (40%)Ships in 1-3 Business DaysCadillac CTS Seal Assembly, Crankshaft Rear Oil
Part Number: 12665076$25.55 MSRP: $42.27You Save: $16.72 (40%)Ships in 1-3 Business DaysCadillac CTS Seal Assembly, Crankshaft Rear Oil
Part Number: 12637710$42.75 MSRP: $73.74You Save: $30.99 (43%)Ships in 1-2 Business DaysCadillac CTS Seal Assembly, Crankshaft Front Oil
Part Number: 12654010$4.66 MSRP: $7.72You Save: $3.06 (40%)Ships in 1-3 Business DaysCadillac CTS Seal,Crankshaft Front Oil
Part Number: 90322669$24.84 MSRP: $44.58You Save: $19.74 (45%)
Cadillac CTS Crankshaft Seal
The Crankshaft Seal of Cadillac CTS cars is an automotive part situated at the front part of the engine so as to prohibit oil leakage of the crankcase. Made from composite of metal and rubber, this round seal rotates and its major function is to ensure supply of lubricant to the engines thus reducing friction and subsequent wear of parts of the engine. One may begin to notice that a Cadillac CTS has a high mileage or if it is leaking oil, this indicates that Crankshaft Seal needs to be replaced. Although the overall structure differs slightly from one model year to another, changes in materials or construction of the Crankshaft Seal may be present in the Cadillac CTS cars due new model year, yet fundamentally and integrated the Cadillac CTS Crankshaft Seal function identically across the various Cadillac CTS cars models.
Each OEM Cadillac CTS Crankshaft Seal we offer is competitively priced and comes with the assurance of the manufacturer's warranty for the part. Furthermore, we guarantee the speedy delivery of your orders right to your doorstep. Our hassle-free return policy is also in place for your peace of mind.
Cadillac CTS Crankshaft Seal Parts Questions & Experts Answers
- Q: How to disconnect the cable from the negative battery terminal and replace the rear crankshaft seal in 2.8L, 3.0L, 3.6L V6 engine on Cadillac CTS?A:Disconnect the cable from the negative battery terminal. Remove the transmission and then take out the flywheel/driveplate along with the oil pan. Remove the retaining bolts and take off the seal housing from the engine, being careful not to scratch the machined faces of the cylinder block, rear Crankshaft Seal housing, or oil pan while scraping old gasket material. Thoroughly clean the mounting surfaces of the oil pan, rear Crankshaft Seal housing, and engine block of old gasket material and sealer, using a rag soaked in lacquer thinner, acetone, or brake cleaner. If the seal is supplied separately from the seal housing, note the installed position of the old seal before tapping it out with a small punch or seal removal tool. Lubricate the outside diameter of the new seal and install it over the seal housing, ensuring the lip points toward the engine. Preferably, use a seal installation tool to press the new seal back into place; if unavailable, use a large socket, section of pipe, or a blunt tool to carefully drive the new seal squarely into the seal bore to the same position as the original seal. Install two threaded dowel pins to the cylinder block for correct rear Crankshaft Seal housing alignment. Apply a 1/8-inch (3mm) wide bead of RTV sealant around the mating face of the rear Crankshaft Seal housing, avoiding the bolt holes. Slide the seal over the crankshaft and dowel pins, then tighten the upper bolts finger-tight. Most new rear Crankshaft Seals and housing assemblies come with a seal protector on the inside running face of the seal, which should remain in place until the housing is positioned. Remove the dowel pins and install the remaining rear Crankshaft Seal housing bolts, tightening them to the specified torque before removing the seal protector. Install the oil pan and flywheel/driveplate, then complete the installation in reverse order of removal. Finally, add oil, run the engine, and check for oil leaks.
Related Cadillac CTS Parts
Browse by Year
2019 Crankshaft Seal 2018 Crankshaft Seal 2017 Crankshaft Seal 2016 Crankshaft Seal 2015 Crankshaft Seal 2014 Crankshaft Seal 2013 Crankshaft Seal 2012 Crankshaft Seal 2011 Crankshaft Seal 2010 Crankshaft Seal 2009 Crankshaft Seal 2008 Crankshaft Seal 2007 Crankshaft Seal 2006 Crankshaft Seal 2005 Crankshaft Seal 2004 Crankshaft Seal 2003 Crankshaft Seal
