My Garage
My Account
Cart
Genuine Cadillac CTS Coil Springs
Strut Spring- Select Vehicle by Model
- Select Vehicle by VIN
Select Vehicle by Model
orMake
Model
Year
Select Vehicle by VIN
For the most accurate results, select vehicle by your VIN (Vehicle Identification Number).
54 Coil Springs found
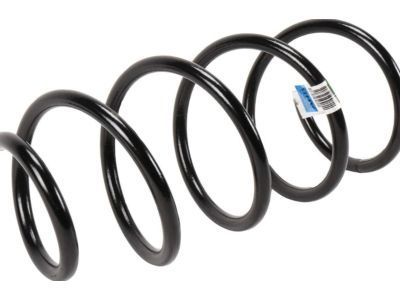
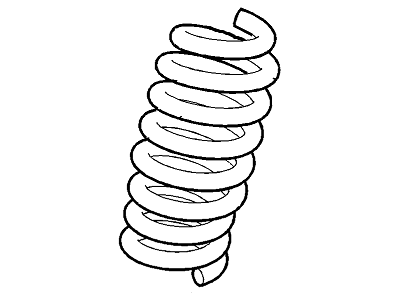
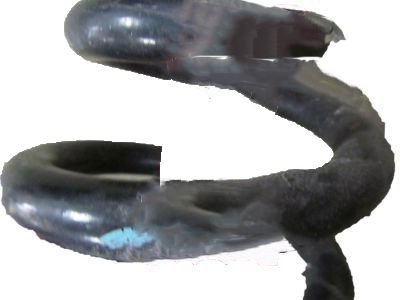
Cadillac CTS Front Spring
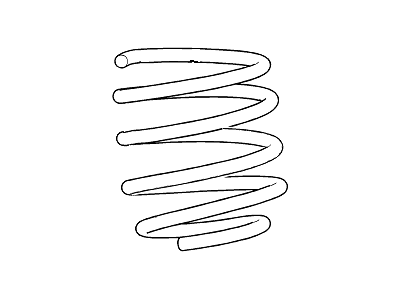
Part Number: 22784577$64.87 MSRP: $122.40You Save: $57.53 (47%)Ships in 1-3 Business DaysCadillac CTS Rear Coil Spring
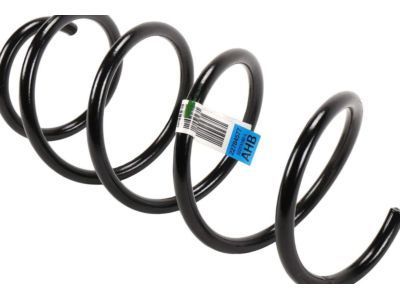
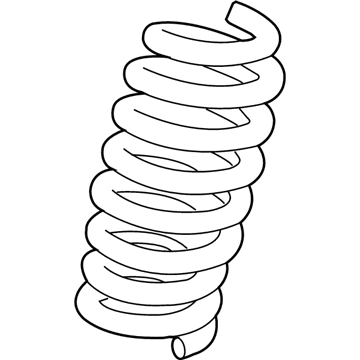
Part Number: 23153931$36.00 MSRP: $67.90You Save: $31.90 (47%)Ships in 1-3 Business DaysCadillac CTS Front Coil Spring
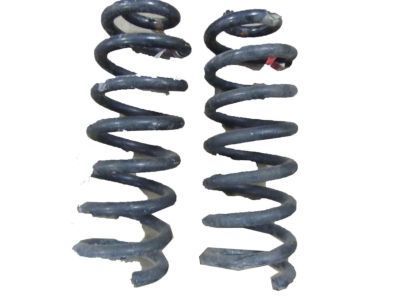
Part Number: 22943021$73.91 MSRP: $139.45You Save: $65.54 (47%)Ships in 1-3 Business DaysCadillac CTS Rear Coil Spring
Part Number: 23153926$34.84 MSRP: $65.73You Save: $30.89 (47%)Ships in 1-3 Business DaysCadillac CTS Rear Coil Spring
Part Number: 23153925$36.07 MSRP: $65.58You Save: $29.51 (45%)Ships in 1-3 Business DaysCadillac CTS Rear Coil Spring
Part Number: 23341853$35.84 MSRP: $67.64You Save: $31.80 (48%)Ships in 1-3 Business DaysCadillac CTS Spring, Rear Coil
Part Number: 23153923$32.48 MSRP: $59.06You Save: $26.58 (46%)Ships in 1-3 Business DaysCadillac CTS Rear Coil Spring
Part Number: 23153929$37.72 MSRP: $68.56You Save: $30.84 (45%)Ships in 1-3 Business DaysCadillac CTS Front Coil Spring
Part Number: 22938420$78.52 MSRP: $142.76You Save: $64.24 (45%)Ships in 1-3 Business DaysCadillac CTS Front Coil Spring
Part Number: 22938419$74.87 MSRP: $136.10You Save: $61.23 (45%)Ships in 1-3 Business DaysCadillac CTS Rear Coil Spring
Part Number: 23497214$35.38 MSRP: $64.32You Save: $28.94 (45%)Ships in 1-3 Business DaysCadillac CTS Front Coil Spring
Part Number: 22863248$54.30 MSRP: $102.46You Save: $48.16 (47%)Ships in 1-3 Business DaysCadillac CTS Front Coil Spring
Part Number: 23124825$58.78 MSRP: $110.90You Save: $52.12 (47%)Ships in 1-3 Business DaysCadillac CTS Front Coil Spring
Part Number: 22863247$52.45 MSRP: $98.97You Save: $46.52 (47%)Ships in 1-3 Business Days
| Page 1 of 3 |Next >
1-20 of 54 Results
Cadillac CTS Coil Springs
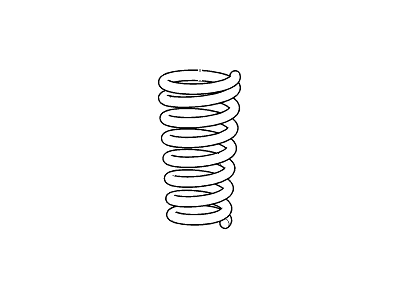
Coil springs are an operational part of the Cadillac CTS cars, they hold the car weight and act as shock absorbers which help the vehicle to handle the depressions on the roads. These coil springs allow for the appropriate body height and align the wheels while providing solutions to problems as such as abnormal usage of tires and bottoming out. Cadillac CTS over the years has sought to use several types of coil springs, namely linear rate springs, progressive spring, and dual rate springs. Linear rate springs keep the spring rate constant on the other hand progressive springs gives variable rate to give a smooth ride depending on the driving conditions. Dual rate springs are springs of two different, and hence, higher stiffness that adds to the performance during dynamic maneuvering. Further, Cadillac CTS vehicles are offered with adjustable coil springs as a result ride height could also be adjusted depending on the wheel and tire measurements. In general, it can be said that coil springs in Cadillac CTS play an important part of the vehicle's performance, providing stability and sensitivity.
Each OEM Cadillac CTS Coil Springs we offer is competitively priced and comes with the assurance of the manufacturer's warranty for the part. Furthermore, we guarantee the speedy delivery of your orders right to your doorstep. Our hassle-free return policy is also in place for your peace of mind.
Cadillac CTS Coil Springs Parts Questions & Experts Answers
- Q: How to remove and replace the rear coil springs on Cadillac CTS?A:Loosen the wheel lug nuts, raise the rear of the vehicle, and support it securely on jackstands while blocking the front wheels to prevent rolling, then remove the wheel. Support the lower Control Arm with a floor jack positioned underneath the coil spring pocket. For the right side coil spring removal, take off the brake line mounting bracket nuts and bolts, then remove the bracket. Remove the Shock Absorber lower mounting bolt, slowly lower the arm, and take out the bolt. Loosen the driveaxle/hub nut until it reaches the end of the threads, then push the driveaxle into the hub just enough to loosen the splines. Detach the stabilizer bar link from the lower control arm and the Trailing Arm and toe-link arm from the knuckle. Loosen the lower control arm inner pivot bolt and remove the outer bolt. Pull the Steering Knuckle outward while pushing the driveaxle into the hub, then slowly lower the jack to extend the coil spring; once there is no load on the spring, remove it from the control arm, taking care not to overextend the inner CV joint of the driveaxle. For 2007 or earlier models, if the control arm cannot be lowered enough for the spring to fully extend, support the subframe with another floor jack on the side from which the spring is being removed, then remove the subframe bolts on that side and lower the subframe adequately. Mark the position of the coil spring to the spring insulators, check the spring for cracks and chips, and replace the springs as a set if any defects are found, also checking the insulators for damage and replacing them if necessary. Installation is the reverse of removal, ensuring the lower end of the spring is properly oriented with the insulator and connecting all suspension components before tightening any fasteners; raise the lower arm to simulate normal ride height before tightening any pivot bolts or nuts. Install a new driveaxle/hub nut and tighten it to the specified torque, then install the wheel and lug nuts, lower the vehicle, and tighten the lug nuts to the specified torque. Finally, have the wheel alignment checked and adjusted if necessary.
Related Cadillac CTS Parts
Browse by Year
2019 Coil Springs 2018 Coil Springs 2017 Coil Springs 2016 Coil Springs 2015 Coil Springs 2014 Coil Springs 2013 Coil Springs 2012 Coil Springs 2011 Coil Springs 2010 Coil Springs 2009 Coil Springs 2008 Coil Springs 2007 Coil Springs 2006 Coil Springs 2005 Coil Springs 2004 Coil Springs 2003 Coil Springs
