My Garage
My Account
Cart
Genuine Cadillac Escalade Control Arm
Suspension Arm- Select Vehicle by Model
- Select Vehicle by VIN
Select Vehicle by Model
orMake
Model
Year
Select Vehicle by VIN
For the most accurate results, select vehicle by your VIN (Vehicle Identification Number).
37 Control Arms found
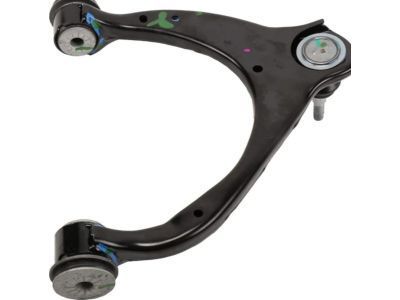
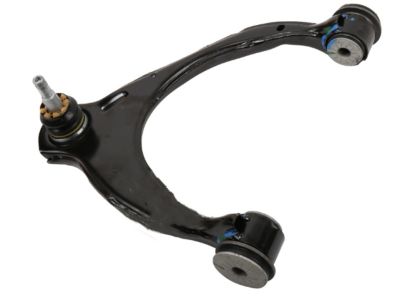
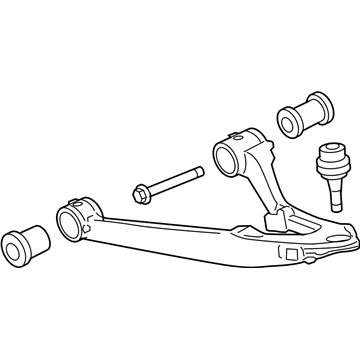
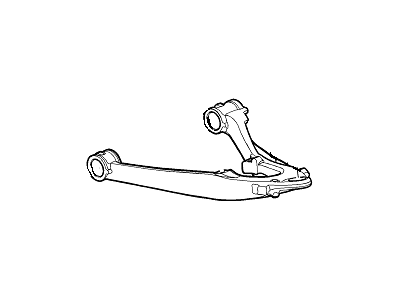
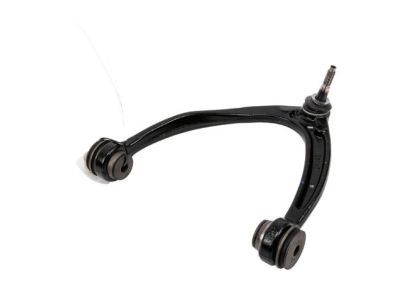
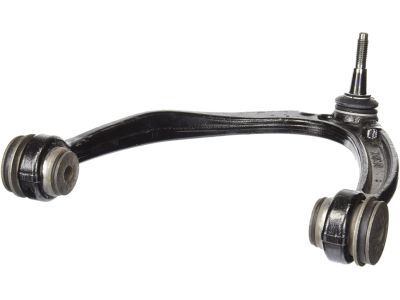
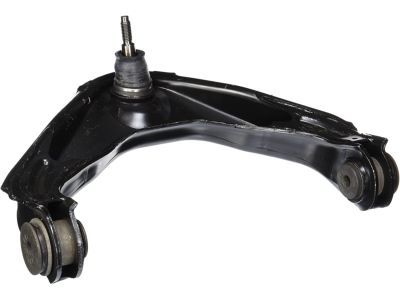
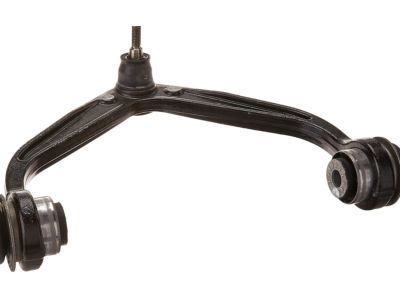
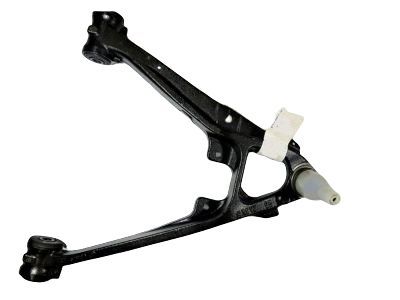
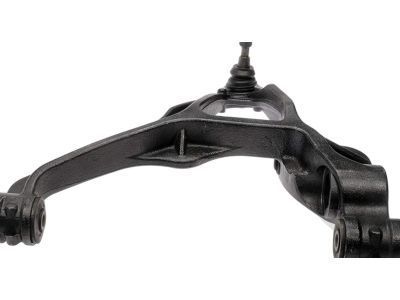
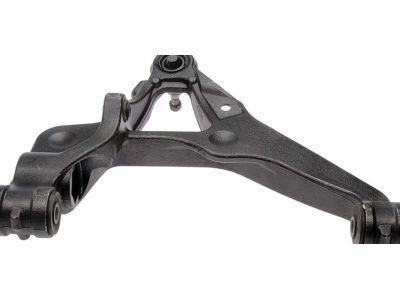
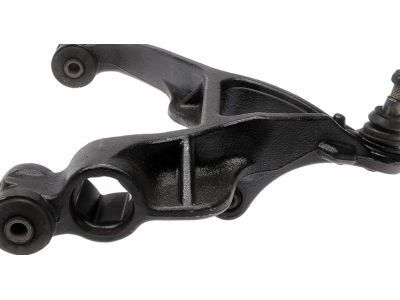
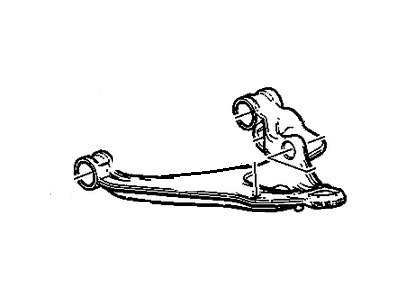
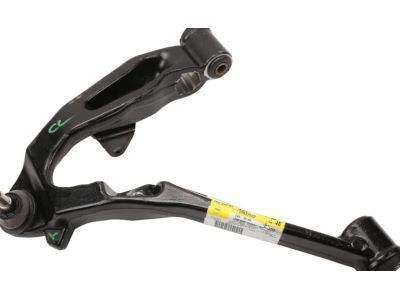
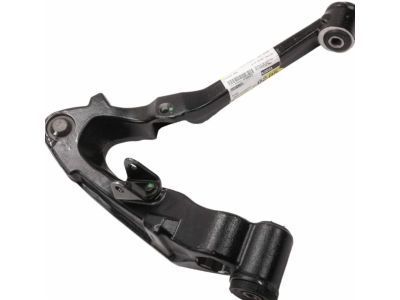
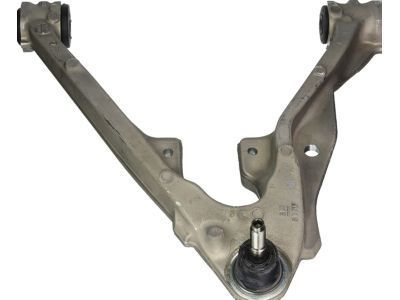
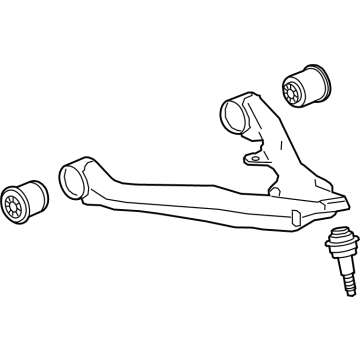
Cadillac Escalade Front Upper Control Arm Assembly
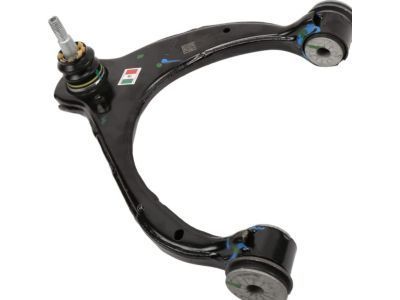
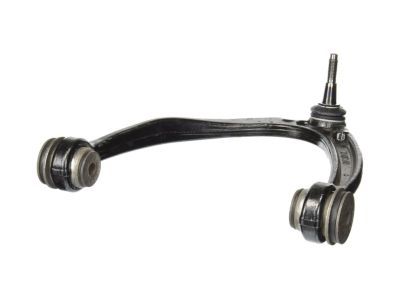
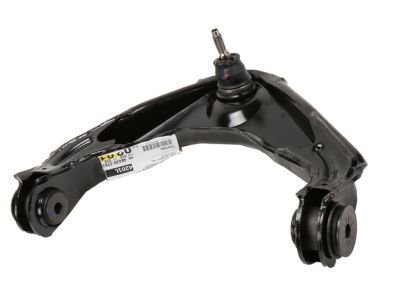
Part Number: 84628487$139.64 MSRP: $238.78You Save: $99.14 (42%)Ships in 1-3 Business DaysCadillac Escalade Front Upper Control Arm Assembly
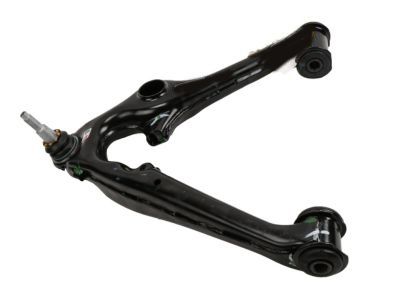
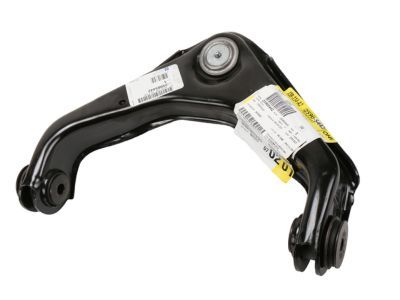
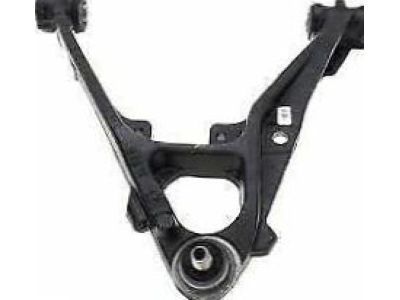
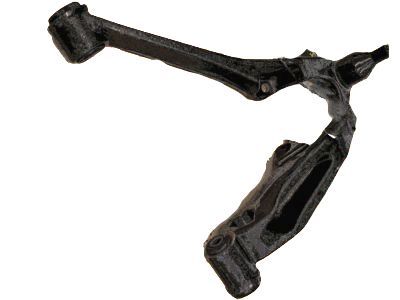
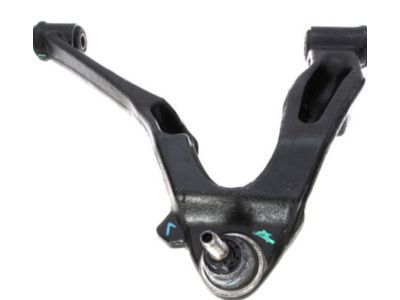
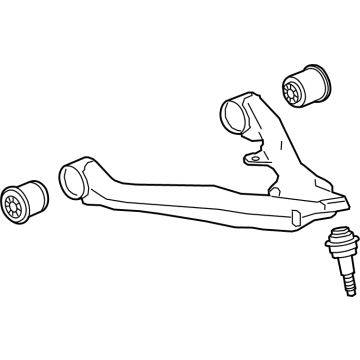
Part Number: 84628488$158.60 MSRP: $271.20You Save: $112.60 (42%)Ships in 1-2 Business DaysCadillac Escalade Front Lower Control Arm Assembly
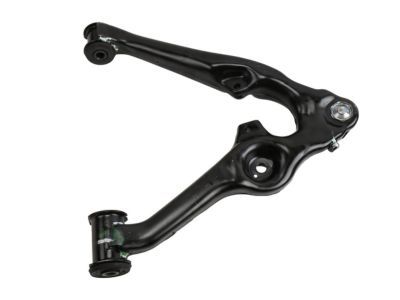
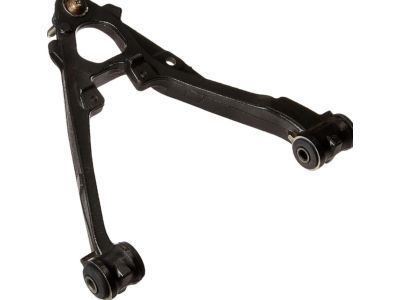
Part Number: 84114506$201.32 MSRP: $347.29You Save: $145.97 (43%)Cadillac Escalade Front Lower Control Arm Assembly
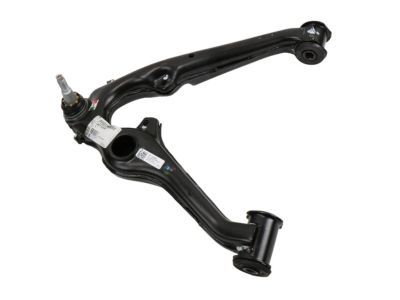
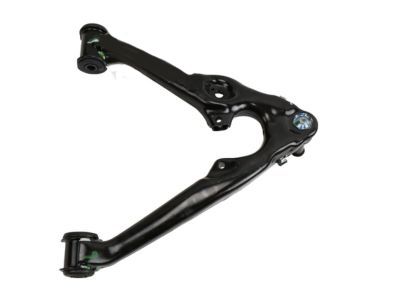
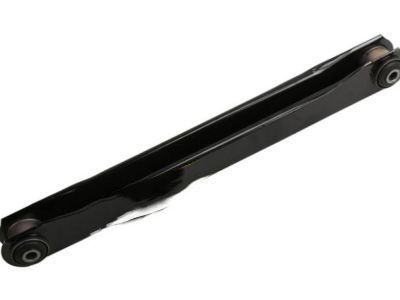
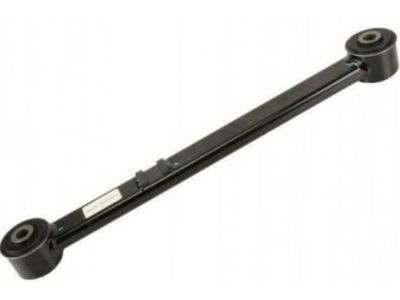
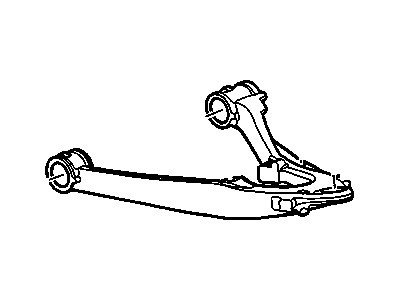
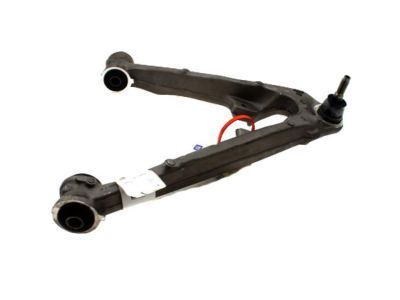
Part Number: 84114505$201.32 MSRP: $347.29You Save: $145.97 (43%)Cadillac Escalade Rear Lower Control Arm Assembly
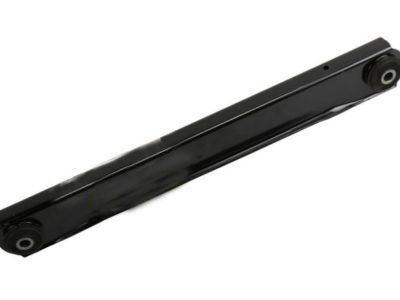
Part Number: 22868629$52.30 MSRP: $89.43You Save: $37.13 (42%)Ships in 1-2 Business DaysCadillac Escalade Rear Upper Control Arm Assembly
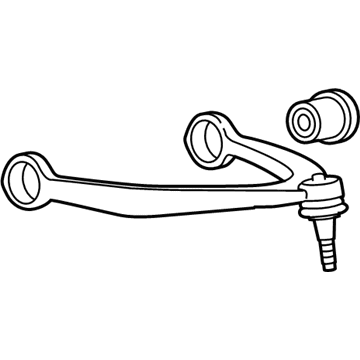
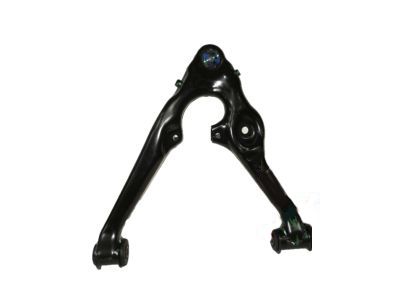
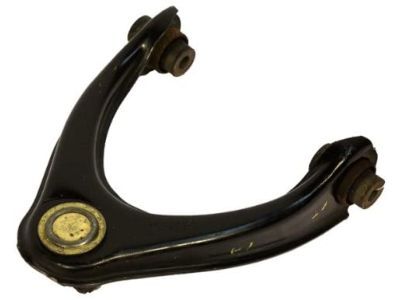
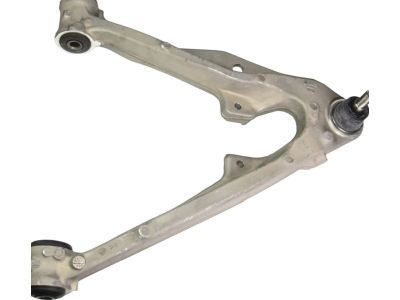
Part Number: 20917465$48.75 MSRP: $95.03You Save: $46.28 (49%)Ships in 1-2 Business DaysCadillac Escalade Front Upper Control Arm Assembly
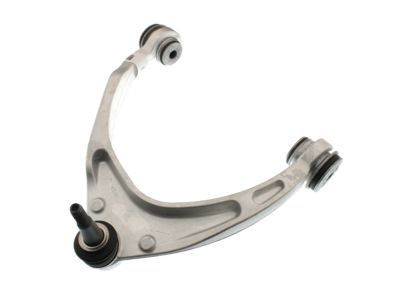
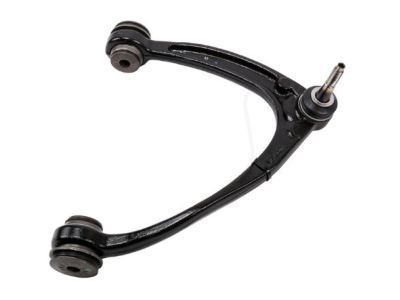
Part Number: 25812725$174.10 MSRP: $290.73You Save: $116.63 (41%)Ships in 1-2 Business DaysCadillac Escalade Front Upper Control Arm Assembly
Part Number: 25812726$172.58 MSRP: $290.73You Save: $118.15 (41%)Ships in 1-2 Business DaysCadillac Escalade Front Upper Control Arm Assembly
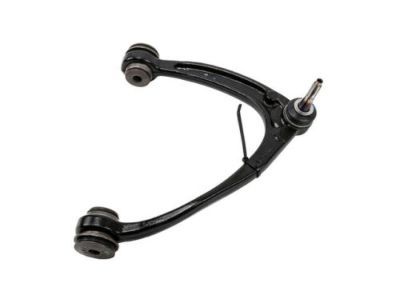
Part Number: 25905442$165.79 MSRP: $283.49You Save: $117.70 (42%)Ships in 1-2 Business DaysCadillac Escalade Front Upper Control Arm Assembly
Part Number: 20924215$129.26 MSRP: $221.03You Save: $91.77 (42%)Ships in 1-2 Business DaysCadillac Escalade Front Lower Control Arm Assembly
Part Number: 20869201$315.67 MSRP: $539.77You Save: $224.10 (42%)Cadillac Escalade Front Lower Control Arm Assembly
Part Number: 20869202$315.67 MSRP: $539.77You Save: $224.10 (42%)Cadillac Escalade Front Lower Control Arm Assembly
Part Number: 23207777$257.17 MSRP: $410.16You Save: $152.99 (38%)Cadillac Escalade Front Lower Control Arm Assembly
Part Number: 20832022$594.92 MSRP: $828.34You Save: $233.42 (29%)Ships in 1-3 Business DaysCadillac Escalade Front Lower Control Arm Assembly
Part Number: 25997510$370.93 MSRP: $639.89You Save: $268.96 (43%)Ships in 1-3 Business DaysCadillac Escalade Front Lower Control Arm Assembly
Part Number: 20832023$589.70 MSRP: $828.34You Save: $238.64 (29%)Cadillac Escalade Front Lower Control Arm Assembly
Part Number: 85662942$114.97 MSRP: $196.59You Save: $81.62 (42%)Cadillac Escalade Front Lower Control Arm Assembly
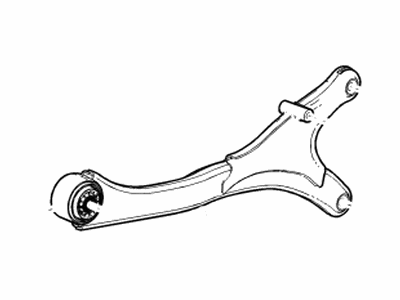
Part Number: 23207778$244.19 MSRP: $421.24You Save: $177.05 (43%)Cadillac Escalade Arm Assembly, Rear Susp Trailing
Part Number: 84591014$78.93 MSRP: $136.16You Save: $57.23 (43%)Ships in 1-3 Business DaysCadillac Escalade Front Lower Control Arm Assembly
Part Number: 85662943$114.97 MSRP: $196.59You Save: $81.62 (42%)
| Page 1 of 2 |Next >
1-20 of 37 Results
Cadillac Escalade Control Arm
The Control Arm of Cadillac Escalade bottoms out as an interconnect between the frame side of the car and the wheels which aids the movement of the suspension. This component enables the wheels to rotate in a way to adapt to conditions of the road and it is very significant as it affects the wheel balance and its handling. Cadillac Escalade models have incorporated different kinds of Control Arms such as stamped steel Control Arm and recently some models have incorporated some cast iron or aluminum Control Arm that has higher strength but lighter in weight. It is important to realize that Cadillac Escalade's Control Arms have been adapted to satisfy performance and toughness standards through the years. Control Arms are standard for general use whereas high performance ones are designed for high horsepower automobiles and aggressive driving. These performance Control Arms are built from durable materials such as DOM tubular steel, aluminium with enhanced bushing for better handling. Altogether, the Control Arm is essential in Cadillac Escalade's suspension system that delivers stability and response on the road.
Each OEM Cadillac Escalade Control Arm we offer is competitively priced and comes with the assurance of the manufacturer's warranty for the part. Furthermore, we guarantee the speedy delivery of your orders right to your doorstep. Our hassle-free return policy is also in place for your peace of mind.
Cadillac Escalade Control Arm Parts Questions & Experts Answers
- Q: How to remove and install the upper control arm on Cadillac Escalade?A:To remove the upper control arm, first loosen the wheel lug nuts, raise the front of the vehicle, and support it securely on jackstands before removing the wheel. Position a floor jack under the lower control arm near the ball joint and raise it slightly to relieve spring pressure on the upper control arm. Mark the relationship of the adjusting cams to the frame brackets. Remove the shock/coil spring, then unbolt the brake hose/wheel speed sensor bracket from the upper control arm, noting the position of the pivot bolts, and also remove the wheel speed sensor while detaching the wiring harness bracket from the Steering Knuckle. For 4WD models, remove the driveaxle, although using a pickle fork type ball joint separator may eliminate the need for this step. Loosen the upper ball joint nut a few turns without removing it, then use a ball joint puller or pickle fork to separate the ball joint from the knuckle before removing the nut. If lacking the proper tool, a hammer and drift can sometimes be used, but a pickle fork may damage the ball joint boot. It is recommended to replace the ball joint nut with a new one after removal. Next, remove the upper control arm pivot bolts and nuts, taking note of their installation direction, and then take out the control arm. For installation, position the arm in the frame brackets and install the bolts and nuts without tightening them yet. Attach the ball joint to the steering knuckle, install a new nut, and tighten it to the specified torque. The remaining installation steps are the reverse of removal; ensure the previously made marks are aligned before tightening the nuts to the specified torque. The pivot bolt nuts should be tightened with the vehicle at normal ride height, which can be achieved after lowering the vehicle or by raising the lower control arm with a floor jack. Finally, tighten the wheel lug nuts to the proper torque settings and have the front end alignment checked and adjusted if necessary.
Related Cadillac Escalade Parts
Browse by Year
2024 Control Arm 2023 Control Arm 2022 Control Arm 2021 Control Arm 2020 Control Arm 2019 Control Arm 2018 Control Arm 2017 Control Arm 2016 Control Arm 2015 Control Arm 2014 Control Arm 2013 Control Arm 2012 Control Arm 2011 Control Arm 2010 Control Arm 2009 Control Arm 2008 Control Arm 2007 Control Arm 2006 Control Arm 2005 Control Arm 2004 Control Arm 2003 Control Arm 2002 Control Arm 2000 Control Arm 1999 Control Arm
