My Garage
My Account
Cart
Genuine Cadillac Fleetwood Coil Springs
Strut Spring- Select Vehicle by Model
- Select Vehicle by VIN
Select Vehicle by Model
orMake
Model
Year
Select Vehicle by VIN
For the most accurate results, select vehicle by your VIN (Vehicle Identification Number).
12 Coil Springs found
Cadillac Fleetwood Coil Springs
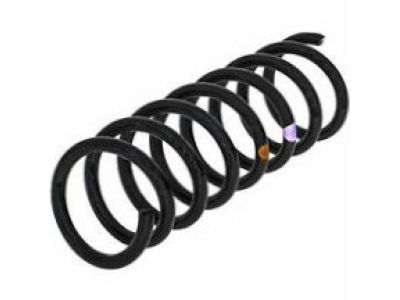
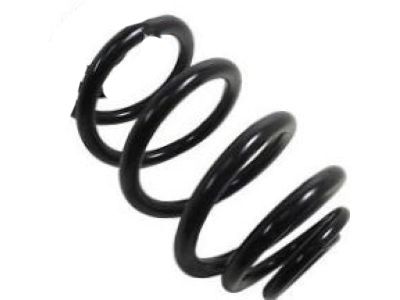
Cadillac Fleetwood Coil Springs are vital parts of a car that take the overall of the mass of the automobile and at the same time provide the requisite cushioning and damping that is required when a vehicle is in motion. Coil springs that are worn or broken will display signs like sagging, bottoming out or; the tires show signs of wearing unevenly and therefore affect the wheel alignment. The replacement springs can restore the vehicle's height and or quality, with OEM, reproduction, variable rate, or cargo coils that is suited for more massive loads. Another type is the coil spring and here you have your standard height and rate spring although if you are looking for better handling and grip you will need to look at linear, progressive, and dual rate springs. Coil over and height adjustable spring kits give room to further adjust and fine tune the suspension lowering by changing only the springs not the entire assembly's lowering blocks. These mechanical devices have numerous applications in the vehicle suspensions and provide improved performance in different driving situations.
Each OEM Cadillac Fleetwood Coil Springs we offer is competitively priced and comes with the assurance of the manufacturer's warranty for the part. Furthermore, we guarantee the speedy delivery of your orders right to your doorstep. Our hassle-free return policy is also in place for your peace of mind.
Cadillac Fleetwood Coil Springs Parts Questions & Experts Answers
- Q: How to remove and install the Coil Springs on Cadillac Fleetwood?A:Lift up your car so the Control Arm can swing freely. Then pull off the wheel with the tire still attached. First disconnect the height sensor link from the right control arm either by hand or by removing the parking brake cable retaining clip from the left control arm. Separate the rear stabilizer bar from its bracket on the knuckle. Put stand J-23028-01 or something similar under the Control Arm Bushings for support. Make sure it's bolted to a stable jack stand to keep everyone safe. Before removing the control arm bolts, lift up the jack to ease spring pressure. To keep ourselves safe, fit a chain around the spring and control arm. In a controlled manner, take out the bolts, nuts, and washers from the back of the control arm. Carefully move the jack to reduce tension on the front control arm pivot bolt, and remove that bolt, nut, and washer afterwards. Before you touch any parts, get rid of compression on the spring and slowly move the jack downward so the control arm can go down. Undo the safety chain when there's no compression. Check and replace the spring insulators if they are cut or damaged, or if you've driven your vehicle more than 50,000 miles. Hook the upper spring insulation onto the spring, place the lower insulator and spring within the vehicle, then use tool J-23028-01 or a similar tool to guide and lift the control arm into position. Insert the jack right until you can add the control arm pivot bolt nuts, then join the rear stabilizer to the knuckle with the link rod. Reconnect the control arm height sensor to the right arm and the parking brake cable clip to the left arm, put your wheels and tires back, then bring the car down again. While the car stands on its wheels, you need to use at least 80 ft Lbs (110 kilopond meters) of force to get the control arm nuts tight. Meanwhile, the stabilizer bar link bolt requires 13 ft Lbs (17 Newton meters).
