My Garage
My Account
Cart
Genuine Chevrolet C1500 Piston
Engine Pistons- Select Vehicle by Model
- Select Vehicle by VIN
Select Vehicle by Model
orMake
Model
Year
Select Vehicle by VIN
For the most accurate results, select vehicle by your VIN (Vehicle Identification Number).
32 Pistons found
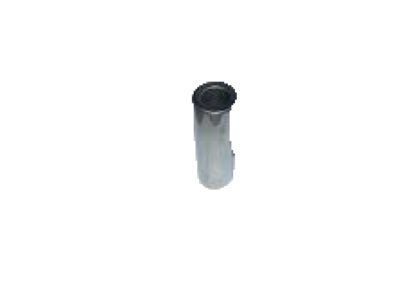
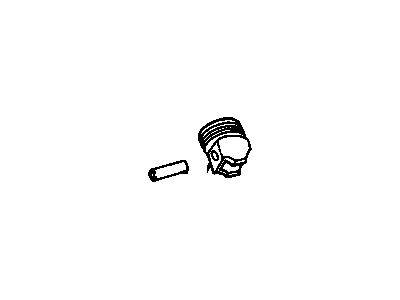
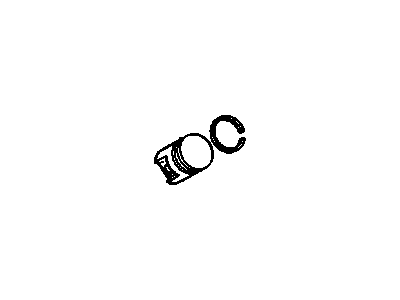
Chevrolet C1500 Piston Asm,(W/ Pinion)(Std)
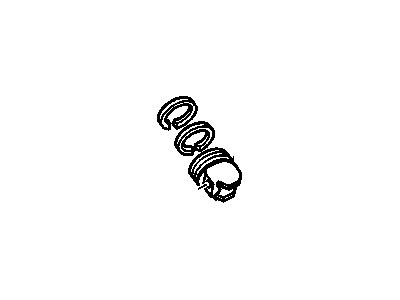
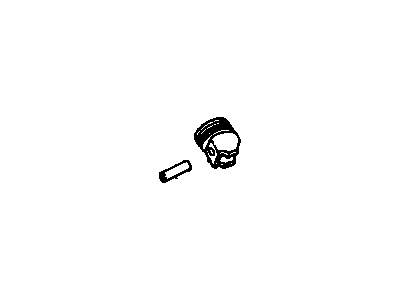
Part Number: 88894280$133.03 MSRP: $220.18You Save: $87.15 (40%)Ships in 1-3 Business DaysChevrolet C1500 Piston Kit, (Includes Rings) Std
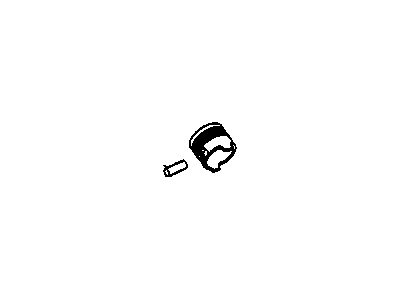
Part Number: 12455573$65.88 MSRP: $132.83You Save: $66.95 (51%)Chevrolet C1500 Piston Asm,(W/ Pinion)(0.127 Mm Outside)
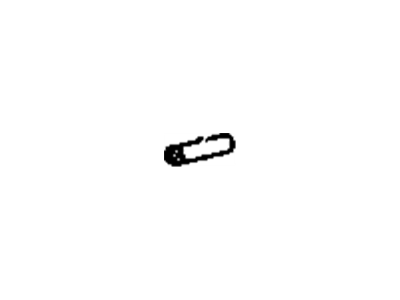
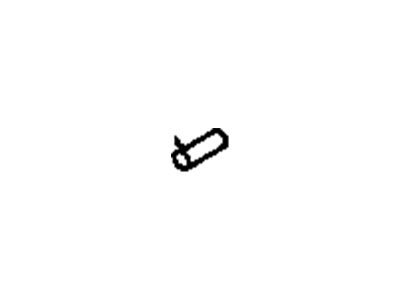
Part Number: 88894281$110.92 MSRP: $223.69You Save: $112.77 (51%)Ships in 1-2 Business DaysChevrolet C1500 Pin Kit,Piston
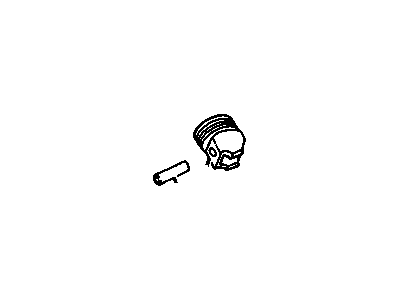
Part Number: 19302651$107.79 MSRP: $178.40You Save: $70.61 (40%)Ships in 1-3 Business DaysChevrolet C1500 Piston,Engine
Part Number: 12550059$191.44 MSRP: $316.84You Save: $125.40 (40%)Ships in 1-3 Business DaysChevrolet C1500 Piston, (W/Pinion)
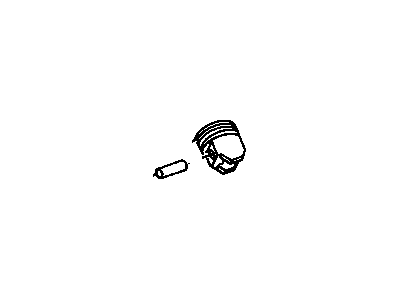
Part Number: 12550062$186.00 MSRP: $307.86You Save: $121.86 (40%)Ships in 1-3 Business DaysChevrolet C1500 Piston & Piston Pinion Assembly, .030 Outside
Part Number: 14093991$7.26 MSRP: $133.33You Save: $126.07 (95%)Ships in 1-2 Business DaysChevrolet C1500 Piston & Pinion Assembly, Service Std
Part Number: 23500391$155.92 MSRP: $246.43You Save: $90.51 (37%)Chevrolet C1500 Piston Asm,(W/ Pinion)(Std)
Part Number: 19302143$110.32 MSRP: $173.58You Save: $63.26 (37%)
| Page 1 of 2 |Next >
1-20 of 32 Results
Chevrolet C1500 Piston
The Piston in Chevrolet C1500 vehicles is among the crucial elements of the internal combustion engine allowing converting the force of combustion into the energy required for the vehicle's operation. It functions by reducing the force exerted by expanding gases to the crankshaft in order to maintain good engine performance. Usual fabricated from aluminum alloys due to strength and lightweight, pistons may still be forged or billeted for races. In years several types of the piston have been used on C1500 models the trunk piston is one which has to bear side loads and the special rings for the oiling purpose are provided. Slipper pistons are used for faster and better valving and balance than conventional types while using deflector pistons in a two-stroke engine improve the velocity of the gasses escaping the cylinder. The construction of these pistons and the raw materials used in their construction are critical to these requirements of pressure and temperature control so as to prevent high wear rates and to ultimately improve vehicle performance.
Each OEM Chevrolet C1500 Piston we offer is competitively priced and comes with the assurance of the manufacturer's warranty for the part. Furthermore, we guarantee the speedy delivery of your orders right to your doorstep. Our hassle-free return policy is also in place for your peace of mind.
Chevrolet C1500 Piston Parts Questions & Experts Answers
- Q: How to install piston/connecting rod assemblies on Chevrolet C1500?A:The first step in installing piston/connecting rod assemblies is to make sure that the cylinder walls are spotless, chamfer the top edge of each cylinder and to have placed Crankshaft correctly. So, remove number one connecting rod cap from its end and thereafter remove old bearing inserts and carefully wipe off all bearing surfaces of both connecting rod and cap. For this reason, they should remain absolutely clean. New upper half of a bearing should be cleaned on its opposite side before being put within a piston pin bore with its tab fitting securely into the recess in a rod. The same procedure should then be followed for the other bearing insert installed in the cap of the rod; ensuring that it lines up with tab on cap's recesses. At this point do not lubricate bearings yet. Leave ring gap spacing intact, lubricate piston and rings with clean engine oil before attaching piston ring compressor to the piston hand tool/fixture. Ensure that compressor sits on bottom edge of an engine block while inserting piston into number one cylinder bore such that its notch faces front of an engine. Gently tap down all pistons putting rods lightly on top of crankshaft journals being careful not to force them onto place making sure number one cylinder bore face is towards front direction as well as lower edge of compressor touches engine block gently guiding connecting rods down into correct positions by tapping pistons only slightly during assembly process to avoid damage but also ensure all pistons compression rings are facing upwards . After you have fixed piston/connecting rod assembly at their place you must check oil clearance in connecting rod bearings prior to tightening down these nuts permanently Since it is necessary lay Plastigage across number one connecting rod journal then install the cap getting mating marks lined up properly and then tighten nuts according to specified torque over three steps Thereafter don't disturb Plastigage if it is there while removing rod cap; then simply compare width between flattened Plastigage taken from scale and the value in Specifications to confirm oil clearance accordingly. Lastly, remove all Plastigage material from rod journal and bearing face thereby ensuring that no marks or imperfections are left behind on them; wipe clean both of these surfaces so that they can be completely dry and then apply a thin coat of moly-based grease evenly over them. To expose face of bearing insert in connecting rod push piston into cylinder, slide the rod back onto journal, take off protective hoses from rod cap bolts, tighten down nuts according to specified torque through three steps for this reason. Repeat this process for all remaining pistons/connecting rods. Rotate the crankshaft by hand to check for any obvious binding Finally, make sure that the end play is within specifications as presented in Specifications table by measuring each connecting rod end-play value against its required values; if brand new rods or a new crank shaft were used resizing might be necessary at automotive machine shop when end play is excessively low.
