My Garage
My Account
Cart
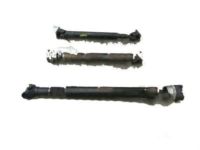
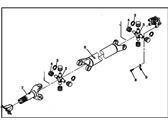
Genuine Chevrolet Drive Shaft
Axle Shaft- Select Vehicle by Model
- Select Vehicle by VIN
Select Vehicle by Model
orMake
Model
Year
Select Vehicle by VIN
For the most accurate results, select vehicle by your VIN (Vehicle Identification Number).
888 Drive Shafts found
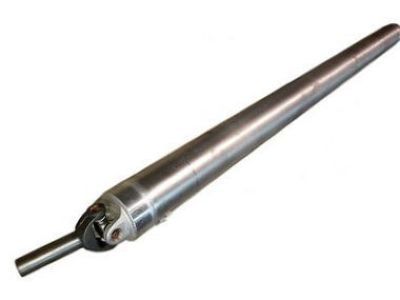
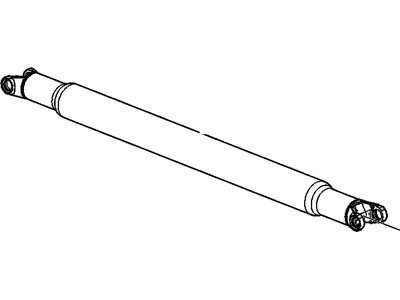
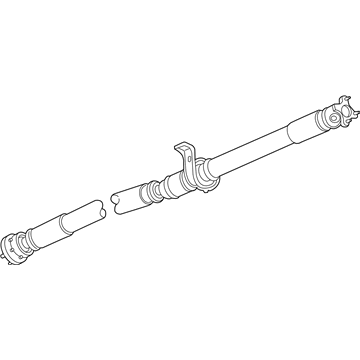
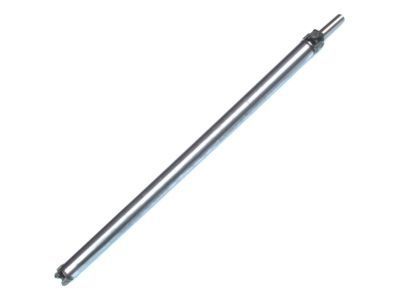
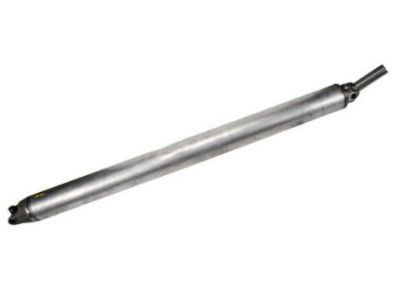
Chevrolet Propeller Shaft Assembly
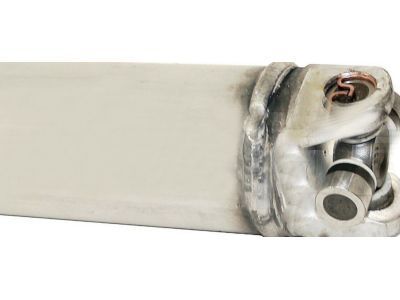
Part Number: 15112325$878.93 MSRP: $1364.97You Save: $486.04 (36%)Product Specifications- Other Name: Shaft Assembly, Propeller
- Replaces: 15916661
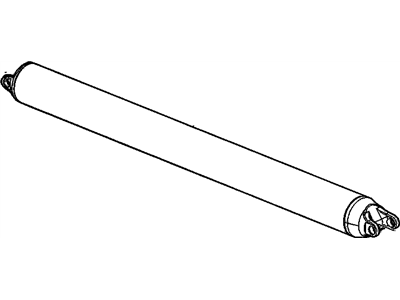
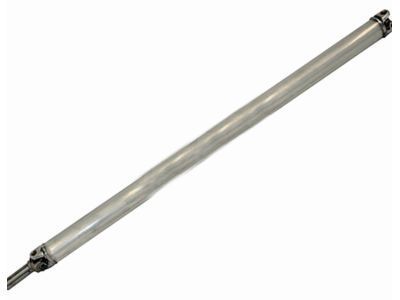
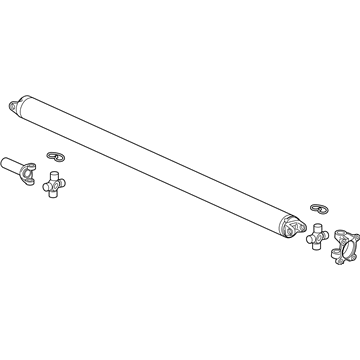
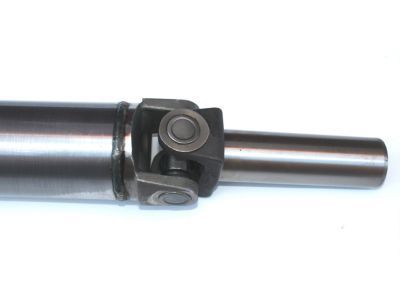
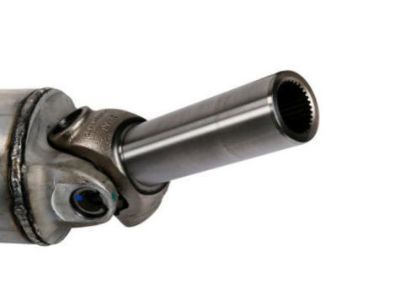
Chevrolet Propeller Shaft Assembly
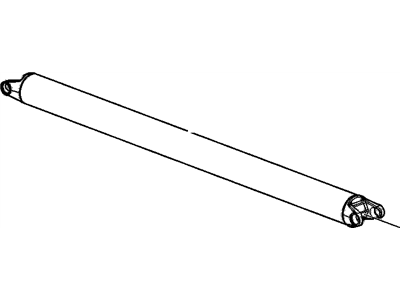
Part Number: 25857868$821.35 MSRP: $1153.75You Save: $332.40 (29%)Product Specifications- Other Name: SHAFT, Propeller
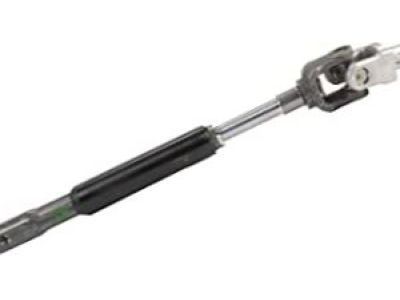
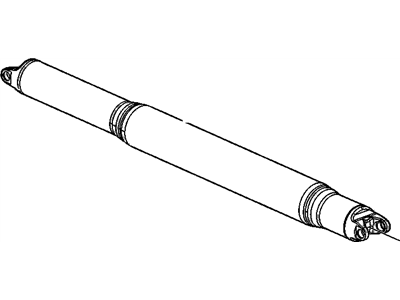
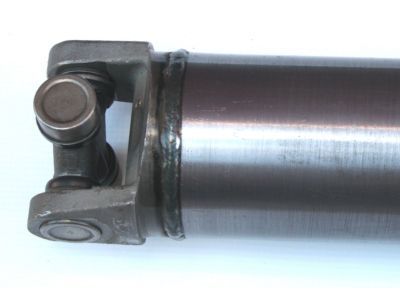
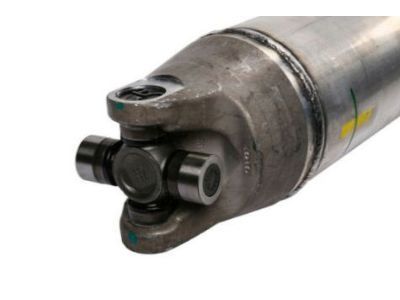
Chevrolet Propeller Shaft Assembly
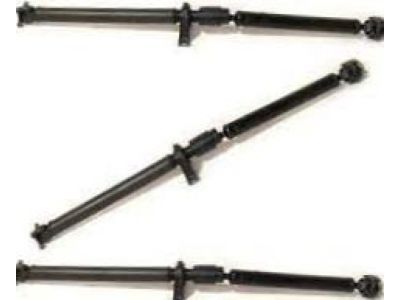
Part Number: 23251126$1234.15 MSRP: $3218.01You Save: $1983.86 (62%)Ships in 1-3 Business DaysProduct Specifications- Other Name: Shaft Assembly, Propeller; Drive Shaft
- Replaces: 22760943
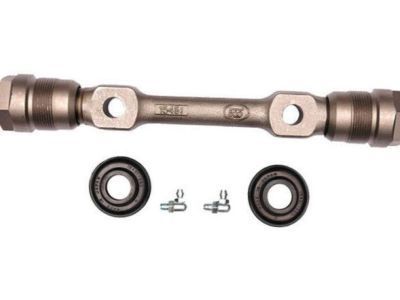
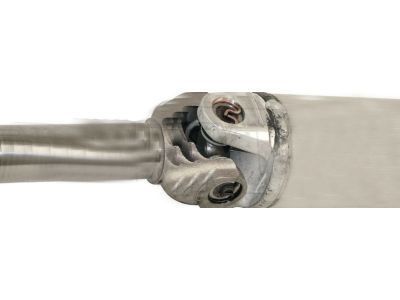
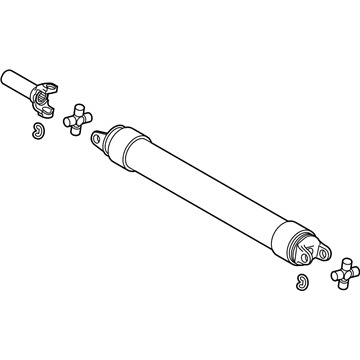
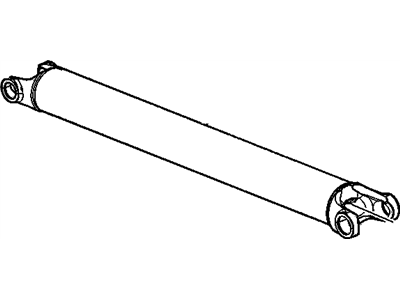
Chevrolet Propeller Shaft Assembly
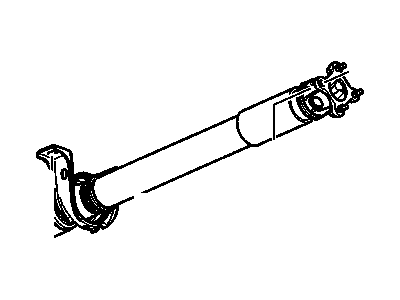
Part Number: 25995545$1393.09 MSRP: $1812.50You Save: $419.41 (24%)Ships in 1-2 Business DaysProduct Specifications- Other Name: Shaft Assembly, Propeller; Drive Shaft
Chevrolet Propeller Shaft Assembly
Part Number: 86793346$766.64 MSRP: $1322.48You Save: $555.84 (43%)Ships in 1-2 Business DaysProduct Specifications- Other Name: SHAFT ASM-PROP; Drive Shaft, Drive Shaft Assembly
- Replaces: 23167530, 20953605, 22834245
Chevrolet Propeller Shaft Assembly
Part Number: 84669661$791.02 MSRP: $1352.65You Save: $561.63 (42%)Product Specifications- Other Name: Shaft Assembly, Prop; Drive Shaft
- Replaces: 22887101, 23251132, 84041622
Chevrolet Propeller Shaft Assembly
Part Number: 87851009$394.13 MSRP: $679.89You Save: $285.76 (43%)Ships in 1-2 Business DaysProduct Specifications- Other Name: SHAFT ASM-PROP
- Replaced by: 85068914
Chevrolet Propeller Shaft Assembly
Part Number: 23418973$771.12 MSRP: $1245.12You Save: $474.00 (39%)Ships in 1-2 Business DaysProduct Specifications- Other Name: Shaft Assembly, Propeller; Drive Shaft, Drive Shaft Assembly
- Replaces: 23147495, 23259045
Chevrolet Propeller Shaft Assembly
Part Number: 84907490$571.47 MSRP: $911.24You Save: $339.77 (38%)Ships in 1-3 Business DaysProduct Specifications- Other Name: Shaft Assembly, Prop; Drive Shaft
- Replaced by: 85731729
Chevrolet Propeller Shaft Assembly
Part Number: 20912702$1591.31 MSRP: $2235.31You Save: $644.00 (29%)Ships in 1-2 Business DaysProduct Specifications- Other Name: Shaft Assembly, Propeller; Drive Shaft
- Replaces: 15791188, 15940304, 20877203
Chevrolet Propeller Shaft Assembly
Part Number: 84669660$586.32 MSRP: $955.64You Save: $369.32 (39%)Ships in 1-3 Business DaysProduct Specifications- Other Name: Shaft Assembly, Prop; Drive Shaft
- Replaces: 22918600, 84041621, 20998114, 23251134, 25824492
Chevrolet Propeller Shaft Assembly
Part Number: 23418972$898.40 MSRP: $2019.15You Save: $1120.75 (56%)Product Specifications- Other Name: Shaft Assembly, Propeller; Drive Shaft
- Replaces: 23152494, 22760956
Chevrolet Propeller Shaft Assembly
Part Number: 84675732$452.37 MSRP: $780.39You Save: $328.02 (43%)Ships in 1-2 Business DaysProduct Specifications- Other Name: Shaft Assembly, Prop; Drive Shaft, Drive Shaft Assembly
- Replaces: 15794278, 20912343, 22922243, 23509060, 20912698, 25957030
Chevrolet Propeller Shaft Assembly
Part Number: 84669664$612.30 MSRP: $997.95You Save: $385.65 (39%)Product Specifications- Other Name: Shaft Assembly, Prop; Drive Shaft
- Replaces: 23251140, 22918606, 84229486, 22791726
Chevrolet Propeller Shaft Assembly
Part Number: 84229485$1041.95 MSRP: $2276.27You Save: $1234.32 (55%)Ships in 1-2 Business DaysProduct Specifications- Other Name: Shaft Assembly, Prop; Drive Shaft
- Replaces: 20914785, 22918602, 23251136
Chevrolet Propeller Shaft Assembly
Part Number: 84546235$1285.72 MSRP: $2010.72You Save: $725.00 (37%)Ships in 1-3 Business DaysProduct Specifications- Other Name: Shaft Assembly, Prop; Drive Shaft
- Replaces: 23209519, 23469168, 23251188, 23469170, 84083947
Chevrolet Propeller Shaft Assembly
Part Number: 84202536$440.14 MSRP: $752.61You Save: $312.47 (42%)Ships in 1-2 Business DaysProduct Specifications- Other Name: Shaft Assembly, Propeller; Drive Shaft
- Replaces: 23147494, 23251161
Chevrolet Propeller Shaft Assembly
Part Number: 15751438$693.14 MSRP: $896.13You Save: $202.99 (23%)Product Specifications- Other Name: Shaft Assembly, Propeller
- Replaces: 15165400, 15746002, 15711960
Chevrolet Propeller Shaft Assembly
Part Number: 10382035$596.43 MSRP: $946.93You Save: $350.50 (38%)Product Specifications- Other Name: Shaft Assembly, Propeller
- Replaces: 10382034, 15059113
- Product Specifications
- Other Name: SHAFT, Propeller; Drive Shaft Assembly
- Replaces: 22760940
| Page 1 of 45 |Next >
1-20 of 888 Results
Chevrolet Drive Shaft
At GMPartsGiant.com, we offer an extensive inventory of genuine Chevrolet Drive Shafts at competitive prices in the market. All our OEM Chevrolet Drive Shafts are backed by the manufacturer's warranty and will be shipped promptly to your doorstep. Rest assured, our hassle-free return policy is designed to support you throughout your shopping experience!
Chevrolet Drive Shaft Parts Questions & Experts Answers
- Q: How to remove and reinstall a drive shaft on Chevrolet Express?A:Before we proceed to the removal of the driveshaft, we have to lift the car properly above the ground on the help of jackstands. One must use some chalk or a scribe to mark the relative position of the driveshaft to the flange or the yoke which is on the differential axle assembly so that it may again be properly aligned. Then, on one end undo the bolts which hold driveshaft flange or universal joint clamps on the differential pinion flange or yoke, depending on the vehicle while using the screwdriver or pry bar to hold the shaft to avoid rotating. Secure the position of the transmission to the slip yoke and using the prying tool separate the universal joint from its flange or yoke carefully, especially because the caps can fall off thus dropping the needle bearings. Lower the rear of the driveshaft half and wind the tape round the universal joint bearings at the axle end so that they will stay on when the front of the driveshaft is slidden out of the transmission. For installation, the process is a reverse of the removal steps; where upon occasion it might not be possible to align the shaft due to rotation of the differential or transmission components, then the vehicle has to be put in Neutral or one wheel is spun to bring back the right alignment. The caps of the universal joint have to be correctly placed on the flange or yoke, and fasteners need to be tightened up to the desired torque.
- Q: How to check and maintain the drive shaft on Chevrolet Tracker?A:Raise the rear of the vehicle and support it securely on jackstands. Block the front wheels. The transmission should be in Neutral. Crawl under the vehicle and visually inspect the driveshaft. Look for dents and cracks in the tube. If any are found, the drive-shaft must be replaced. Check for oil leakage at the front and rear of the driveshaft. Leakage where the driveshaft enters the transmission indicates a defective rear transmission seal. Leakage where the driveshaft enters the differential indicates a defective pinion seal. While still under the vehicle, have an assistant turn the rear wheel so the driveshaft will rotate. As it does, check for binding, noise and excessive play in the U-joints. The universal joints can also be checked with the driveshaft motionless, by gripping both sides of the joint and attempting to twist it. Any movement at all in the joint is a sign of considerable wear. Lifting up on the shaft will also indicate movement in the universal joints. Check the driveshaft mounting bolts at both ends to make sure they're tight. The above driveshaft checks should be repeated on all driveshafts. In addition check for grease leakage around the sleeve yoke, indicating failure of the yoke seal. Check for leakage where the driveshafts connect to the transfer case. The driveshafts must be lubricated periodically as indicated in the maintenance schedule. Use the grease gun to insert grease into the fitting. The driveshafts are lubricated at the fitting and also at the boot. Also pull back the boot at the rear of the axle and insert grease.
- Q: How to remove and install drive shaft on 4WD Chevrolet Trailblazer?A:Loosen the right front wheel lug nuts, raise the vehicle, place it securely on jackstands, and remove the right front wheel. Remove the splash shield. Remove the right driveaxle and intermediate shaft bearing housing. Thread a slide hammer adapter into the hole in the end of the intermediate shaft and attach a slide hammer to the adapter. Pull the intermediate shaft out of the differential, taking care not to damage the seal on the opposite side of the oil pan. Ensure the retaining ring is in position on the left end of the intermediate shaft, then insert the intermediate shaft through the oil pan passage and into the differential, being careful not to damage the oil seal. Rotate the shaft as necessary to align its splines with the differential. Install the slide hammer on the shaft and use it to drive the shaft in until its retaining ring locks into place in the differential. The remainder of installation follows the reverse order of the removal steps.
Related Chevrolet Parts
Browse by Model
Astro Drive Shaft Avalanche Drive Shaft Blazer Drive Shaft C10 Drive Shaft C1500 Drive Shaft C2500 Drive Shaft C3500 Drive Shaft Camaro Drive Shaft Caprice Drive Shaft Captiva Sport Drive Shaft Colorado Drive Shaft Corvette Drive Shaft Equinox Drive Shaft Express Drive Shaft G10 Drive Shaft G20 Drive Shaft G30 Drive Shaft Impala Drive Shaft K1500 Drive Shaft K2500 Drive Shaft K3500 Drive Shaft P20 Drive Shaft P30 Drive Shaft R10 Drive Shaft R20 Drive Shaft R30 Drive Shaft S10 Drive Shaft SS Drive Shaft SSR Drive Shaft Silverado Drive Shaft Suburban Drive Shaft Tahoe Drive Shaft Tracker Drive Shaft Trailblazer Drive Shaft Traverse Drive Shaft Trax Drive Shaft Uplander Drive Shaft V30 Drive Shaft Venture Drive Shaft
