My Garage
My Account
Cart
Genuine Chevrolet El Camino Intake Valve
Engine Intake Valve- Select Vehicle by Model
- Select Vehicle by VIN
Select Vehicle by Model
orMake
Model
Year
Select Vehicle by VIN
For the most accurate results, select vehicle by your VIN (Vehicle Identification Number).
5 Intake Valves found
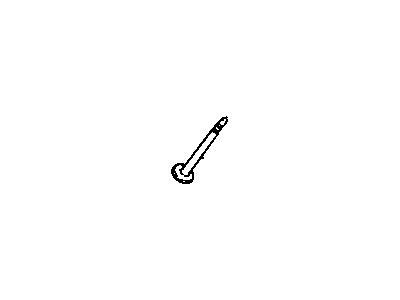
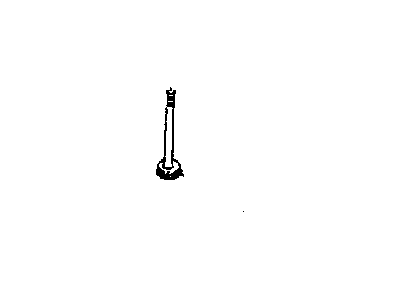
Chevrolet El Camino Valve, Inlet
Part Number: 25512098$13.15 MSRP: $26.53You Save: $13.38 (51%)Ships in 1-2 Business Days
Chevrolet El Camino Intake Valve
Intake Valve in Chevrolet El Camino automobiles works to increase performance of its engine in regards to mixing air and fuel for combustion. Intake valves in a car work in a way that they open and close at an absolute right time which is crucial when it comes to burning fuel and boosting power of an engine. Intake valves of an engine always wear out and when they get damaged they cause poor combustion and low output of the engine and therefore should be replaced as early as possible to avoid expensive repairs. There were several types of intake valves used in Chevrolet El Camino over years, however, all of them were made to correspond to particular performance characteristics. The replacement of damaged intake valves is a complicated process consisting of several stages and requiring such tools as valve spring compressors and retainers. This is because any wrong alignment in the installation of the valve can lead to extensive damage on the valve guide and seal and affect the long run Cheveller El Camino vehicle performance.
Each OEM Chevrolet El Camino Intake Valve we offer is competitively priced and comes with the assurance of the manufacturer's warranty for the part. Furthermore, we guarantee the speedy delivery of your orders right to your doorstep. Our hassle-free return policy is also in place for your peace of mind.
Chevrolet El Camino Intake Valve Parts Questions & Experts Answers
- Q: How to remove and install Exhaust Valve, Intake Valve and Rocker Guide in V6 engine on Chevrolet El Camino?A:The valve mechanism of the 231 cu in V6 engine is slightly unique relative to the other GM engines in the sense that it's an inherently valve lash adjuster. If the grinding is to be done on the valve seat on the Cylinder Head or the valve face then there will be change happen in the height of the stem of the valve above the head. According to GM, if the valve and seat have been refinished sufficient number of times to make the end of the valve stem about 0.050 in above its usual height, the stem should be ground to the standard height. Starting here involves the process of the removal of the cylinder head which should be placed on a clean surface. Valve spring can be compressed using the right spring compressor, you ought to then remove the valve spring cap key, and then release the tool to allow the removal of the spring and the cap. Remove the valve seals and unscrew the valves and having arranged them in numerical sequences set them with the seat faces downwards on a block of wood or cardboard. Scrub the cylinder head and inspect it for charring, pits, cracks and other signs of wear and tear; the valves may have to be re-sharpened or replaced as may be required. If re-grinding of a valve produces a sharp edge, the valve should be discarded since this causes overheating. Correct angle of the valve face is 45°. If the stem of a valve has more than free running clearance in it's guide it should be replaced with an oversized valve thus making it a job for a dealer or a machine shop. The valve seats should also be trued up to 45°, it is a small operation that will require the services of a dealer or a machine shop. When doing this, the valves are very lightly ground to the seats using course carborundum paste and suction cup grinding tool having to lift the value to provide an even spread of paste. After one has obtained an even surface with a dull matte finish, wipe the paste and do the same with fine carborundum paste to get a smooth ring of the grey matte finish. Remove any debris that may be present from the grinding compound and it is important to note that new valves should not be lap ground as this will compromises the surface plating. Finally thee valve stems and guides should be lubricated with engine oil before the valves are put back into their respective positions. Replace intake valve seals and do not replace exhaust valve guide seals. lightly place the valve seal over the valve stem and squeeze it down to the top of the guide and by using an installation tool you can place the seal on the valve guide until it takes the best fit. Tighten the springs only to a degree that allows fitting the keepers to be fitted without over compressing the valve seal. Last of all, replace the intake and exhaust valve springs which can be fitted in either direction of each other as well as the valve spring, the cap and the cap retainer.


