My Garage
My Account
Cart
Genuine Chevrolet Malibu Oil Pan
Oil Drain Pan- Select Vehicle by Model
- Select Vehicle by VIN
Select Vehicle by Model
orMake
Model
Year
Select Vehicle by VIN
For the most accurate results, select vehicle by your VIN (Vehicle Identification Number).
21 Oil Pans found
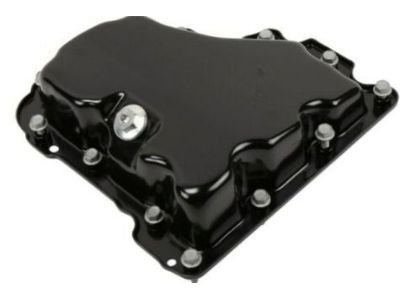
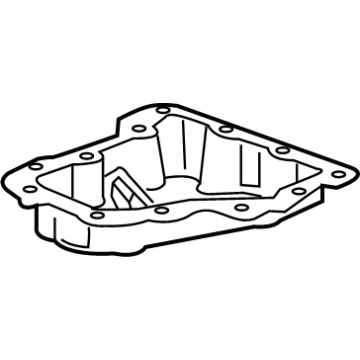
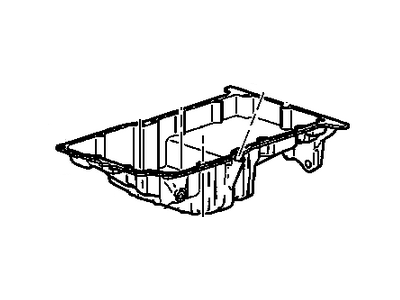
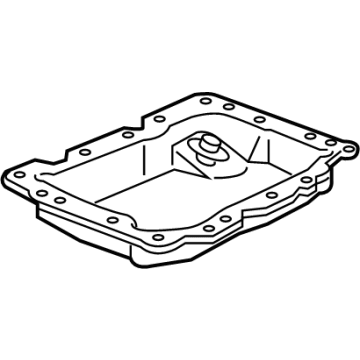
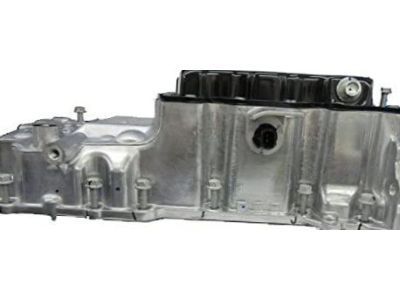
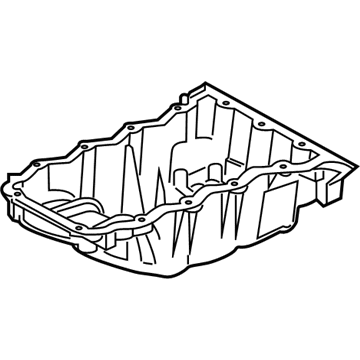
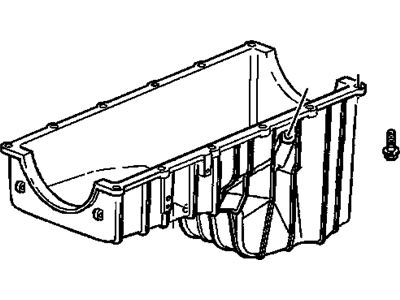
Chevrolet Malibu Pan Assembly, Lower Oil
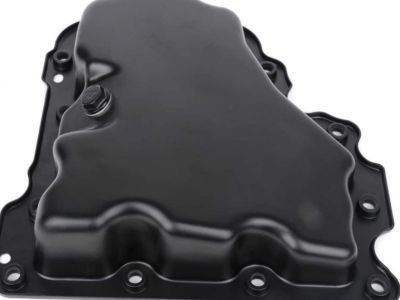
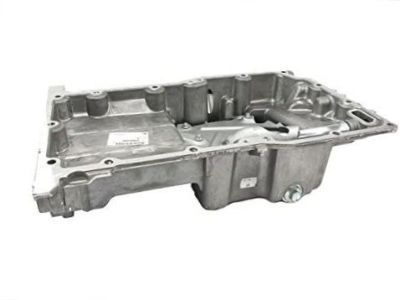
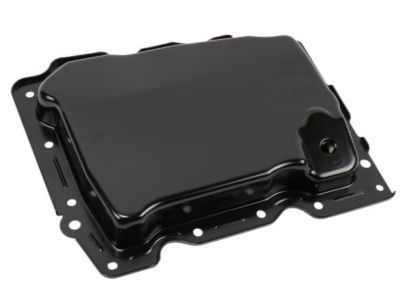
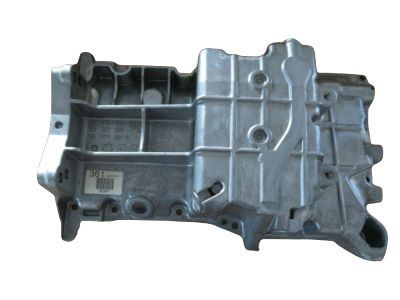
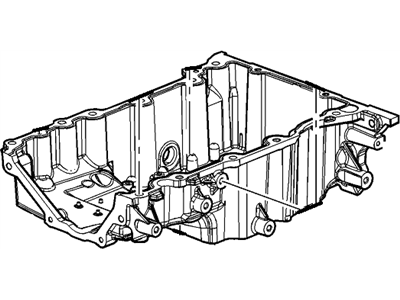
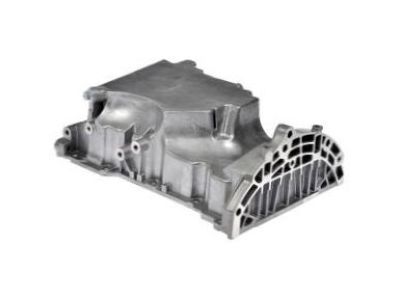
Part Number: 12637773$37.98 MSRP: $65.49You Save: $27.51 (43%)Ships in 1-2 Business DaysChevrolet Malibu Oil Pan
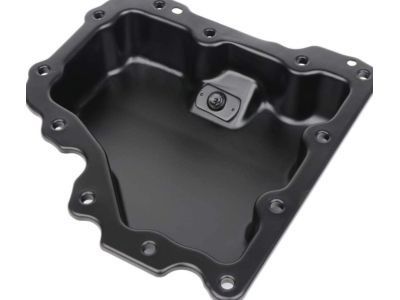
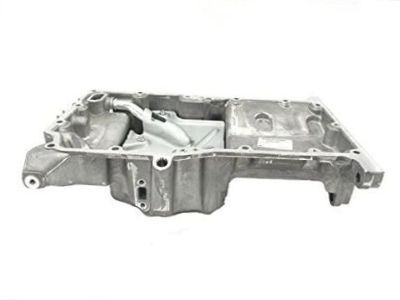
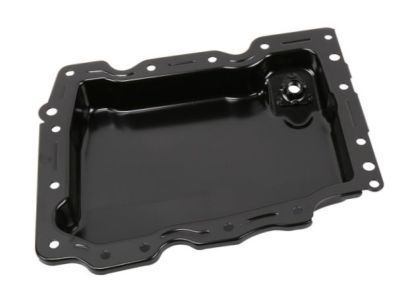
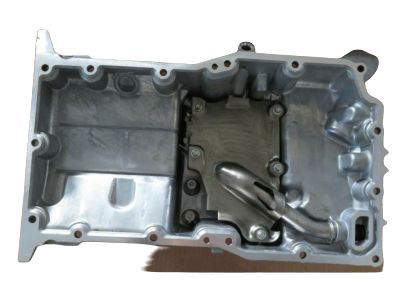
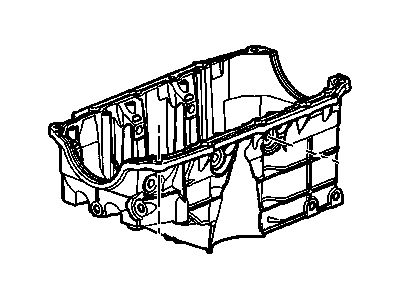
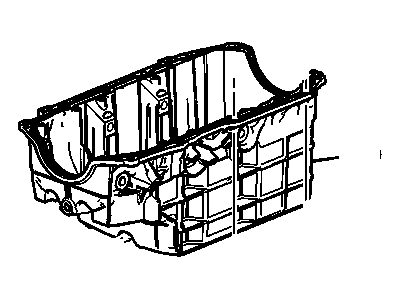
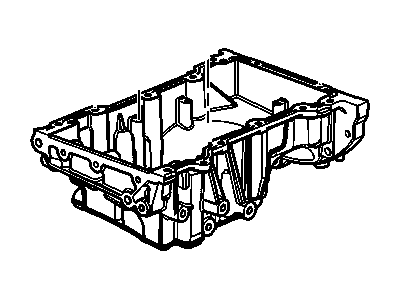
Part Number: 12601240$154.90 MSRP: $267.21You Save: $112.31 (43%)Ships in 1-2 Business DaysChevrolet Malibu Pan, Lower Oil
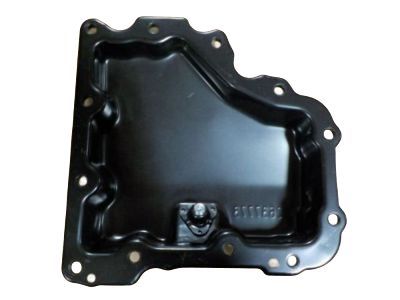
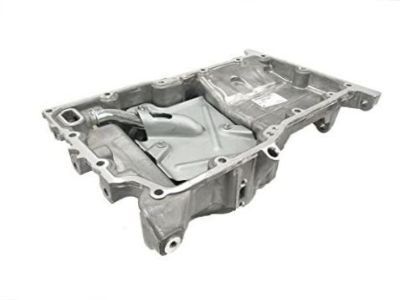
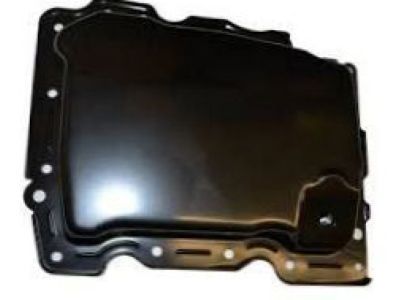
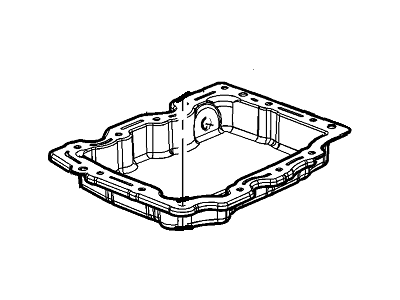
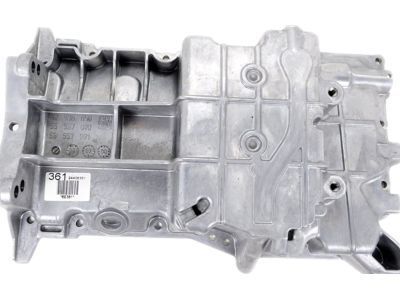
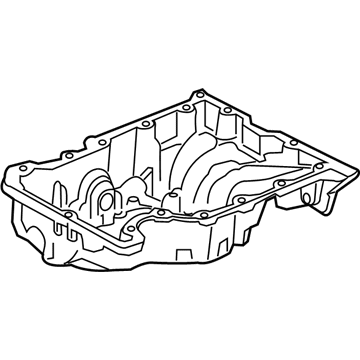
Part Number: 12676340$25.50 MSRP: $42.19You Save: $16.69 (40%)Ships in 1-2 Business DaysChevrolet Malibu Pan, Lower Oil
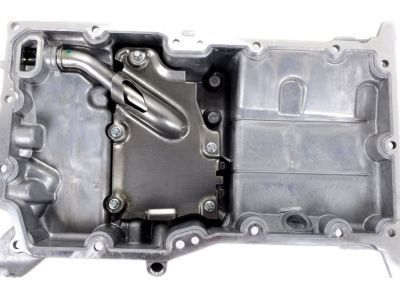
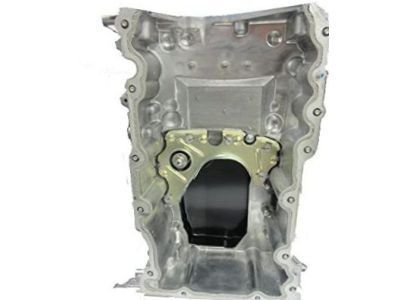
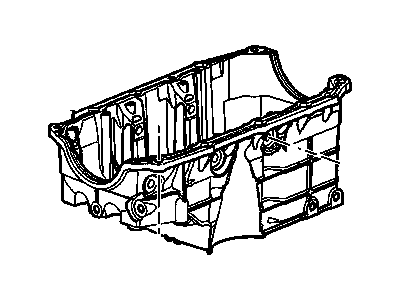
Part Number: 12654318$34.85 MSRP: $59.07You Save: $24.22 (41%)Ships in 1-2 Business DaysChevrolet Malibu Pan Asm,Oil
Part Number: 19256218$100.44 MSRP: $246.02You Save: $145.58 (60%)Ships in 1-2 Business DaysChevrolet Malibu Oil Pan Assembly
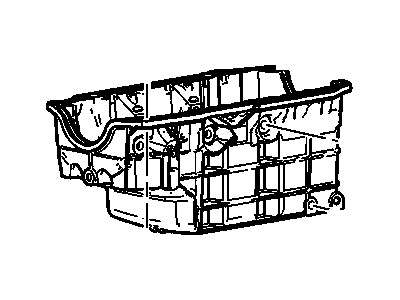
Part Number: 12654316$140.22 MSRP: $239.77You Save: $99.55 (42%)Ships in 1-3 Business DaysChevrolet Malibu Oil Pan Assembly
Part Number: 12604911$166.01 MSRP: $283.89You Save: $117.88 (42%)Ships in 1-3 Business DaysChevrolet Malibu Pan Assembly, Upper Oil
Part Number: 12686797$93.02 MSRP: $159.06You Save: $66.04 (42%)Ships in 1-3 Business DaysChevrolet Malibu Pan Asm,Oil
Part Number: 12512670$185.45 MSRP: $276.52You Save: $91.07 (33%)Ships in 1-2 Business DaysChevrolet Malibu PAN ASM,OIL
Part Number: 28289985$114.99 MSRP: $183.36You Save: $68.37 (38%)Ships in 1-3 Business DaysChevrolet Malibu Oil Pan Assembly
Part Number: 12603201$188.13 MSRP: $299.93You Save: $111.80 (38%)Ships in 1-3 Business DaysChevrolet Malibu Oil Pan Assembly
Part Number: 12593455$133.56 MSRP: $220.95You Save: $87.39 (40%)Ships in 1-3 Business DaysChevrolet Malibu Oil Pan Assembly
Part Number: 12577511$177.94 MSRP: $235.61You Save: $57.67 (25%)Ships in 1-2 Business Days
| Page 1 of 2 |Next >
1-20 of 21 Results
Chevrolet Malibu Oil Pan
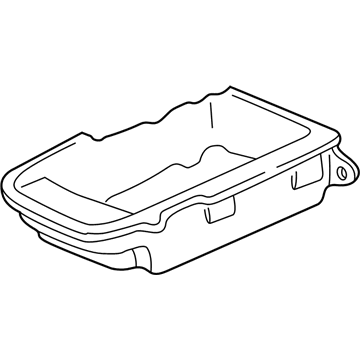
The Oil Pan in Chevrolet Malibu vehicles is the container where the engine oil is stored which is very vital in lubricating and cooling the different auxiliary parts of the engine. For instance, most of the Malibu models installed ordinary wet sump system, whereby the oil pan is located at the underside of the engine to provide accommodation for the oil pump so that it can pump oil through pick-up tube, suction it and circulate it within the engine and then return it to the oil pan. This design is useful to ensure that there is always a supply of correct type of oil as is required for the proper running of the engine. In older models, Chevrolet Malibu oil pans were constructed from stamped steel however in newer models, manufacturers have considered using cast aluminum materials for better reliability and performance. Although wet sump system is conventional the idea of a dry sump system where there are separate containers and multiple pumps is observed for high-performance vehicles though not present in Malibu vehicles.
Each OEM Chevrolet Malibu Oil Pan we offer is competitively priced and comes with the assurance of the manufacturer's warranty for the part. Furthermore, we guarantee the speedy delivery of your orders right to your doorstep. Our hassle-free return policy is also in place for your peace of mind.
Chevrolet Malibu Oil Pan Parts Questions & Experts Answers
- Q: How to properly replace the oil pan and ensure a leak-free installation in four cylinder engine on Chevrolet Malibu?A:Lift the front of the vehicle as far as possible using the jack and secure it on jack stands; then dispense with the engine oil. The front exhaust pipe must be removed from the Exhaust Manifold while for the 2.0L and 2.5L engines, the rear exhaust system must be disconnected in order to remove the front exhaust pipe. Tighten the oil pan bolts to the torque specified in the workshop manual or until you sight tightened them; however, the bolt heads must be loosened gradually in a rotary fashion and be careful not to strip them, more so, on 1.5L engines the Lloyd will require a new lower oil pan since the one used to have a tendency to leak oil. Taking a lot of precaution slowly separate the lower oil pan from the upper oil pan. Remove all moulds of a gasket from the upper oil pan and the lower oil pan of 2.0L and 2.5 L models using a qualified gasket scraper and solvent as appropriate. Spread a portion of sealant around the circumferential edges on the lower oil pan area within the installation period of 10 minutes and the final torque should be effected within 60 minutes at most. Insert the oil pan and bolts at the initial stage, and use hand power to tighten the bolts which should be tightened according to an engine type in a fixed pattern. The rest of the installation is done practically in the reverse order of the bare metal method's removal process. Add fresh oil into the engine and put a new oil filter before starting the engine and inspect if there is any leakage. For 2.0L and 2.5L engines, place the jack beneath the engine in order to hold the engine up, after that unfasten the front exhaust pipe, then remove the timing chain cover, and, finally, disconnect the electrical connection to the oil flow control valve solenoid. Disconnect the compressor from the vehicle without unbending the refrigerant, then next you should unscrew the bolts and the bracket of the compressor. Another operation to be performed is the removal of the transmission rear mount-to-transmission through-bolt and bolts with new ones upon their absence. Inunder cut through the nuts securing the catalytic converter support bracket and the bracket itself as well as the right-side drive axle support bearing bolt. Take off the oil pan to transmission bolts and the upper oil pan bolts as some are long and others short due to position. Twist at certain areas on the upper oil pan then pull away from the engine block if needed, use a rubber mallet to do this. After that, turn the ignition off and, at 1.5L engines, remove the upper oil pan after disconnecting the electrical connector from the oil flow control solenoid, and lower the oil pan. Remove all previous gasket material on the lower crankcase and oil pan before applying sealant, and make sure surface is free of oil. To the upper oil pan, apply a bead of sealant around the perimeter and along the groove which is at the bottom of the timing chain cover for both 2.0L & 2.5L engines. Install the bolts of the oil pan in the proper manner and bolt and tighten the oil pan to transaxle bolts. The rest of the installation is done in the reverse order of their removal and after the refilling engine oil, putting a new oil filter and starting the engine and check for any leaks.
Related Chevrolet Malibu Parts
Browse by Year
2024 Oil Pan 2023 Oil Pan 2022 Oil Pan 2021 Oil Pan 2020 Oil Pan 2019 Oil Pan 2018 Oil Pan 2017 Oil Pan 2016 Oil Pan 2015 Oil Pan 2014 Oil Pan 2013 Oil Pan 2012 Oil Pan 2011 Oil Pan 2010 Oil Pan 2009 Oil Pan 2008 Oil Pan 2007 Oil Pan 2006 Oil Pan 2005 Oil Pan 2004 Oil Pan 2003 Oil Pan 2002 Oil Pan 2001 Oil Pan 2000 Oil Pan 1999 Oil Pan 1998 Oil Pan 1997 Oil Pan 1983 Oil Pan 1982 Oil Pan
