My Garage
My Account
Cart
Genuine Chevrolet Malibu Timing Cover
Engine Timing Cover- Select Vehicle by Model
- Select Vehicle by VIN
Select Vehicle by Model
orMake
Model
Year
Select Vehicle by VIN
For the most accurate results, select vehicle by your VIN (Vehicle Identification Number).
16 Timing Covers found
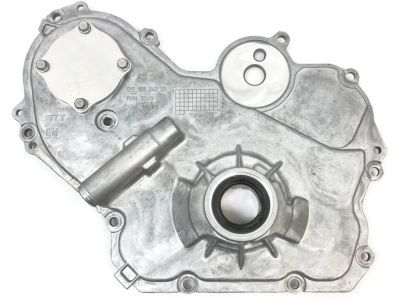
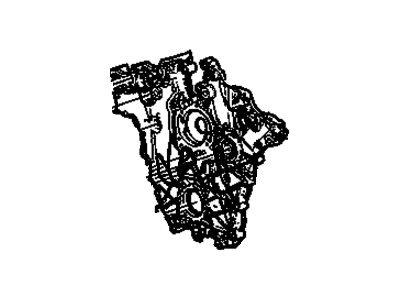
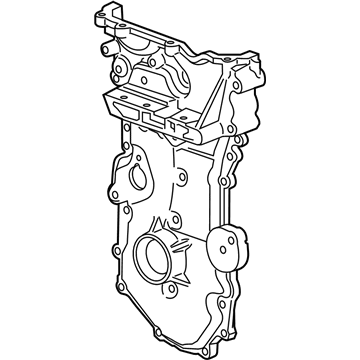
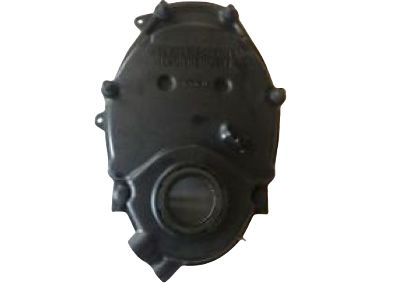
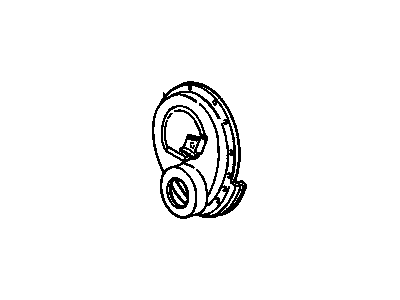
Chevrolet Malibu Cover Assembly, Engine Front (W/ Oil Pump)
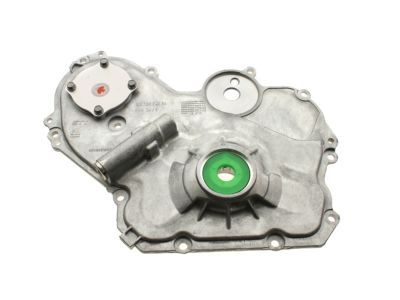
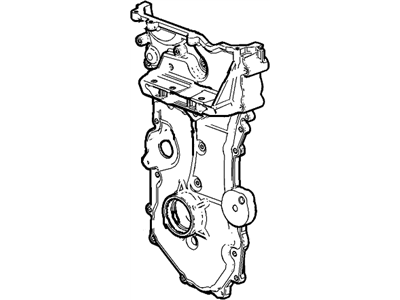
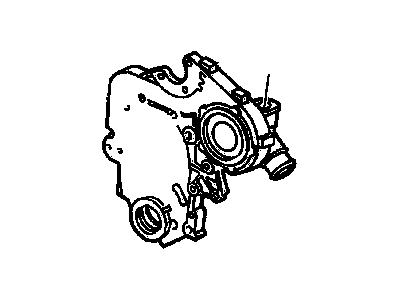
Part Number: 12637040$195.32 MSRP: $333.95You Save: $138.63 (42%)Ships in 1-2 Business DaysChevrolet Malibu Cover Assembly, Eng Frt (W/ W/Pmp)
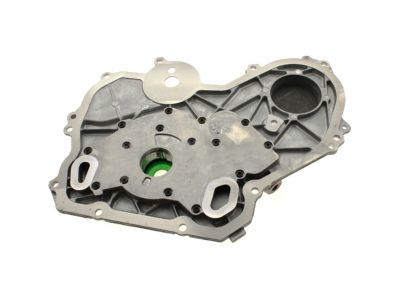
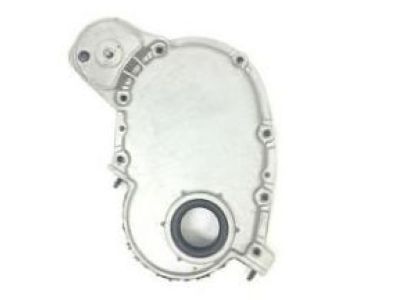
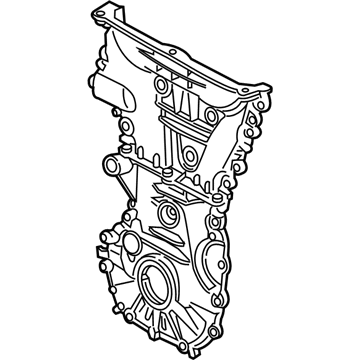
Part Number: 12698371$361.63 MSRP: $571.56You Save: $209.93 (37%)Ships in 1-3 Business DaysChevrolet Malibu Cover Assembly, Eng Frt (W/ Cr/Shf Frt Oil Seal)
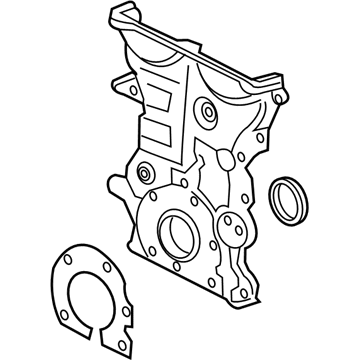
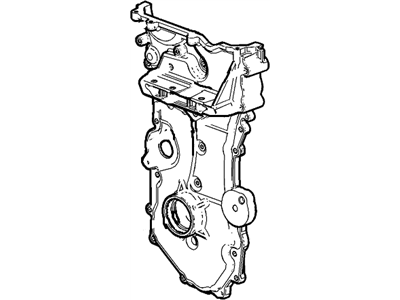
Part Number: 25203060$98.51 MSRP: $157.10You Save: $58.59 (38%)Ships in 1-3 Business DaysChevrolet Malibu Cover Assembly, Eng Frt (W/ Cr/Shf Frt Oil Sea)
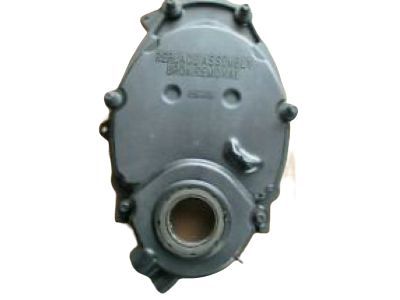
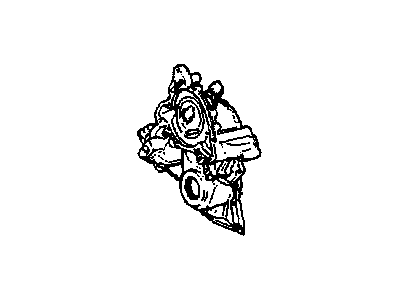
Part Number: 12695111$87.52 MSRP: $139.58You Save: $52.06 (38%)Ships in 1-2 Business DaysChevrolet Malibu Cover, Engine Front
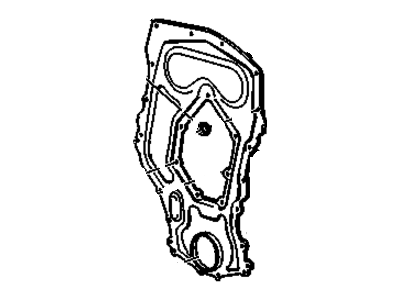
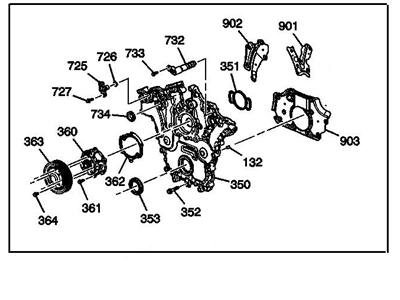
Part Number: 24576620$5.36 MSRP: $8.44You Save: $3.08 (37%)Ships in 1-3 Business DaysChevrolet Malibu Cover Assembly, Eng Frt (W/ Cr/Shf Frt Oil Sea)
Part Number: 12690012$123.24 MSRP: $203.97You Save: $80.73 (40%)Chevrolet Malibu Cover Assembly, Engine Front
Part Number: 12666290$126.24 MSRP: $199.54You Save: $73.30 (37%)Chevrolet Malibu Cover,Engine Front *Aluminum
Part Number: 19181093$47.98 MSRP: $75.49You Save: $27.51 (37%)Chevrolet Malibu Cover,Engine Front (W/ Water Pump)
Part Number: 12655856$530.38 MSRP: $841.74You Save: $311.36 (37%)
Chevrolet Malibu Timing Cover
The Timing Cover of Chevrolet Malibu vehicles plays a very important part in protecting the timing mechanism of the car engines, which may incorporate this belt as a timing belt, timing chain or cam belt. Made from materials like aluminum, plastic or steel the Chevrolet Malibu Timing Cover shields the teeth of these components from the ravages of debris. Furthermore, gaskets are also fitted to most Timing Covers to improve on the defense of the timing belt. Throughout the production years of Chester Malibu different types of Timing Covers were used depending on the engines for which they were intended. Nevertheless, Timing Covers like any mechanical parts are capable of failure thus the need to replace them on time to enhance safe operation of the automobile. The Chevrolet Malibu Timing Cover must be kept clean and well maintained in order to prevent damage to an automobile's engine timing mechanism.
Each OEM Chevrolet Malibu Timing Cover we offer is competitively priced and comes with the assurance of the manufacturer's warranty for the part. Furthermore, we guarantee the speedy delivery of your orders right to your doorstep. Our hassle-free return policy is also in place for your peace of mind.
Chevrolet Malibu Timing Cover Parts Questions & Experts Answers
- Q: How to remove and reinstall Timing Cover in four cylinder engine on Chevrolet Malibu?A:To remove the components, first relieve the fuel system pressure, then disconnect the cable from the negative battery terminal. Next, remove the air filter housing and set the engine to TDC. Loosen the right front wheel lug nuts, raise the front of the vehicle, and support it securely on jack stands before removing the right front wheel. Drain the engine oil and coolant, then remove the valve cover, drive belt, and alternator. Support the engine with an engine hoist or a block of wood, carefully raising it just enough to relieve the weight off the mounts, and then remove the right Engine Mount and Crankshaft Pulley. For 1.5L engines, remove the Oil Pan-to-timing cover bolts, loosen the timing cover bolts gradually and evenly, and remove them. It is advisable to draw a sketch of the engine cover and fasteners to identify the location of all bolts for reinstallation. If necessary, use a pry bar to separate the timing cover from the Cylinder Head. For installation, inspect and clean all sealing surfaces of the timing cover, upper oil pan, and block, taking care not to gouge aluminum parts. If needed, replace the crankshaft front oil seal. For 1.5L engines, apply a 4 mm bead of RTV sealant around the timing cover sealing surface and a 3 mm dab where the cylinder head and engine block meet; for 2.0L and 2.5L engines, use a 5 mm bead and a 14 mm dab respectively. Install the cover and bolts in their original locations, tightening them hand-tight and then in sequence to the specified torque, ensuring to replace the #3, #5, and #6 bolts with new ones on 2.0L and 2.5L engines. Reinstall the remaining parts in reverse order, fill the crankcase with the recommended oil, reconnect the battery, refill the cooling system, and finally start the engine to check for leaks and fluid levels.
Related Chevrolet Malibu Parts
Browse by Year
2024 Timing Cover 2023 Timing Cover 2022 Timing Cover 2021 Timing Cover 2020 Timing Cover 2019 Timing Cover 2018 Timing Cover 2017 Timing Cover 2016 Timing Cover 2015 Timing Cover 2014 Timing Cover 2013 Timing Cover 2012 Timing Cover 2011 Timing Cover 2010 Timing Cover 2009 Timing Cover 2008 Timing Cover 2007 Timing Cover 2006 Timing Cover 2005 Timing Cover 2004 Timing Cover 2003 Timing Cover 2002 Timing Cover 2001 Timing Cover 2000 Timing Cover 1999 Timing Cover 1998 Timing Cover 1997 Timing Cover 1983 Timing Cover 1982 Timing Cover
