My Garage
My Account
Cart
Genuine Chevrolet Timing Cover
Engine Timing Cover- Select Vehicle by Model
- Select Vehicle by VIN
Select Vehicle by Model
orMake
Model
Year
Select Vehicle by VIN
For the most accurate results, select vehicle by your VIN (Vehicle Identification Number).
175 Timing Covers found
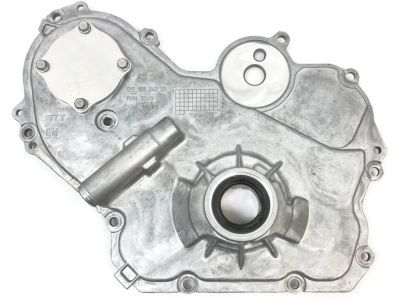
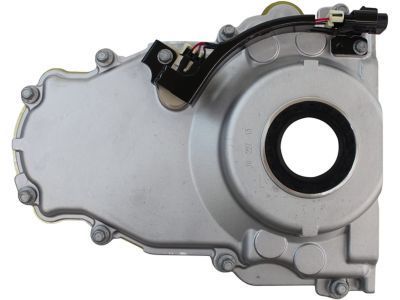
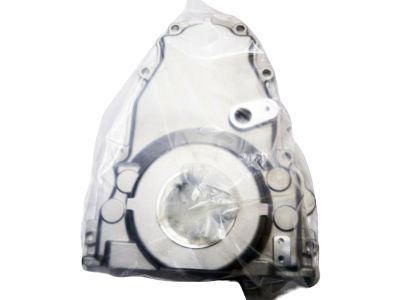
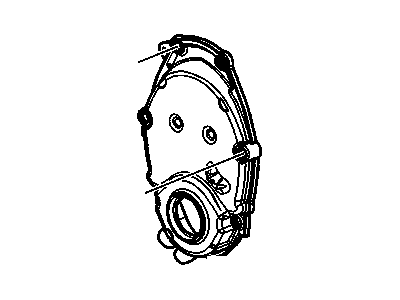
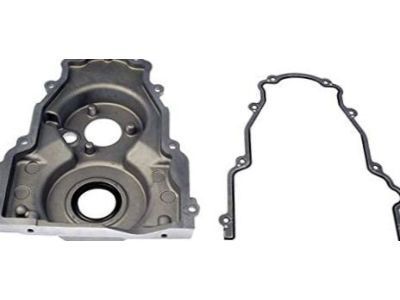
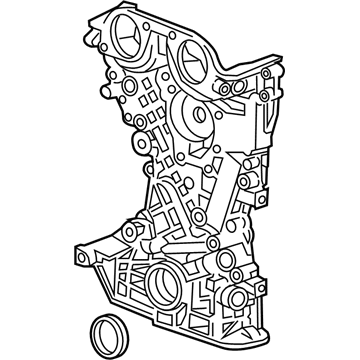
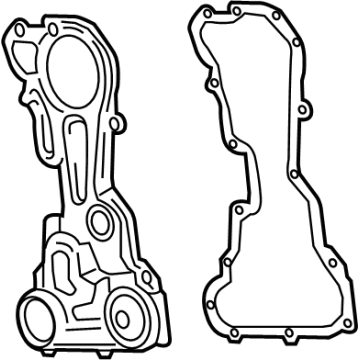
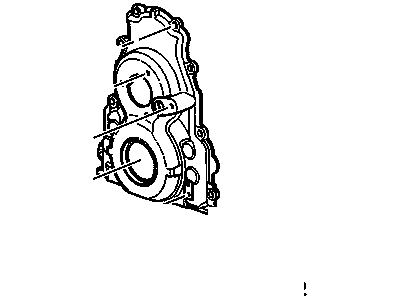
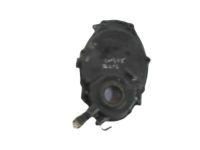
Chevrolet Cover Assembly, Engine Front (W/ Oil Pump)
Part Number: 12637040$195.32 MSRP: $333.95You Save: $138.63 (42%)Ships in 1-2 Business DaysProduct Specifications- Other Name: COVER, Engine Front Cover
- Position: Front
- Replaces: 12582069, 12584621, 24450057, 12606580
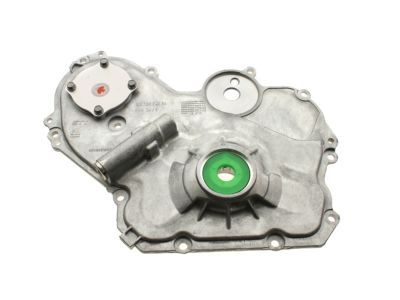
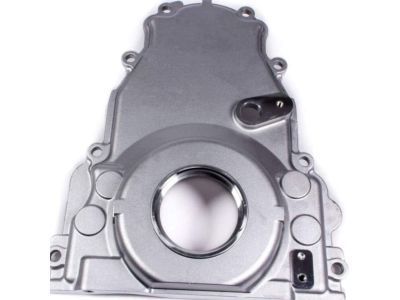
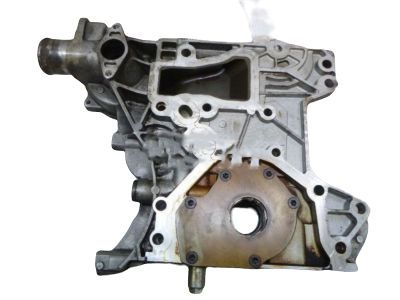
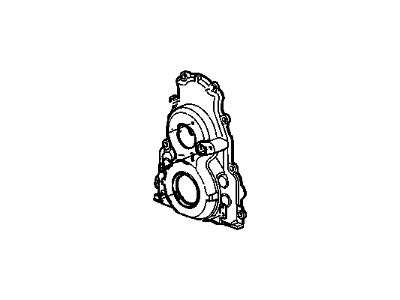
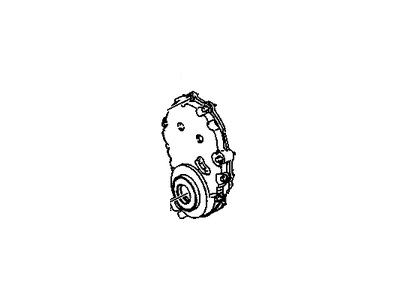
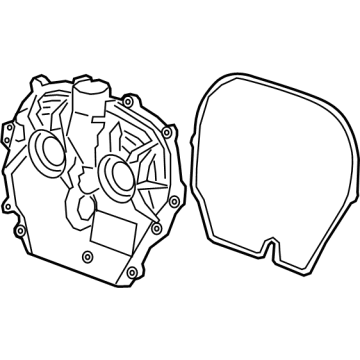
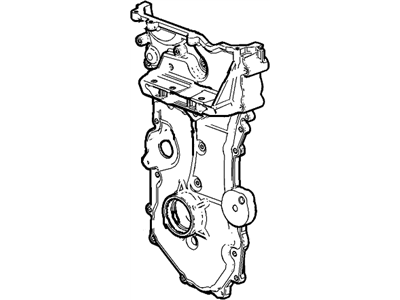
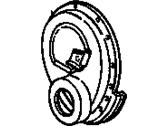
Chevrolet Cover Assembly, Engine Front
Part Number: 12633906$110.16 MSRP: $188.36You Save: $78.20 (42%)Product Specifications- Other Name: COVER; Front Cover, Timing Cover
- Position: Front
- Replaces: 12561243
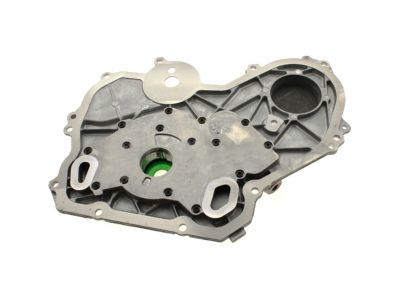
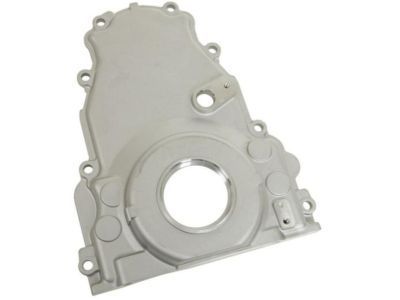
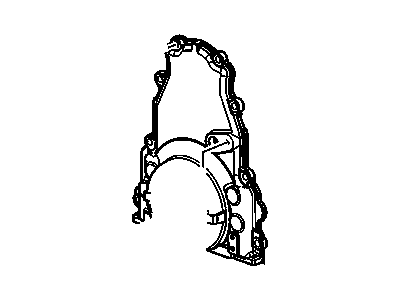
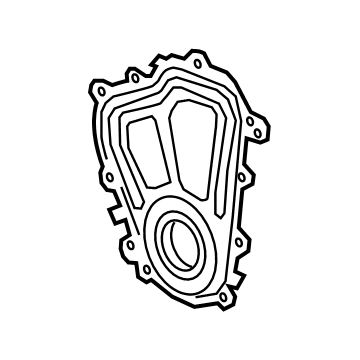
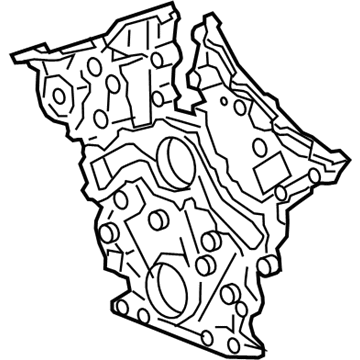
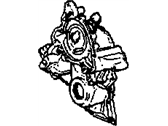
Chevrolet Cover, Engine Front (Machining)
Part Number: 12600326$44.24 MSRP: $73.23You Save: $28.99 (40%)Ships in 1-2 Business DaysProduct Specifications- Other Name: COVER, Engine Front Cover; Front Cover
- Position: Front
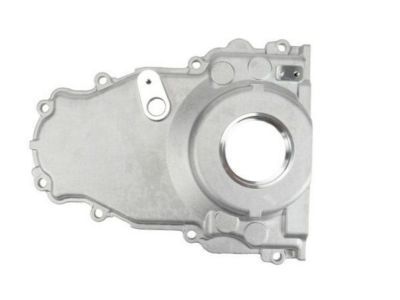
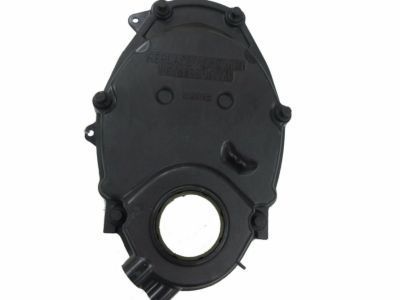
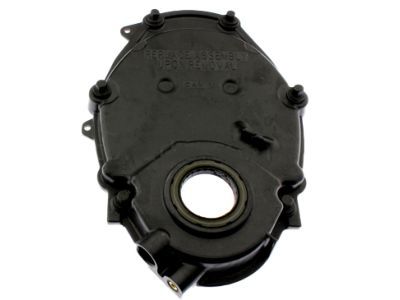
Chevrolet Cover Assembly, Engine Front
Part Number: 93445880$90.21 MSRP: $152.92You Save: $62.71 (42%)Product Specifications- Other Name: COVER, Engine Front Cover; Front Cover, Timing Cover
- Position: Front
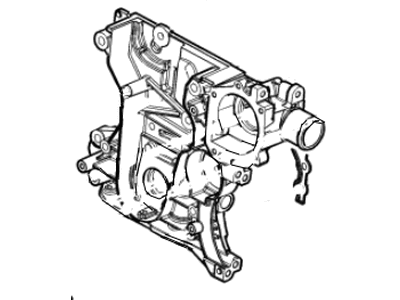
Chevrolet Cover Assembly, Engine Front (W/Oil Pump & Water Pump)
Part Number: 25195118$263.88 MSRP: $451.21You Save: $187.33 (42%)Product Specifications- Other Name: Cover Assembly, Eng Frt (W/O/Pmp & W/Pmp); Front Cover
- Position: Front
Chevrolet Cover, Engine Front (Machining)
Part Number: 12594939$45.61 MSRP: $78.00You Save: $32.39 (42%)Ships in 1-3 Business DaysProduct Specifications- Other Name: COVER, Engine Front Cover; Front Cover, Timing Cover
- Position: Front
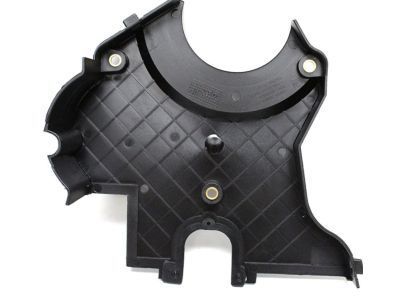
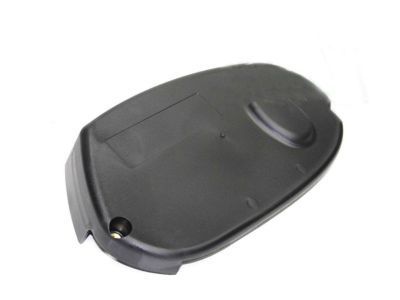
Chevrolet Cover,Timing Belt Lower Front
Part Number: 96350674$15.56 MSRP: $25.77You Save: $10.21 (40%)Ships in 1-3 Business DaysProduct Specifications- Other Name: COVER, Engine Front Cover; Front Cover, Lower Timing Cover
- Position: Front Lower
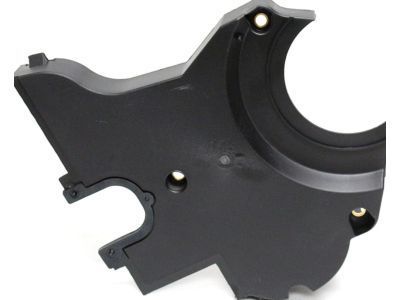
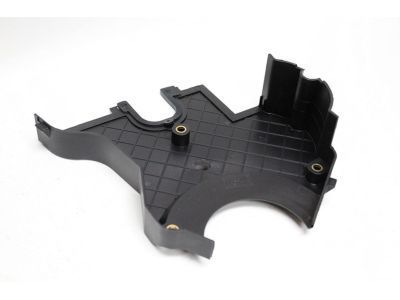
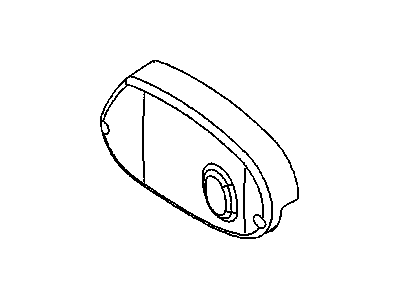
Chevrolet Cover,Timing Belt Upper Front
Part Number: 55568041$20.70 MSRP: $34.28You Save: $13.58 (40%)Ships in 1-2 Business DaysProduct Specifications- Other Name: COVER, Engine Front Cover
- Position: Front Upper
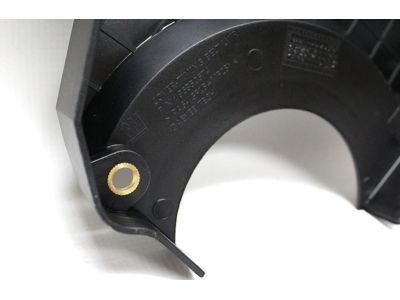
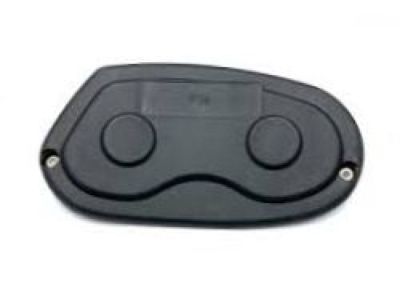
Chevrolet Cover,Timing Belt Upper Front
Part Number: 55354836$8.54 MSRP: $13.44You Save: $4.90 (37%)Ships in 1-3 Business DaysProduct Specifications- Other Name: COVER, Engine Front Cover; Front Cover, Outer Cover, Outer Timing Cover
- Position: Front Upper
Chevrolet Cover Assembly, Engine Front (W/ Oil Pump & Water Pump)
Part Number: 25199424$769.81 MSRP: $1327.97You Save: $558.16 (43%)Product Specifications- Other Name: Cover Assembly, Eng Frt (W/ O/Pmp & W/Pmp); Front Cover
- Position: Front
- Replaced by: 28290048
Chevrolet Cover Assembly, Engine Front
Part Number: 93800970$86.38 MSRP: $147.70You Save: $61.32 (42%)Ships in 1-3 Business DaysProduct Specifications- Other Name: COVER, Engine Front Cover; Front Cover, Timing Cover
- Position: Front
Chevrolet Cover Assembly, Timing Belt Front
Part Number: 24587034$130.92 MSRP: $223.86You Save: $92.94 (42%)Ships in 1-3 Business DaysProduct Specifications- Other Name: Cover Assembly, Tmg Belt Frt; Front Cover, Timing Cover
- Position: Front
- Replaces: 24585063, 55486094
Chevrolet Cover, Eng Frt (Mchg)
Part Number: 12707629$76.59 MSRP: $185.42You Save: $108.83 (59%)Ships in 1-3 Business DaysProduct Specifications- Other Name: Front Cover
- Replaces: 12705105
Chevrolet Cover Assembly, Tmg Chain Upr
Part Number: 55514490$48.31 MSRP: $77.04You Save: $28.73 (38%)Ships in 1-3 Business DaysProduct Specifications- Other Name: Upper Timing Cover
- Replaced by: 12741848
- Replaces: 55506817
Chevrolet Cover Assembly, Eng Frt
Part Number: 55486913$16.90 MSRP: $27.96You Save: $11.06 (40%)Ships in 1-3 Business DaysProduct Specifications- Other Name: Front Cover, Lower Timing Cover
Chevrolet Cover Assembly, Eng Frt (W/ W/Pmp)
Part Number: 12698371$361.63 MSRP: $571.56You Save: $209.93 (37%)Ships in 1-3 Business DaysProduct Specifications- Other Name: Front Cover, Water Pump
- Replaces: 12638436, 12684188, 12668891, 12626079, 12639157, 12635609, 12643744
Chevrolet Cover, Engine Front (Machining)
Part Number: 12636045$72.60 MSRP: $120.16You Save: $47.56 (40%)Ships in 1-3 Business DaysProduct Specifications- Other Name: COVER, Engine Front Cover; Front Cover, Timing Cover
- Position: Front
Chevrolet Cover Assembly, Eng Frt (W/ Cr/Shf Frt Oil Seal)
Part Number: 25203060$98.51 MSRP: $157.10You Save: $58.59 (38%)Ships in 1-3 Business DaysProduct Specifications- Other Name: Front Cover
- Replaces: 25202735, 12662949, 25201370
Chevrolet Cover Assembly, Eng Frt (W/ W/Pmp)
Part Number: 12704638$205.77 MSRP: $340.56You Save: $134.79 (40%)Ships in 1-3 Business DaysProduct Specifications- Other Name: Front Cover
- Replaced by: 12729377
- Product Specifications
- Other Name: COVER KIT, Engine Front Cover; Front Cover, Timing Cover
- Position: Front
- Replaces: 12554555
| Page 1 of 9 |Next >
1-20 of 175 Results
Chevrolet Timing Cover
At GMPartsGiant.com, we offer an extensive inventory of genuine Chevrolet Timing Covers at competitive prices in the market. All our OEM Chevrolet Timing Covers are backed by the manufacturer's warranty and will be shipped promptly to your doorstep. Rest assured, our hassle-free return policy is designed to support you throughout your shopping experience!
Chevrolet Timing Cover Parts Questions & Experts Answers
- Q: How to remove and install the timing cover in V6 engine on Chevrolet Beretta?A:Disconnect the negative battery cable from the battery. On models equipped with the Delco Loc II audio system, make sure the lockout feature is turned off before performing any procedure that requires disconnecting the battery. Loosen the water pump pulley bolts, then remove the serpentine drivebelt. Remove the water pump pulley. Remove the vibration damper. Unbolt the drivebelt tensioner and idler, if equipped. Drain the coolant and engine oil. Remove the alternator and loosen the mounting bracket. Unbolt the power steering pump (if equipped) and tie it aside. Leave the hoses connected. Unbolt the flywheel/driveplate cover below the transaxle. Remove the starter. Remove the oil pan. Disconnect the coolant hoses from the fill pipe and water pump. Unbolt the spark plug wire shield at the water pump. Disconnect the canister purge hose and tie it aside. Remove the Timing Cover-to-engine block bolts. Note that some of the bolts require T-40 or T-50 Torx bits for removal. Separate the cover from the engine. If it is stuck, tap it with a soft-face hammer, but do not try to pry it off. Use a gasket scraper to remove all traces of old gasket material and sealant from the cover and engine block. The cover is made of aluminum, so be careful not to nick or gouge it. Clean the gasket sealing surfaces with lacquer thinner or acetone. Apply a thin layer of sealant to the lower corners on both sides of the new gasket, then position the gasket on the engine block (the dowel pins should keep it in place). Attach the cover to the engine and install the bolts. Apply sealant to the bottom of the gasket. Follow a criss-cross pattern when tightening the fasteners and work up. The remainder of the installation is the reverse of removal. Add oil and coolant, start the engine, and check for leaks.
- Q: What steps should be followed when removing and installing the Timing Cover in V8 engine on Chevrolet Caprice?A:In case the engine has been removed from the vehicle skip the following steps as they do not apply. Firstly, the torsional damper must be unbolted, then follows the water pump. Next, undo the crankcase front cover attaching bolts and pull of the front cover from the engine. Big-block Mark IV engines only, first you take out the attaching bolts and then angle the cover away from the engine while cutting the oil pan gasket to the same length as the block before you can remove the cover. During installation of this piece, one should make sure that the block and crankcase front cover are not contaminated. Cut off any oil pan gasket material with a sharp knife at the interface between the oil pan and the engine block. A thin layer of silicone rubber sealer 1/8 inch thick has to be applied to the joint created by the oil pan and block and to the front part of the oil pan. Apply non-setting sealant on the cover gasket and fit it to the cover and then merely tighten four screws at the top and two ¼ inch-20 x ½ inch screws at the bottom cover holes. Place a light bead of silicone sealer to the bottom of the cover, place the cover on the car and with dowel pins aligned, tighten the screws in a star pattern. Unscrew the two 1/4-inch-20 x 1/2-inch screw and screw the remaining cover screws, then unscrew the rest of the components in the same way as the above procedure. For Mark IV V8, first, clean the block and crankcase front cover, second, if necessary trim the tabs off the new oil pan front seal and, third, install the seal to the front cover, thrusting the tips into the holes. Paint the gasket with non-setting sealer and install it on the cover, and apply a 1/2 inch line of silicone Rubber sealer on the join formed at oil pan and block. Bolt the cover attaching screws into position and torque tighten them to the recommend torque. Apply engine oil on the front cover seal area of the torsional damper, position the damper in place and tighten with a suitable bolt and spacers not to damage the damper during this stage. Lastly, the rest are the accessory drive pulley, and the other parts to be placed in the reverse order.
- Q: How to Remove and Install the Timing Cover in V8 engine on Chevrolet El Camino?A:If the engine has been removed from the car, disregard the following steps which do not apply. Begin by removing the torsional damper, followed by the water pump. Next, take out the crankcase front cover attaching bolts and remove the front cover from the engine. For big-block Mark IV engines, after removing the attaching bolts, draw the cover slightly away from the engine, cut the oil pan gasket flush with the engine block, and then remove the cover. Upon installation, ensure that the block and crankcase front cover are clean. Use a sharp knife to remove any oil pan gasket material at the oil pan to engine block junction. Apply a t-inch bead of silicone rubber sealer to the joint formed at the oil pan and block, as well as the front lip of the oil pan. Coat the cover gasket with a non-setting sealant, position it on the cover, and loosely install the cover by first installing the top four bolts and then two 3/4-inch-20 x 1/2-inch screws at the lower cover holes. Apply a bead of silicone sealer on the bottom of the cover, install it, and tighten the screws alternately and evenly while aligning the dowel pins. Remove the two ¾-inch-20 x 1/2-inch screws and install the remaining cover screws, then follow the removal steps in reverse order for the remaining components. For Mark IV V8, ensure that the block and crankcase front cover are clean, cut the tabs from the new oil pan front seal if applicable, and install the seal to the front cover, pressing the tips into the holes. Coat the gasket with a non-setting sealant and position it on the cover, then apply a t-inch bead of silicone rubber sealer to the joint formed at the oil pan and block. Install the cover attaching screws and torque tighten to the specified value. Coat the front cover seal area of the torsional damper with engine oil, place the damper in position, and use a suitable bolt and spacers to draw the damper into position before installing and torque tightening the damper retaining bolt, taking care not to damage the damper. Finally, install the accessory drive pulley and the remaining components in reverse order.
Related Chevrolet Parts
Browse by Model
Astro Timing Cover Avalanche Timing Cover Aveo Timing Cover Beretta Timing Cover Blazer Timing Cover C10 Timing Cover C1500 Timing Cover C20 Timing Cover C2500 Timing Cover C30 Timing Cover C3500 Timing Cover Cadet Timing Cover Camaro Timing Cover Caprice Timing Cover Captiva Sport Timing Cover Cavalier Timing Cover Celebrity Timing Cover Chevette Timing Cover Citation Timing Cover City Express Timing Cover Cobalt Timing Cover Colorado Timing Cover Corsica Timing Cover Corvette Timing Cover Cruze Timing Cover El Camino Timing Cover Epica Timing Cover Equinox Timing Cover Express Timing Cover G10 Timing Cover G20 Timing Cover G30 Timing Cover HHR Timing Cover Impala Timing Cover K10 Timing Cover K1500 Timing Cover K20 Timing Cover K2500 Timing Cover K30 Timing Cover K3500 Timing Cover Lumina Timing Cover Malibu Timing Cover Metro Timing Cover Monte Carlo Timing Cover Nova Timing Cover Orlando Timing Cover P20 Timing Cover P30 Timing Cover Prizm Timing Cover R10 Timing Cover R20 Timing Cover R2500 Timing Cover R30 Timing Cover R3500 Timing Cover S10 Timing Cover SS Timing Cover SSR Timing Cover Silverado Timing Cover Sonic Timing Cover Spark Timing Cover Spectrum Timing Cover Sprint Timing Cover Storm Timing Cover Suburban Timing Cover Tahoe Timing Cover Tracker Timing Cover Trailblazer Timing Cover Traverse Timing Cover Trax Timing Cover Uplander Timing Cover V10 Timing Cover V20 Timing Cover V30 Timing Cover V3500 Timing Cover Venture Timing Cover Volt Timing Cover
