My Garage
My Account
Cart
Genuine Chevrolet Tracker Carburetor
Engine Carburetor, Carb- Select Vehicle by Model
- Select Vehicle by VIN
Select Vehicle by Model
orMake
Model
Year
Select Vehicle by VIN
For the most accurate results, select vehicle by your VIN (Vehicle Identification Number).
2 Carburetors found
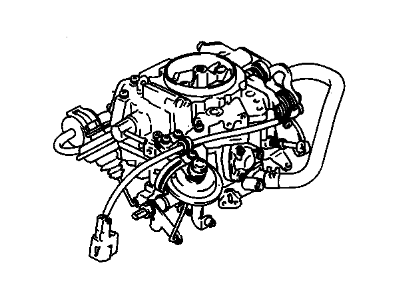
Chevrolet Tracker Carburetor
Each OEM Chevrolet Tracker Carburetor we offer is competitively priced and comes with the assurance of the manufacturer's warranty for the part. Furthermore, we guarantee the speedy delivery of your orders right to your doorstep. Our hassle-free return policy is also in place for your peace of mind.
Chevrolet Tracker Carburetor Parts Questions & Experts Answers
- Q: How to remove and install a carburetor on Chevrolet Tracker?A:To remove the carburetor, first relieve fuel tank pressure by removing the fuel filler cap. Next, take off the air cleaner from the carburetor, ensuring all vacuum hoses attached to the air cleaner housing are labeled. Disconnect the Throttle Cable from the throttle lever, and if the vehicle has an automatic transmission, disconnect the TV cable from the throttle lever as well. Clearly label all vacuum hoses and fittings before disconnecting them, then disconnect the fuel line from the carburetor. Label the wires and terminals, and unplug all wire harness connectors. Remove the mounting fasteners to detach the carburetor from the intake manifold, and take out the carburetor mounting gasket, stuffing a shop rag into the intake manifold openings. For installation, use a gasket scraper to eliminate all traces of gasket material and sealant from the intake manifold and the carburetor if it is being reinstalled, then remove the shop rag from the manifold openings and clean the mating surfaces with lacquer thinner or acetone. Place a new gasket on the intake manifold, position the carburetor on the gasket, and install the mounting fasteners. To avoid carburetor distortion or damage, tighten the fasteners to the specified torque in a criss-cross pattern, 1/4-turn at a time. The remaining installation steps follow the reverse order of removal. Finally, check and adjust the idle speed if necessary, then start the engine and carefully check for fuel leaks.


