My Garage
My Account
Cart
Genuine Chevrolet Water Pump
H2O Pump- Select Vehicle by Model
- Select Vehicle by VIN
Select Vehicle by Model
orMake
Model
Year
Select Vehicle by VIN
For the most accurate results, select vehicle by your VIN (Vehicle Identification Number).
141 Water Pumps found
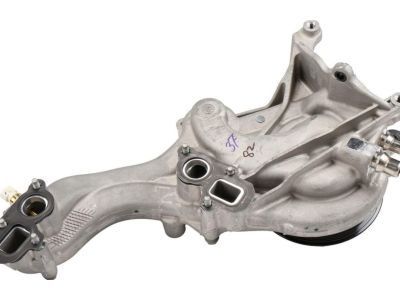
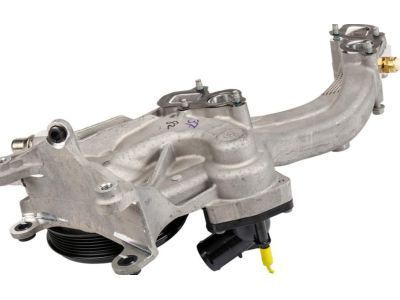
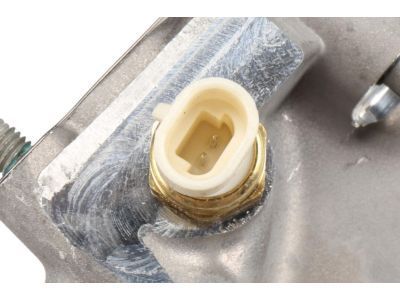
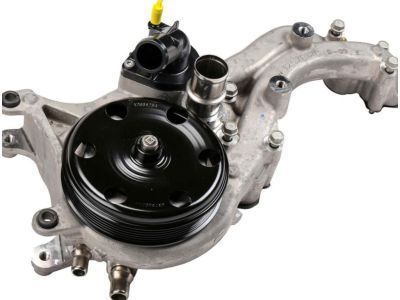
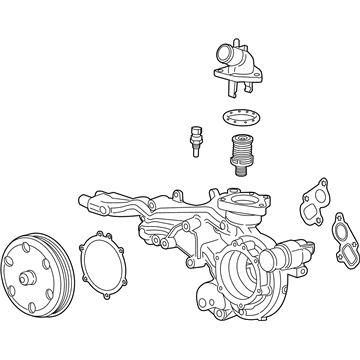
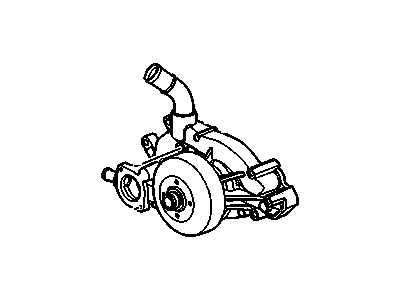
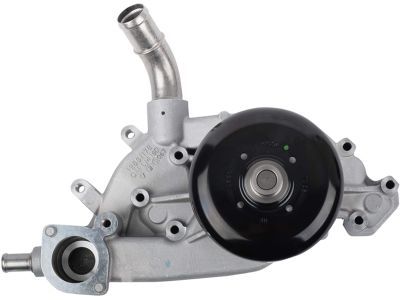
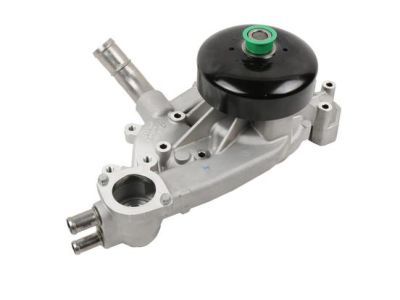
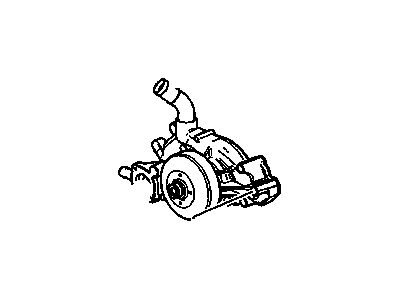
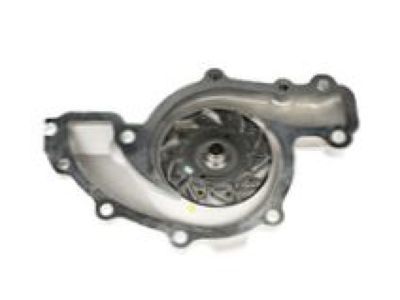
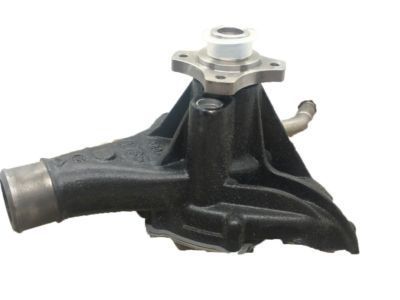
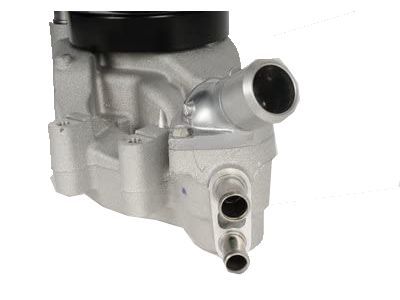
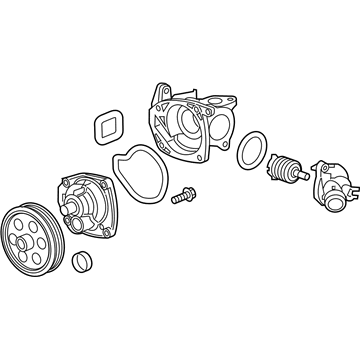
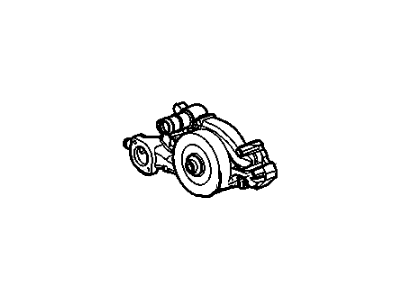
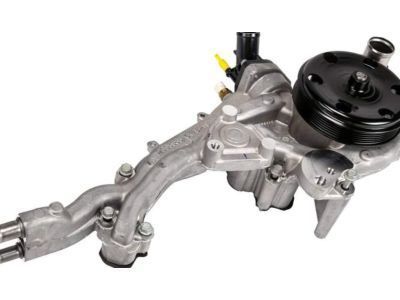
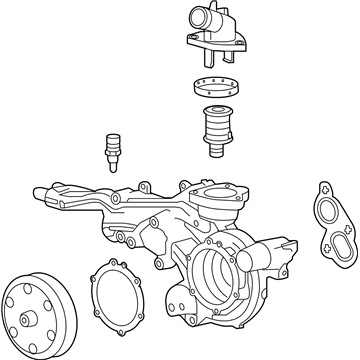
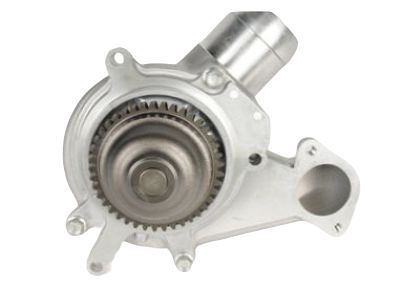
Chevrolet Water Pump Assembly (W/ Manifold)
Part Number: 12685731$289.43 MSRP: $537.78You Save: $248.35 (47%)Ships in 1-2 Business DaysProduct Specifications- Other Name: Pump Assembly, Water (W/ Manifold)
- Replaces: 12681259, 12678128, 12671752, 12670050
- Product Specifications
- Other Name: Pump Kit, Water; Water Pump
- Replaced by: 19434033
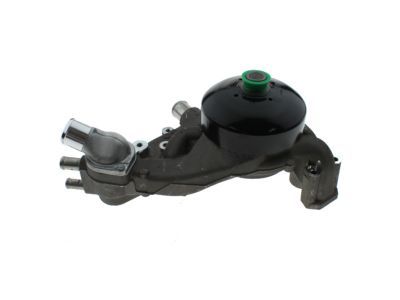
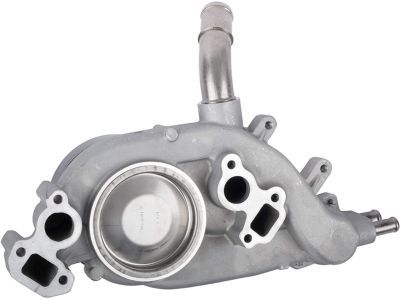
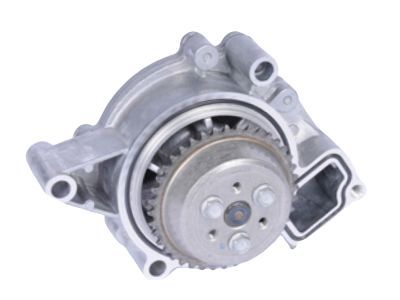
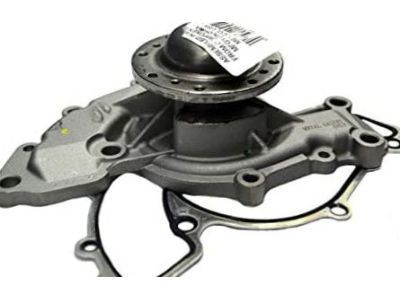
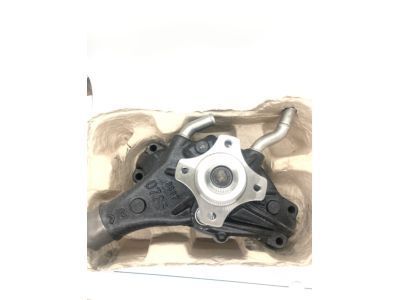
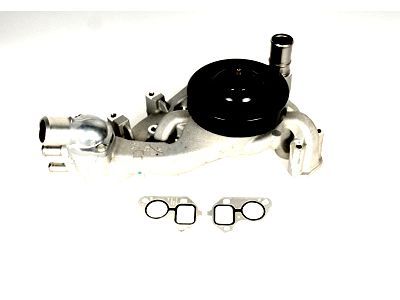
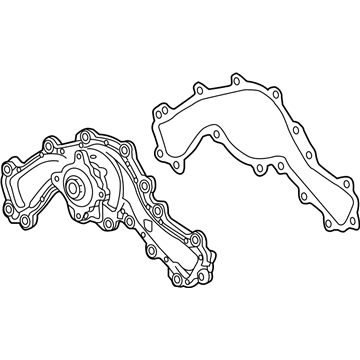
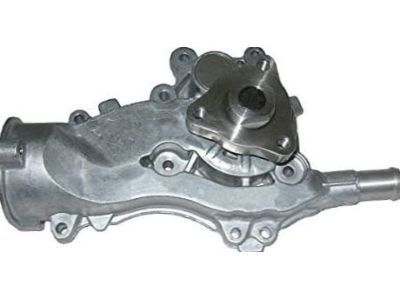
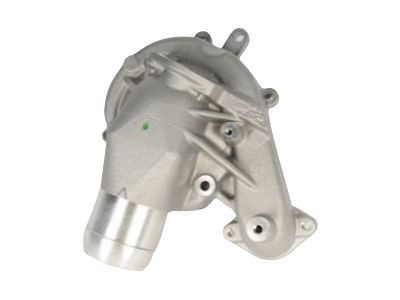
Chevrolet Pump Kit, Wat
Part Number: 12703898$186.80 MSRP: $364.18You Save: $177.38 (49%)Ships in 1-2 Business DaysProduct Specifications- Other Name: Water Pump
- Replaces: 12681184, 12686763, 19256261
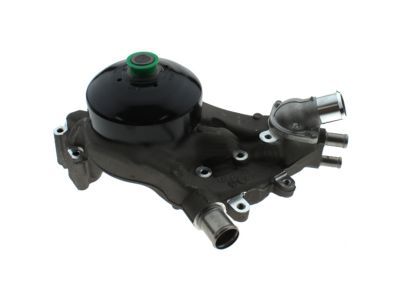
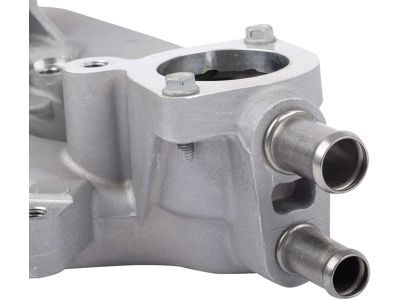
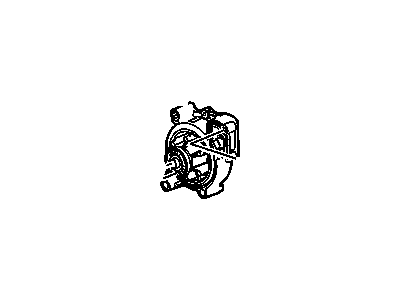
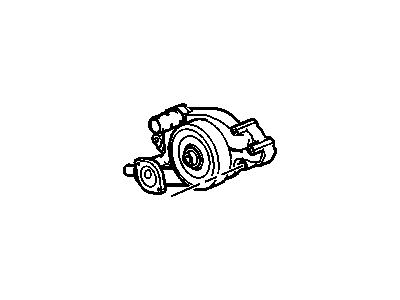
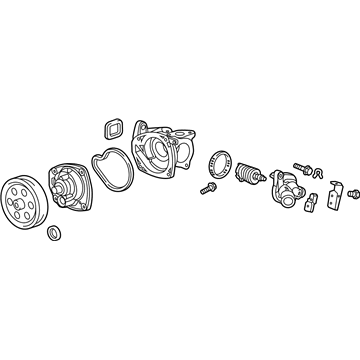
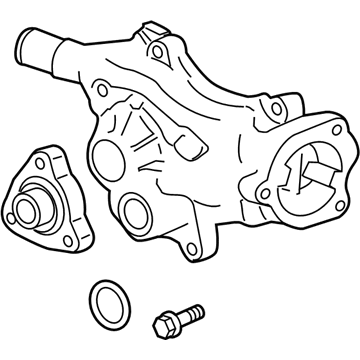
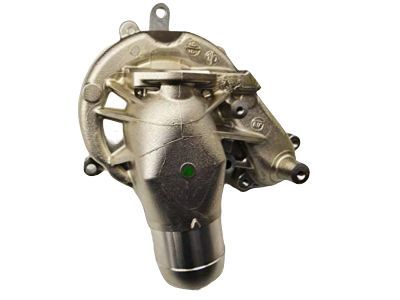
Chevrolet Water Pump Assembly
Part Number: 12630084$202.40 MSRP: $394.54You Save: $192.14 (49%)Ships in 1-3 Business DaysProduct Specifications- Other Name: Pump Assembly, Water ; Pump, Engine Coolant; Water Pump
- Replaces: 12585226, 12591894, 12624936, 19181920, 24467301, 24439798
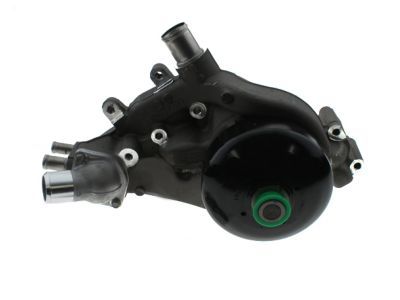
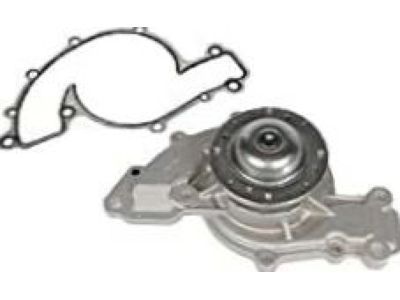
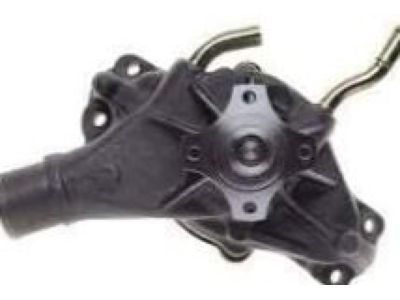
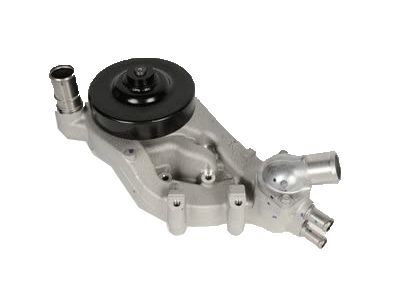
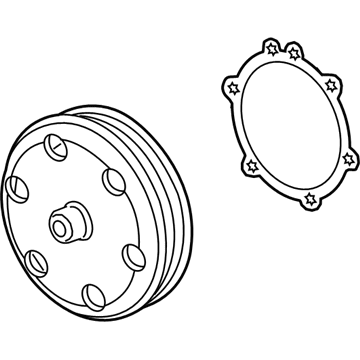
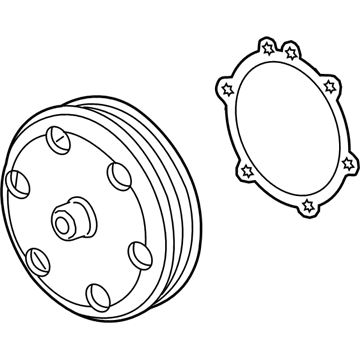
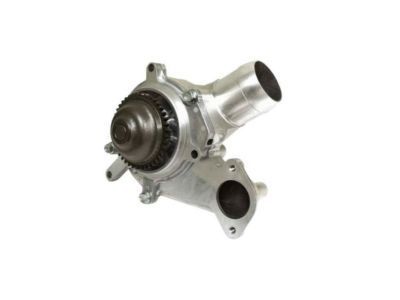
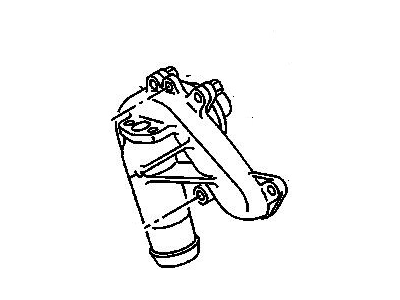
Chevrolet Engine Coolant Pump Kit
Part Number: 19209288$131.16 MSRP: $255.64You Save: $124.48 (49%)Ships in 1-2 Business DaysProduct Specifications- Other Name: Pump Kit,Water; Fan Blade, Water Pump, Water Pump Assembly
- Replaces: 89017813, 89060462, 12482903, 12537829, 89018214
Chevrolet Engine Coolant Pump Kit
Part Number: 89060527$233.97 MSRP: $456.07You Save: $222.10 (49%)Ships in 1-3 Business DaysProduct Specifications- Other Name: Pump Kit,Water; Water Pump, Water Pump Assembly
- Replaces: 12528917, 89017748, 12532528
Chevrolet Engine Coolant Pump Kit
Part Number: 19207665$235.92 MSRP: $459.86You Save: $223.94 (49%)Ships in 1-2 Business DaysProduct Specifications- Other Name: Pump Kit,Water ; Pump Kit, Engine Coolant; Water Pump
Chevrolet Engine Coolant Pump Kit
Part Number: 19180610$247.24 MSRP: $481.98You Save: $234.74 (49%)Ships in 1-2 Business DaysProduct Specifications- Other Name: Pump Kit,Water; Water Pump, Water Pump Assembly
- Product Specifications
- Other Name: Pump Kit, Water; Water Pump
- Replaces: 12683013
Chevrolet Pump Assembly, Wat
Part Number: 25201450$236.40 MSRP: $464.89You Save: $228.49 (50%)Ships in 1-2 Business DaysProduct Specifications- Other Name: Water Pump, Water Pump Assembly
- Replaces: 12657198, 12663910, 12653661, 12690252
- Product Specifications
- Other Name: Water Pump, Water Pump Assembly
- Replaced by: 12724892
- Product Specifications
- Other Name: Water Pump, Water Pump Assembly
- Replaces: 12672035
Chevrolet Water Pump Assembly
Part Number: 12680257$148.52 MSRP: $289.48You Save: $140.96 (49%)Ships in 1-2 Business DaysProduct Specifications- Other Name: Pump Assembly, Water; Water Pump
- Replaces: 12671460
Chevrolet Pump Assembly, Wat
Part Number: 25201452$233.80 MSRP: $455.77You Save: $221.97 (49%)Ships in 1-2 Business DaysProduct Specifications- Other Name: Water Pump, Water Pump Assembly
- Replaces: 12657088, 12663909, 12690253
- Product Specifications
- Other Name: Pump Kit, Water; Water Pump
- Replaced by: 19431949
Chevrolet Pump Kit, Wat
Part Number: 12710208$301.03 MSRP: $586.81You Save: $285.78 (49%)Ships in 1-2 Business DaysProduct Specifications- Other Name: Water Pump, Water Pump Assembly
- Replaces: 12681186, 19303456, 89017457, 12686762, 89018052, 89017592, 19434778
Chevrolet Generator Control Module Coolant Pump
Part Number: 84653457$142.82 MSRP: $225.69You Save: $82.87 (37%)Product Specifications- Other Name: Pump Assembly, Gen Cont Mdl Cool; Auxiliary Pump
- Replaced by: 86591535
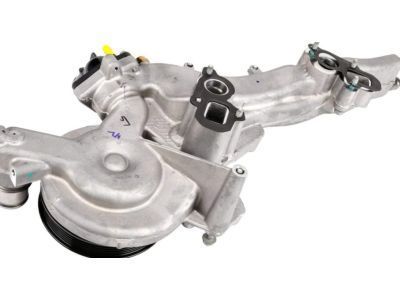
Chevrolet Water Pump Assembly (W/ Manifold)
Part Number: 12685257$310.77 MSRP: $559.94You Save: $249.17 (45%)Product Specifications- Other Name: Pump Assembly, Water (W/ Manifold); Water Pump, Water Pump Assembly
- Replaces: 12674640, 12671394, 12681258
- Product Specifications
- Other Name: Pump Kit, Water; Water Pump, Water Pump Assembly
- Replaces: 25192709, 55599494, 55595610, 55587345, 55486344, 55561623, 55579016
- Product Specifications
- Other Name: Pump Assembly, Water ; Pump, Engine Coolant; Water Pump
- Replaces: 98098889, 97372515, 98031233
| Page 1 of 8 |Next >
1-20 of 141 Results
Chevrolet Water Pump
At GMPartsGiant.com, we offer an extensive inventory of genuine Chevrolet Water Pumps at competitive prices in the market. All our OEM Chevrolet Water Pumps are backed by the manufacturer's warranty and will be shipped promptly to your doorstep. Rest assured, our hassle-free return policy is designed to support you throughout your shopping experience!
Chevrolet Water Pump Parts Questions & Experts Answers
- Q: What are three ways to check the operation of the water pump while it's installed on Chevrolet Astro?A:Water pump failure can lead to engine overheating and serious damage. There are three ways to check the operation of the water pump while it's installed on the engine. Firstly, start the engine and warm it up to normal operating temperature, then squeeze the upper radiator hose. If the water pump is functioning properly, a pressure surge should be felt upon releasing the hose. Secondly, check for leaks in the weep holes located at the top and bottom of the water pump snout. If coolant is leaking from these holes, it indicates a seal failure and the water pump should be replaced immediately to prevent shaft bearing failure. Additionally, an improperly tensioned drivebelt can cause premature wear of the water pump impeller shaft bearing. If a high-pitched squealing sound is heard from the water pump during engine operation, it signifies shaft bearing failure and the water pump should be replaced promptly. Lastly, excessive bearing wear can be identified by grasping the water pump pulley and attempting to move it up and down or from side to side. If the pulley can be moved in either direction, it indicates that the bearing is nearing the end of its service life and the water pump should be replaced.
- Q: How to replace the water pump on Chevrolet Caprice?A:To replace the water pump, begin by disconnecting the negative battery cable and draining the radiator. Remove the fan and spacer (if any) by unfastening the fan bolts from the water pump hub, ensuring that a thermostatic fan clutch stays in in-car position. Next, remove bolts that hold the radiator shroud to the radiator and lift it out of engine compartment. Loosen two mounting bolts for alternator, one is an adjusting strap bolt in slotted bracket, and other is a long pivot bolt located below alternator. Push alternator inward to relieve tension on drive belt; then remove drive belt from alternator and water pump pulleys. Remove water pump pulley from hub. Completely remove alternator strap bolt, swing alternator away from water pump, and take off thermostat housing-secured alternator mounting bracket at top of engine with one of water pump's bolts. Disconnect wiring at back of alternator using identifying tape if necessary for reinstallation later on. Remove alternator pivot bolt and raise it up off the engine. Release 2 mounting bolts for air pump and detach bracket connected to water pump. Pull air-pump away from engine , or take off air-pump pulley to access bracket bolts as necessary still equipped with power steering Loosen adjusting bolt and completely remove pivot bolt passing through water pump so as to swing it out of way without causing harm to hoses-connecting it to engine block .Disconnect lower radiator hose along with heater hose as well as bypass hose (if present) from water pump housing.Remove remaining bolts securing water pump against front side of engine block; lift off water pump from engine compartment; transfer heater-hose fitting from old one onto new or rebuilt unit.Clean gasket surfaces on engines; apply thin coat of gasket sealer to new gaskets ; install them on new pumps.Put this pump onto engine properly by bolting down but do not torque-tighten because power steering pump bracket and air pump brackets have to be reinstalled before which use water pump bolts for attachment. Proceed to install the engine components in the reverse order of removal, tightening the appropriate fasteners to torque specifications, and adjust all drive belts to the proper tension. Finally, reconnect the negative battery cable, fill the radiator with a 50/50 mixture of ethylene glycol antifreeze and water, start the engine, and allow it to idle until the upper radiator hose becomes hot. Check for leaks and, with the engine hot, add more coolant mixture until it reaches the bottom of the filler neck. Install the radiator cap and monitor the coolant level during the first few miles of driving.
- Q: What are the recommended steps for replacing a water pump on Chevrolet Tracker?A:On DOHC engines, it is recommended to drain the oil and remove the oil filter, as some water pump bolts are extremely difficult to reach with the oil filter installed. Drain the cooling system, and if the coolant is relatively new or in good condition, save it for reuse. Loosen the clamps and detach the hoses from the water pump; if they are stuck, grasp each hose near the end with adjustable pliers and twist to break the seal before pulling it off. If the hoses are deteriorated, cut them off and install new ones. Remove the cooling fan and shroud, followed by the drive belt(s) and the pulley at the end of the water pump shaft. On SOHC engines, remove all accessory brackets from the water pump, ensuring not to disconnect the hoses when removing the power steering pump and air conditioning compressor; tie the units aside with the hoses attached. Remove the timing belt and idler assembly on SOHC engines. For DOHC engines, disconnect the heater outlet hose, remove the heater outlet pipe bolt, and then remove the heater outlet pipe. Remove the water pump mounting bolts, noting the locations of various lengths and types for correct installation. Clean the bolt threads and threaded holes in the engine to remove corrosion and sealant. Compare the new pump to the old one to ensure they are identical, and remove all traces of old gasket material from the engine with a gasket scraper. Clean the engine and new water pump mating surfaces with lacquer thinner or acetone, then apply a thin coat of RTV sealant to the engine side of the new gasket and a thin layer to the gasket mating surface of the new pump. Carefully mate the gasket and the pump, slipping a couple of bolts through the pump mounting holes to hold the gasket in place. Attach the pump and gasket to the engine, threading the bolts into the holes finger tight, then install the remaining bolts, ensuring any accessory brackets are repositioned at this time. Tighten them to the specified torque without over-tightening to avoid distorting the pump, and finally, reinstall all parts removed for access to the pump.
Related Chevrolet Parts
Browse by Model
Astro Water Pump Avalanche Water Pump Aveo Water Pump Beretta Water Pump Blazer EV Water Pump Blazer Water Pump Bolt EUV Water Pump Bolt EV Water Pump C10 Water Pump C1500 Water Pump C20 Water Pump C2500 Water Pump C30 Water Pump C3500 Water Pump Cadet Water Pump Camaro Water Pump Caprice Water Pump Captiva Sport Water Pump Cavalier Water Pump Celebrity Water Pump Chevette Water Pump Citation Water Pump City Express Water Pump Cobalt Water Pump Colorado Water Pump Corsica Water Pump Corvette Water Pump Cruze Water Pump El Camino Water Pump Equinox EV Water Pump Equinox Water Pump Express Water Pump G10 Water Pump G20 Water Pump G30 Water Pump HHR Water Pump Impala Water Pump K10 Water Pump K1500 Water Pump K20 Water Pump K2500 Water Pump K30 Water Pump K3500 Water Pump Lumina Water Pump Malibu Water Pump Metro Water Pump Monte Carlo Water Pump Nova Water Pump Orlando Water Pump P20 Water Pump P30 Water Pump Prizm Water Pump R10 Water Pump R20 Water Pump R2500 Water Pump R30 Water Pump R3500 Water Pump S10 Water Pump SS Water Pump SSR Water Pump Silverado Water Pump Sonic Water Pump Spark Water Pump Sprint Water Pump Storm Water Pump Suburban Water Pump Tahoe Water Pump Tracker Water Pump Trailblazer Water Pump Traverse Water Pump Trax Water Pump Uplander Water Pump V10 Water Pump V20 Water Pump V30 Water Pump V3500 Water Pump Venture Water Pump Volt Water Pump
