My Garage
My Account
Cart
Genuine GMC Canyon Universal Joint
U-Joint- Select Vehicle by Model
- Select Vehicle by VIN
Select Vehicle by Model
orMake
Model
Year
Select Vehicle by VIN
For the most accurate results, select vehicle by your VIN (Vehicle Identification Number).
4 Universal Joints found
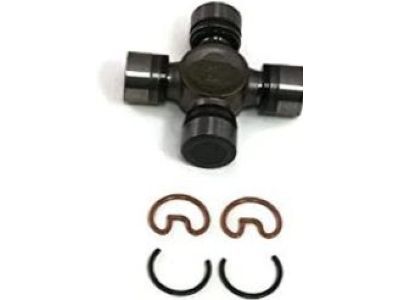
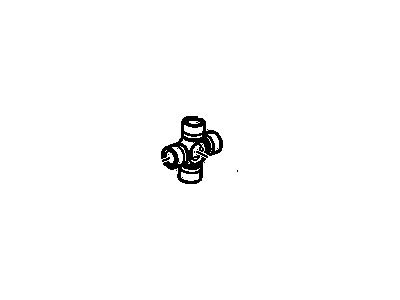
GMC Canyon Joint Kit,Propeller Shaft Rear Universal
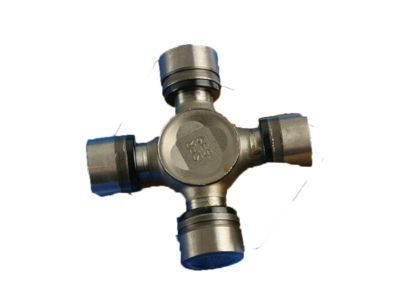
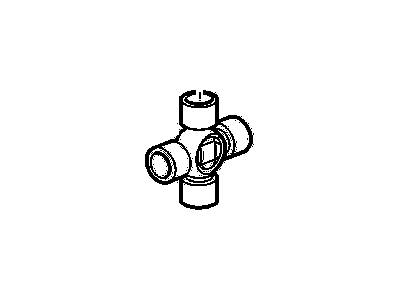
Part Number: 89040245$106.93 MSRP: $180.82You Save: $73.89 (41%)Ships in 1-2 Business DaysGMC Canyon Joint Kit,Propeller Shaft Front Universal
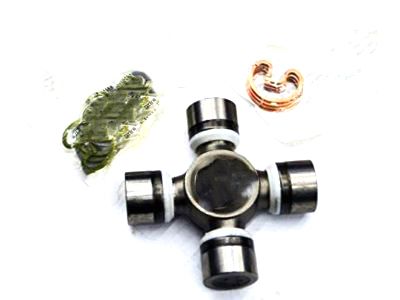
Part Number: 89040243$108.10 MSRP: $179.64You Save: $71.54 (40%)Ships in 1-2 Business DaysGMC Canyon Joint Kit, Prop Shf Universal
Part Number: 84712242$124.21 MSRP: $212.40You Save: $88.19 (42%)Ships in 1 Business Day
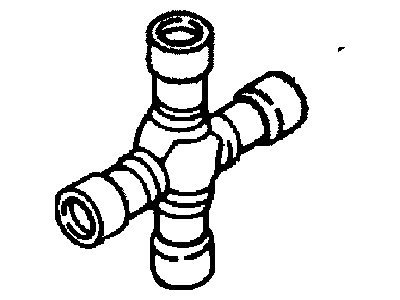
GMC Canyon Universal Joint
The particular joint known as the Universal Joint is present in GMC Canyon vehicles mainly to provide for connection of the driveshaft to the differential and its capability to allow for the free pivoting of driveshaft in relation to the suspension of the vehicle. This mechanism is useful for maintaining proper duration of vehicle movement since it offsets angle changes while in motion. Usually, a Universal Joint contains a cross with needle bearings placed in hardened steel cups; clips fix these cups. Many GMC Canyon vehicles have used factory lubed U Joints as well as units with grease zerks to allow for re-lubrication. The main difference between them is in the possibility of their maintenance and the ability of U Joints to prolong the durable with the help of this element's grease filling. Worn U Joints cause such symptoms that can be testified to after the inspection such as the clunking noise and vibration hence should be inspected and replaced to allow the vehicle to have the premier performance.
Each OEM GMC Canyon Universal Joint we offer is competitively priced and comes with the assurance of the manufacturer's warranty for the part. Furthermore, we guarantee the speedy delivery of your orders right to your doorstep. Our hassle-free return policy is also in place for your peace of mind.
GMC Canyon Universal Joint Parts Questions & Experts Answers
- Q: How to replace a universal joint in a driveshaft on GMC Canyon?A:Always purchase a universal joint service kit for your model vehicle before beginning this procedure. Also, read through the entire procedure before beginning work. If inspection reveals looseness or play in the driveshaft center bearing (two-piece driveshafts), bring the driveshaft to a machine shop and have the old bearing pressed off and a new one installed. The yoke flange must be removed to replace the center bearing. Remove the driveshaft. Place the driveshaft on a bench equipped with a vise. Remove the snap-rings with a small pair of pliers. Support the cross (also called a spider) on a short piece of pipe or a large socket and use another socket to press out the cross by closing the vise. Press the cross through as far as possible, then grip the bearing cap with pliers and remove it. A universal joint repair kit will contain a new cross, seals, bearings, caps and snaprings. Inspect the bearing cap bores in the yokes for wear and damage. If the bearing cap bores in the yoke are so worn that the caps are a loose fit, the driveshaft will have to be replaced with a new one. Make sure the dust seals are properly located on the cross. Using a vise, press one bearing cap into the yoke approximately 1/4-inch. Use chassis grease to hold the needle rollers in place in the caps. Insert the cross into the partially installed bearing cap, taking care not to dislodge the needle rollers. Hold the cross in correct alignment and press both caps into place by slowly and carefully closing the jaws of the vise. Use a socket slightly smaller in diameter than the caps lo press them into the yoke. Press in one side, install the snap-ring, then press the other side to shift the cross assembly light against the installed snap-ring and install the other snap-ring. Repeat the operations for the remaining two bearing caps. If the joint is stiff after assembly, strike the yoke sharply with a hammer. This will spring the yoke ears slightly and free up the joint.
Related GMC Canyon Parts
Browse by Year
2024 Universal Joint 2023 Universal Joint 2022 Universal Joint 2021 Universal Joint 2020 Universal Joint 2019 Universal Joint 2018 Universal Joint 2017 Universal Joint 2016 Universal Joint 2015 Universal Joint 2012 Universal Joint 2011 Universal Joint 2010 Universal Joint 2009 Universal Joint 2008 Universal Joint 2007 Universal Joint 2006 Universal Joint 2005 Universal Joint 2004 Universal Joint
