My Garage
My Account
Cart
Genuine GMC Terrain Oil Pump
Oil Fluid Pump- Select Vehicle by Model
- Select Vehicle by VIN
Select Vehicle by Model
orMake
Model
Year
Select Vehicle by VIN
For the most accurate results, select vehicle by your VIN (Vehicle Identification Number).
10 Oil Pumps found
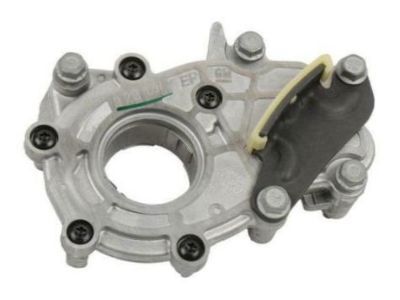
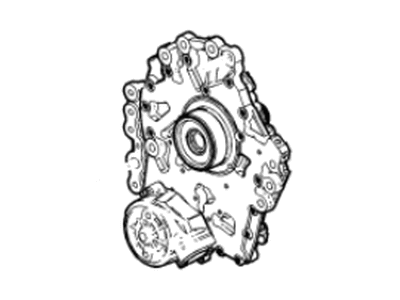
GMC Terrain Pump,Oil
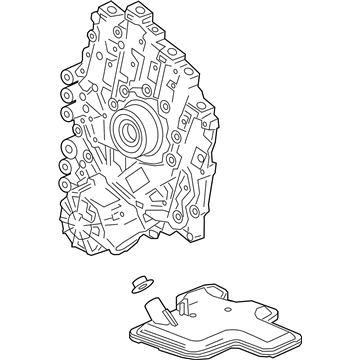
Part Number: 12640448$134.39 MSRP: $229.80You Save: $95.41 (42%)Ships in 1-2 Business DaysGMC Terrain Pump Assembly, Automatic Transmission Fluid
Part Number: 24256952$288.61 MSRP: $454.49You Save: $165.88 (37%)Ships in 1-2 Business DaysGMC Terrain PUMP KIT,A/TRNS FLUID (W/TURBINE SHAFT)
Part Number: 24044725$620.83 MSRP: $990.16You Save: $369.33 (38%)Ships in 1-2 Business DaysGMC Terrain Pump Assembly, Automatic Transmission Fluid
Part Number: 24289058$184.12 MSRP: $374.51You Save: $190.39 (51%)Ships in 1-2 Business DaysGMC Terrain Pump Assembly, Oil & P/B Boos
Part Number: 55509127$274.47 MSRP: $437.75You Save: $163.28 (38%)GMC Terrain Oil Pump Assembly
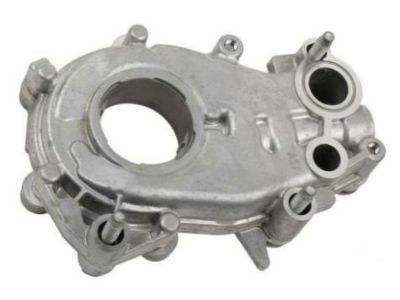
Part Number: 12674460$117.58 MSRP: $201.05You Save: $83.47 (42%)Ships in 1-2 Business DaysGMC Terrain PUMP ASM-OIL (W/ SCRN)
Part Number: 12706714$123.23 MSRP: $203.95You Save: $80.72 (40%)Ships in 1-3 Business DaysGMC Terrain PUMP ASM-OIL
Part Number: 12724336$97.33 MSRP: $161.05You Save: $63.72 (40%)Ships in 1-2 Business DaysGMC Terrain Pump Assembly, A/Trns Fluid (W/O Filter & Drvtrn)
Part Number: 24042236$171.42 MSRP: $283.72You Save: $112.30 (40%)Ships in 1-3 Business DaysGMC Terrain PUMP ASM-A/TRNS FLUID (W/O DRVTRN & FILTER)
Part Number: 24043453$215.65 MSRP: $356.84You Save: $141.19 (40%)Ships in 1-3 Business Days
GMC Terrain Oil Pump
The Oil Pump in GMC Terrain vehicles is very essential since it is tasked with circulating oil under pressure to facilitate the operations of the internal combustion engine. This circulation lubricates and cooles bearing and pistons, and furnish hydraulic fluid to small actuators of an engine. The GMC Terrain usually incorporates mechanical oil pumps which are driven by the crankshaft or the camshaft and these are well known to be very reliable. Possible types of oil pumps may include GMC Terrain year and gear, trochoid, and vane pumps may be fitted in any model of GMC Terrain. The major work of these pumps is to pump oil from the sump, filter it then circulating it throughout the engine, and ensuring right oil pressures that are very important for the operation of the engine. This is because the clogging of the system can occur due to various circumstances and hence requiring the GMC Terrain to undergo regular maintenance such as oil and filter changes to increase the life span of the engine.
Each OEM GMC Terrain Oil Pump we offer is competitively priced and comes with the assurance of the manufacturer's warranty for the part. Furthermore, we guarantee the speedy delivery of your orders right to your doorstep. Our hassle-free return policy is also in place for your peace of mind.
GMC Terrain Oil Pump Parts Questions & Experts Answers
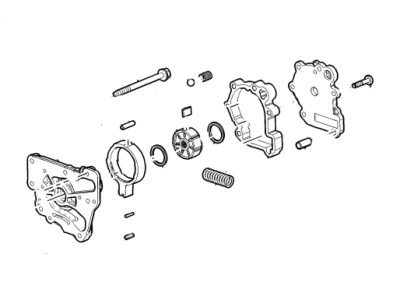
- Q: How to remove and reinstall the timing chains and oil pump in 3.0L and 3.6L V6 engine on GMC Terrain?A:Initially one should mark the position of Timing Chains and then remove the timing chain sprocket from the crankshaft. Then, take out the oil pump retaining bolts and then gently move the oil pump to the end of the crankshaft. It follows that removal of the timing chain guide off of the oil pump housing together with the oil pump cover also enables pulling out of the rotors off the pump body. Lift off the snap-ring on the side of the pump housing and replace the cap/spring/plunger assembly which is the oil pressure relief valve. Remove any parts from the structure and use solvent to clean them and ensure they are very dry then assess them for visible signs of wear or damages with special regard to the bolt holes on crankshaft sprockets these are prone to developing threaded holes, to identify such damages you have to rotate the crankshaft sprocket while observing the holes to confirm if any of the threads have been stripped. They have to be replaced if they are damaged, scored, or worn, including the gears of the oil pump; no individual parts are available for servicing. If reusing the oil pump, fit the parts of the pressure relief valve and the rotors to the pump housing, and the pump casing and then pour fresh Motor oil into the spaces between the rotors to make it ready for work, fit the final casing then tighten the nuts on the pump. Place the oil pump over the end of the crankshaft and position the flat surfaces of the crankshaft with those in the oil pump, set the pump to the block surface flat firmly. Slip the oil pump mounting bolts and then tighten them to the right torque as recommended by Engine manufacturers. The remaining part of the installation is the mirror process of the removal of the installation. Last but not least, just fill with oil/coolant if required and then start the vehicle and look for signs of oil/coolant leak and also inspect the oil in the pressure gauge.
